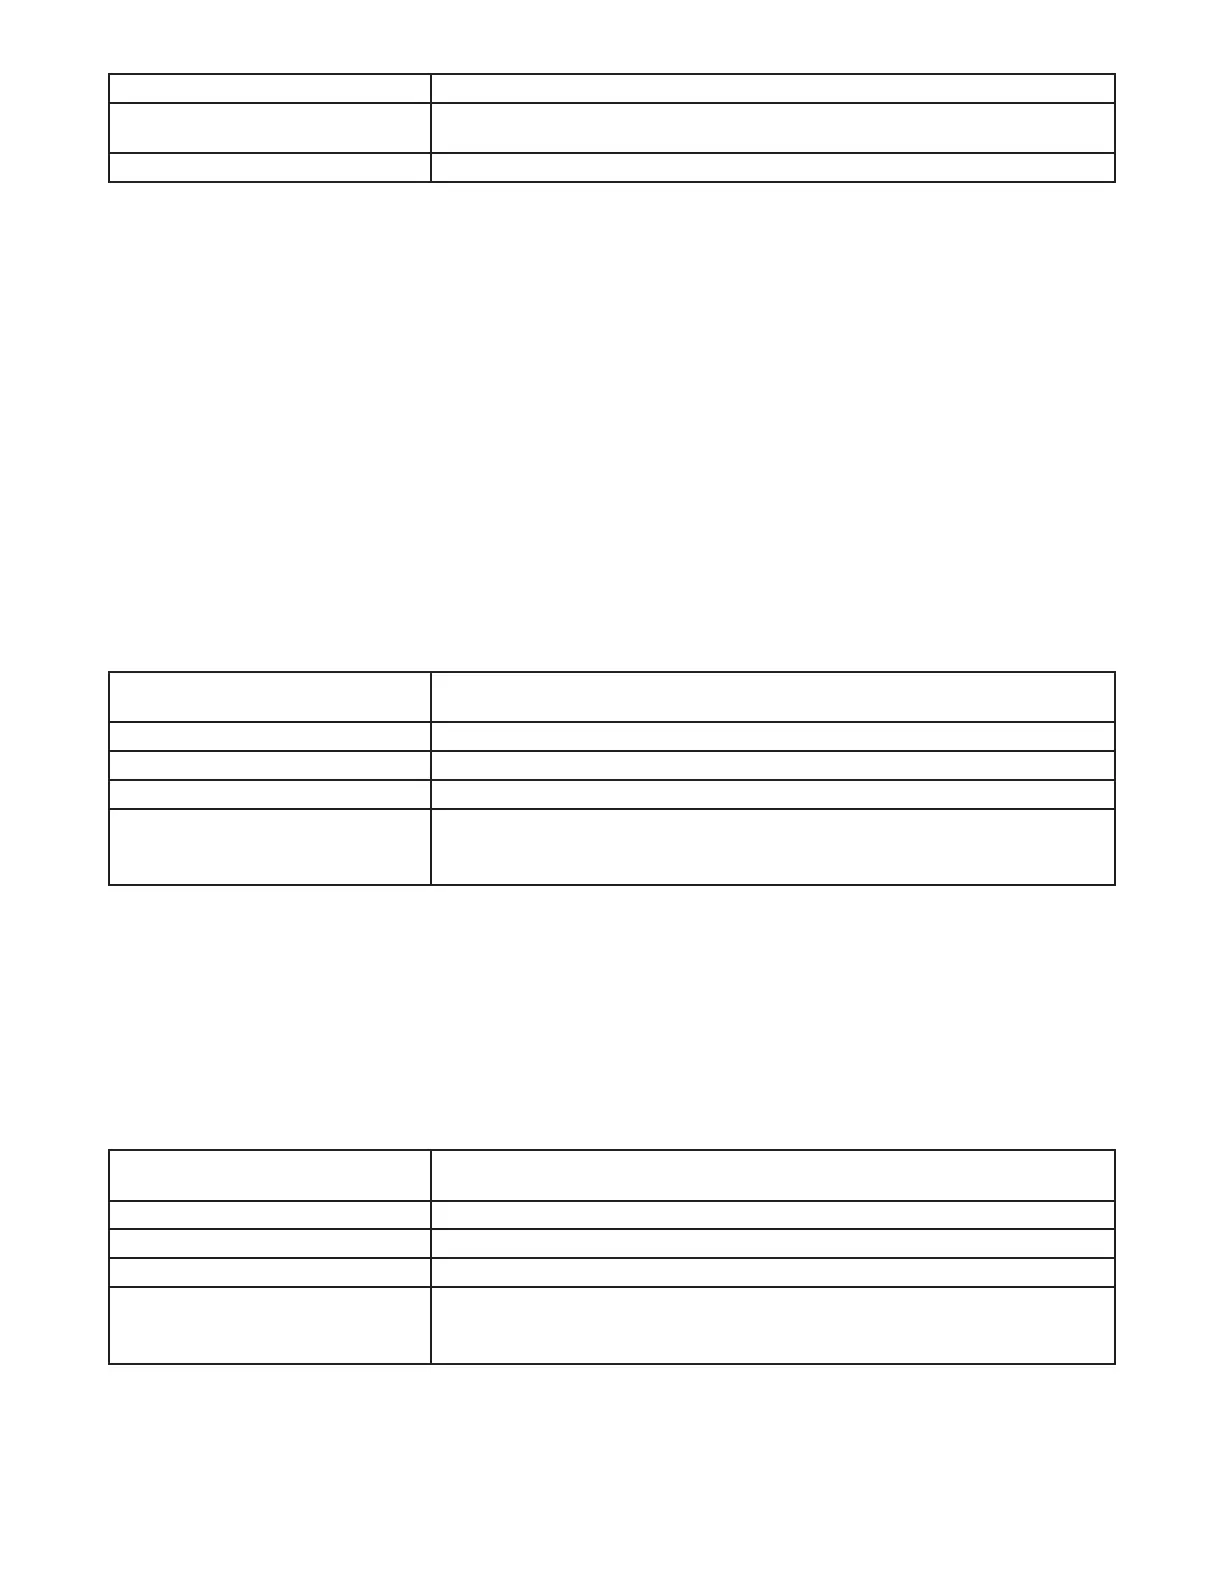
If you select Then
US2007 or MX1986 Go to step 8. NOTE: To view the start and end dates for a DST rule, press ENTER/
NEXT to scroll through the dates and then press MODE.
Custom Press ENTER/NEXT. The screen displays a ashing MAR and 2ND. Go to step 4.
4. Press + or - to select a starting month for customized DST and press ENTER/NEXT.
5. Press + or - to select a starting week (1ST, 2ND, 3RD, 4TH, or LST) and press ENTER/NEXT.
NOTE: DST changes at 2:00 A.M. on Sunday of the user-congured starting and ending weeks. Select LST for the fth Sunday
of a month.
6. Press + or - to select an ending month and press ENTER/NEXT.
7. Press + or - to select an ending week and press ENTER/NEXT.
8. Press MODE to save the DST rules and move to the next mode selection.
Setting Fixed Timed Events
Access the Fixed ON/OFF screen to set xed switching times. Odd-numbered events are for ON switching and even-numbered
events are for OFF switching. These events can be enabled for selected days of the week. Follow these steps to set xed time events
(if no xed events need to be set press MODE to move to the next mode selection):
1. Press MODE to advance until SET FIXED ON/OFF EVENTS and ON@ icons appear on the display (if this selection is not
already active. The Event Number and LOAD icon for each circuit are also displayed. Press ENTER/NEXT if this xed on event is
not needed, go to step 9.
2. If an event is not set the time display will show - - - -.
3. Press DAY. The screen displays 12:00 am and the days of the week.
4. Press + or - to set the time for the xed event to occur.
5. Initially both circuits are included with this event. Press ON/OFF buttons to remove each circuit not affected by this event. If the
LOAD icon for the circuit is displayed then this circuit will respond to this event.
If the desired days for this event
are
Then
MON-SUN Press ENTER/NEXT to save. Go to step 9.
MON-FRI Press DAY once and then press ENTER/NEXT to save. Go to step 9.
SAT-SUN Press DAY twice and then press ENTER/NEXT to save. Go to step 9.
SET EACH DAY INDIVIDUALLY
On the display, the day of the week
being set is ashing.
Press DAY three times and the MON icon will ash.
Go to step 6.
6. Press – to eliminate this event or press + to keep this event for the selected day.
7. Press DAY to move to the next day of the week repeat step 6.
8. When all the days are set, press ENTER/NEXT to save.
9. The Event Number increments and the SET FIXED ON/OFF EVENTS and OFF@ icons are displayed. Press ENTER/NEXT if
this xed off event is not needed, go to step 17.
10. If an event is not set the time display will show - - - -.
11. Press DAY. The screen displays 12:00 am and the days of the week.
12. Press + or - to set the time for the xed event to occur.
13. Initially both circuits are included with this event. Press ON/OFF buttons to remove each circuit not affected by this event. If the
LOAD icon for the circuit is displayed then this circuit will respond to this event.
If the desired days for this event
are
Then
MON-SUN Press ENTER/NEXT to save. Go to step 17.
MON-FRI Press DAY once and then press ENTER/NEXT to save. Go to step 17.
SAT-SUN Press DAY twice and then press ENTER/NEXT to save. Go to step 17.
SET EACH DAY INDIVIDUALLY
On the display, the day of the week
being set is ashing.
Press DAY three times and the MON icon should ash.
Go to step 14.
 Loading...