INTERMATIC INCORPORATED | 1950 Innovation Way, Suite 300 | Libertyville, Illinois 60048 | www.intermatic.com6
Intermatic Connect 365-Day Programmable Smart Wi-Fi TimerProgramming Guide: Models ETW2CP, ETW3CP
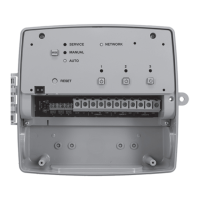
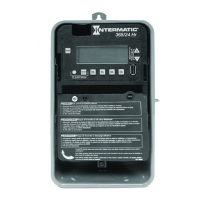
Full Unit Reset Button
Press and hold reset button until mode LED flashes red and reset begins.
The Reset button is located on the unit below the Mode button. This will return the
unit to factory default settings.
Communications
ETW Wi-Fi Platform devices employ one Bluetooth
®
Low Energy (BLE) and one
Wi-Fi communications interface. When a Wi-Fi Platform device is powered up for
the first time, the BLE interface will present its unique identification and device
type. The mobile app will be able to scan and connect (peer-to-peer) to the BLE
interface when within range of such device. The user will have to interact with the
device to complete a simple pairing process to complete a successful connection
of a discovered device. Once connected to the device, the user can configure the
device’s Date/Time, Daylight Saving Time, Location, Wi-Fi connection, schedule,
device name and channel names. Once connected to the internet and logged into
their Intermatic Connect account, the user can add the device to the cloud for
remote access.
DEVICE SETUP WITH THE INTERMATIC
CONNECT APP
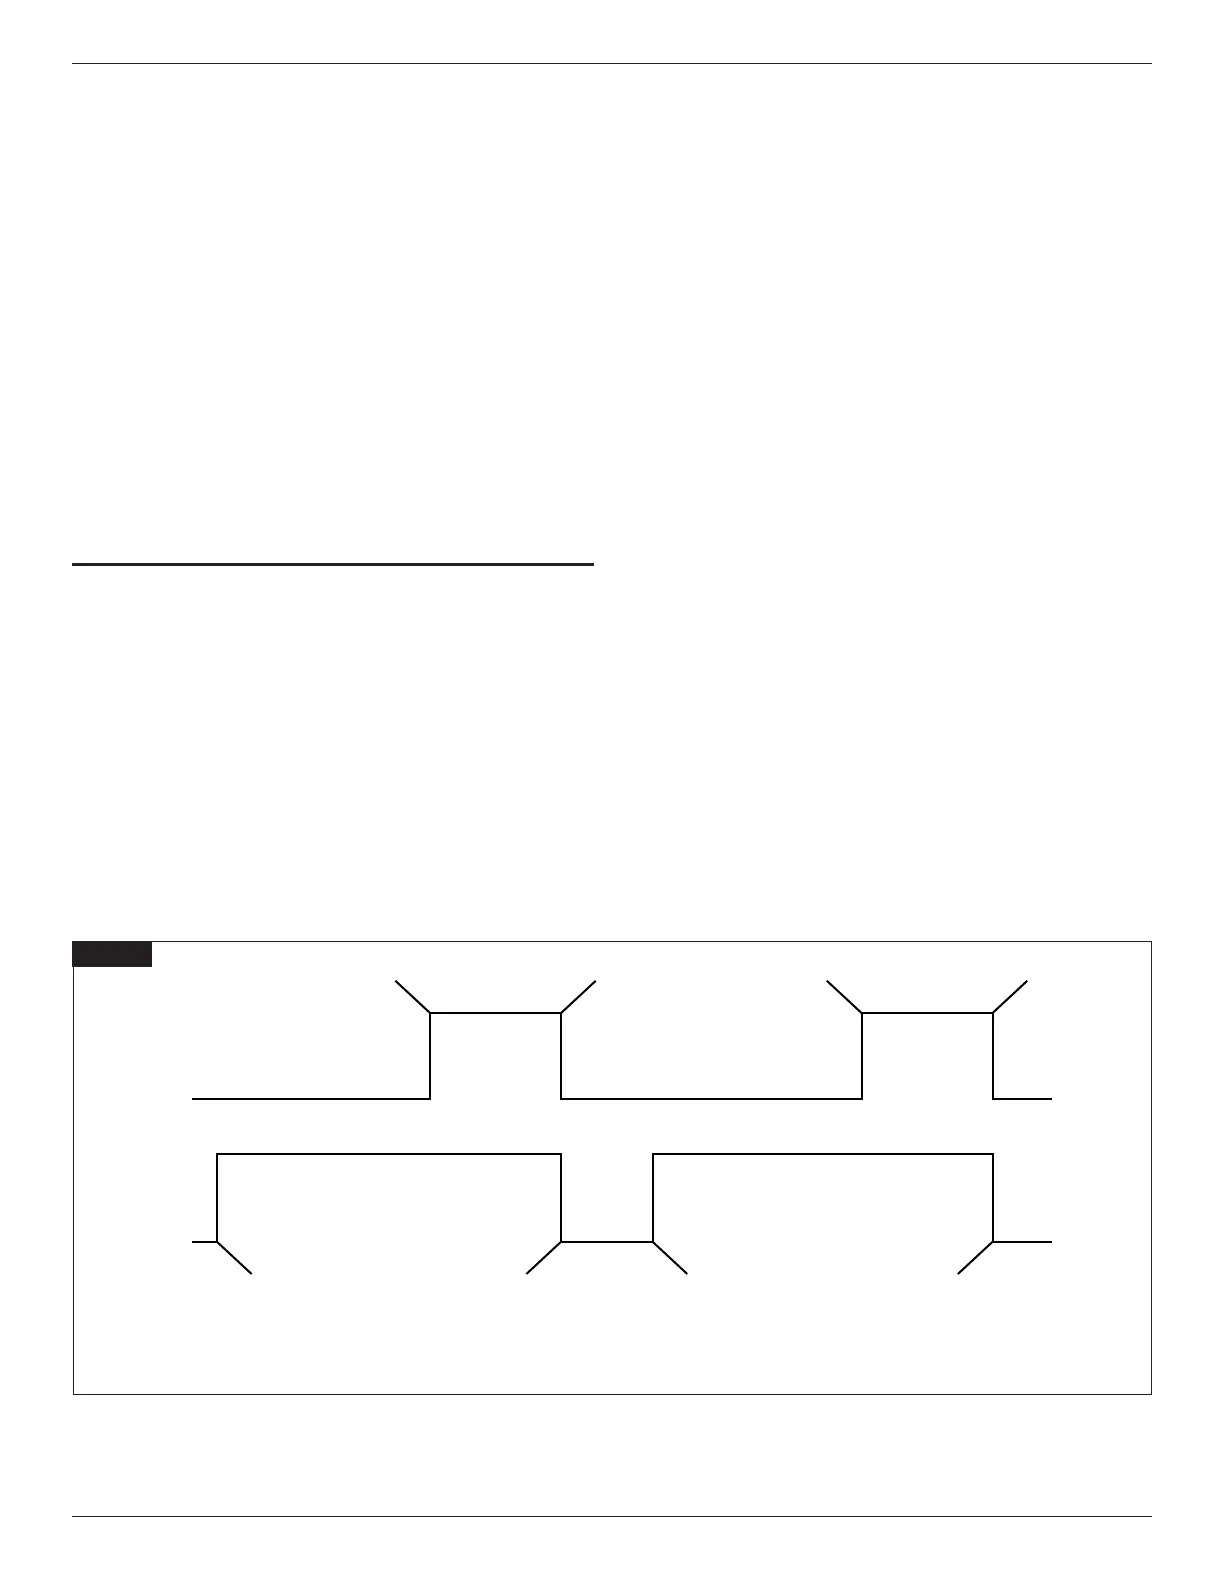
Schedule Example
The diagram in Figure 1 (see below) explains how the Wi-Fi Platform would
address the following user story:
There are often times that a standard photocontrol or occupancy sensor is needed
as an override for the scheduled control. This could work in two different ways,
the first would override the schedule events, the second would only allow for the
override to work outside of the scheduled operations.
As an example: A business is open from 8 AM to 1 AM, this is controlling the
outside entryway lighting. The end user wants the lights to turn ON at Dusk and
turn OFF at 1 AM. The end user also wants for a photocontrol to be used to allow
for the lights to turn ON if it gets dark prior to Dusk (Storm or other anomaly), but
still wants the lights to remain OFF from 1 AM till at least 8 AM.
Factory Default Settings
• When power is first applied to an out of the box device, the device will default to
the Manual Mode of operation and all Outputs will be in the Off state.
• No schedule will exist in the device, so the device will not allow the user to
place it in Auto Mode (Device Buttons, Mobile App or Voice Control).
• The Network LED will be Off, indicating the device is not configured for a
network and the mobile app is not connected.
• Default output channel configuration:
| Gen Purpose Timer ETW2CP:
Channel 1: SPDT
Channel 2: SPDT
| General Purpose Timer ETW3CP:
Channel 1: SPDT
Channel 2: SPDT
Channel 3: SPDT
• Default input configuration:
| Gen Purpose Timer ETW2CP:
Input 1: Switch, 120-minute override
Input 2: Switch, 120-minute override
| General Purpose Timer ETW3CP:
Input 1: Switch, 120-minute override
Input 2: Switch, 120-minute override
Input 3: Switch, 120-minute override
• User will be able to press and command channel override buttons to activate/
deactivate the circuits.
• User will not be able to put the device into Auto mode.
• User can place the device into the Service mode.
Figure 1
On
Off
08:00 01:00 01:0008:00DUSK DUSK
08:00 01:00 01:0008:00
Enabled
Event
Action: On
Date:
Time: DUSK
Event
Action: On
Date:
Time: DUSK
Event
Action: Sensor
Disable
Date:
Time: 01:00
Event
Action: Sensor
Disable
Date:
Time: 01:00
Event
Action: Sensor
Enable
Date:
Time: 08:00
Event
Action: Sensor
Enable
Date:
Time: 08:00
Event
Action: Off
Date:
Time: 01:00
Event
Action: Off
Date:
Time: 01:00
Disabled