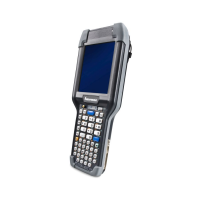
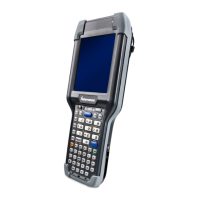
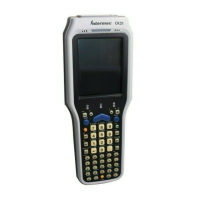
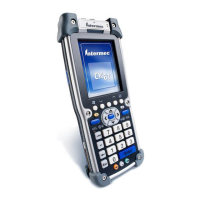
Chapter 2 — Replacing Parts
Visor
Large scan
mount
bracket
Shield
SE1200
scan flex
engine
Screw
(2 places)
7 Insert the scan engine in the scan mount bracket and attach it with the
two Phillips screws removed in Step 4.
8 Insert the scan engine assembly into the bottom cover and attach with
the four Phillips screws removed in Step 2.
9 Close the CK30. For help, see “Closing the CK30” on page 27.
Replacing the EV10 Scanner
To replace the EV10 scanner, you need the following tools:
• T10 Torx screwdriver
• Small Phillips screwdriver
You also need one or more of the following parts depending on what you
need to replace:
• EV10 scan engine assembly (P/N 3-131010-01-02)
• EV10 engine insulator (P/N 073657-001)
• EV10 engine ground spring (P/N 073495-001)
• EV10 scan flex assembly (P/N 072782-002)
• Small scan mount bracket (P/N 072864-001)
• Phillips 4-20 x .250 thread-form screw (P/N 525023)
• Phillips M1.6 x 3mm steel screw (P/N 591883-001)
To replace the EV10 scanner
1 Open the CK30. For help, see “Opening the CK30” on page 9.
2 From the bottom cover, remove the three Phillips screws that attach
the EV10 scan engine assembly as shown in the next illustration.
3 Lift the scan engine assembly away from the bottom cover.
CK30 Handheld Computer Service Manual 23