120
PO
SAVE THESE INSTRUCTIONS
(120PO) ENGLISH 7.5” X 10.3” PANTONE 295U 10/10/2018
English
Page 14
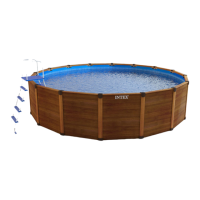
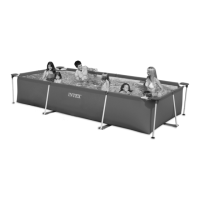
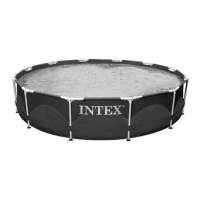
POOL SETUP (continued)
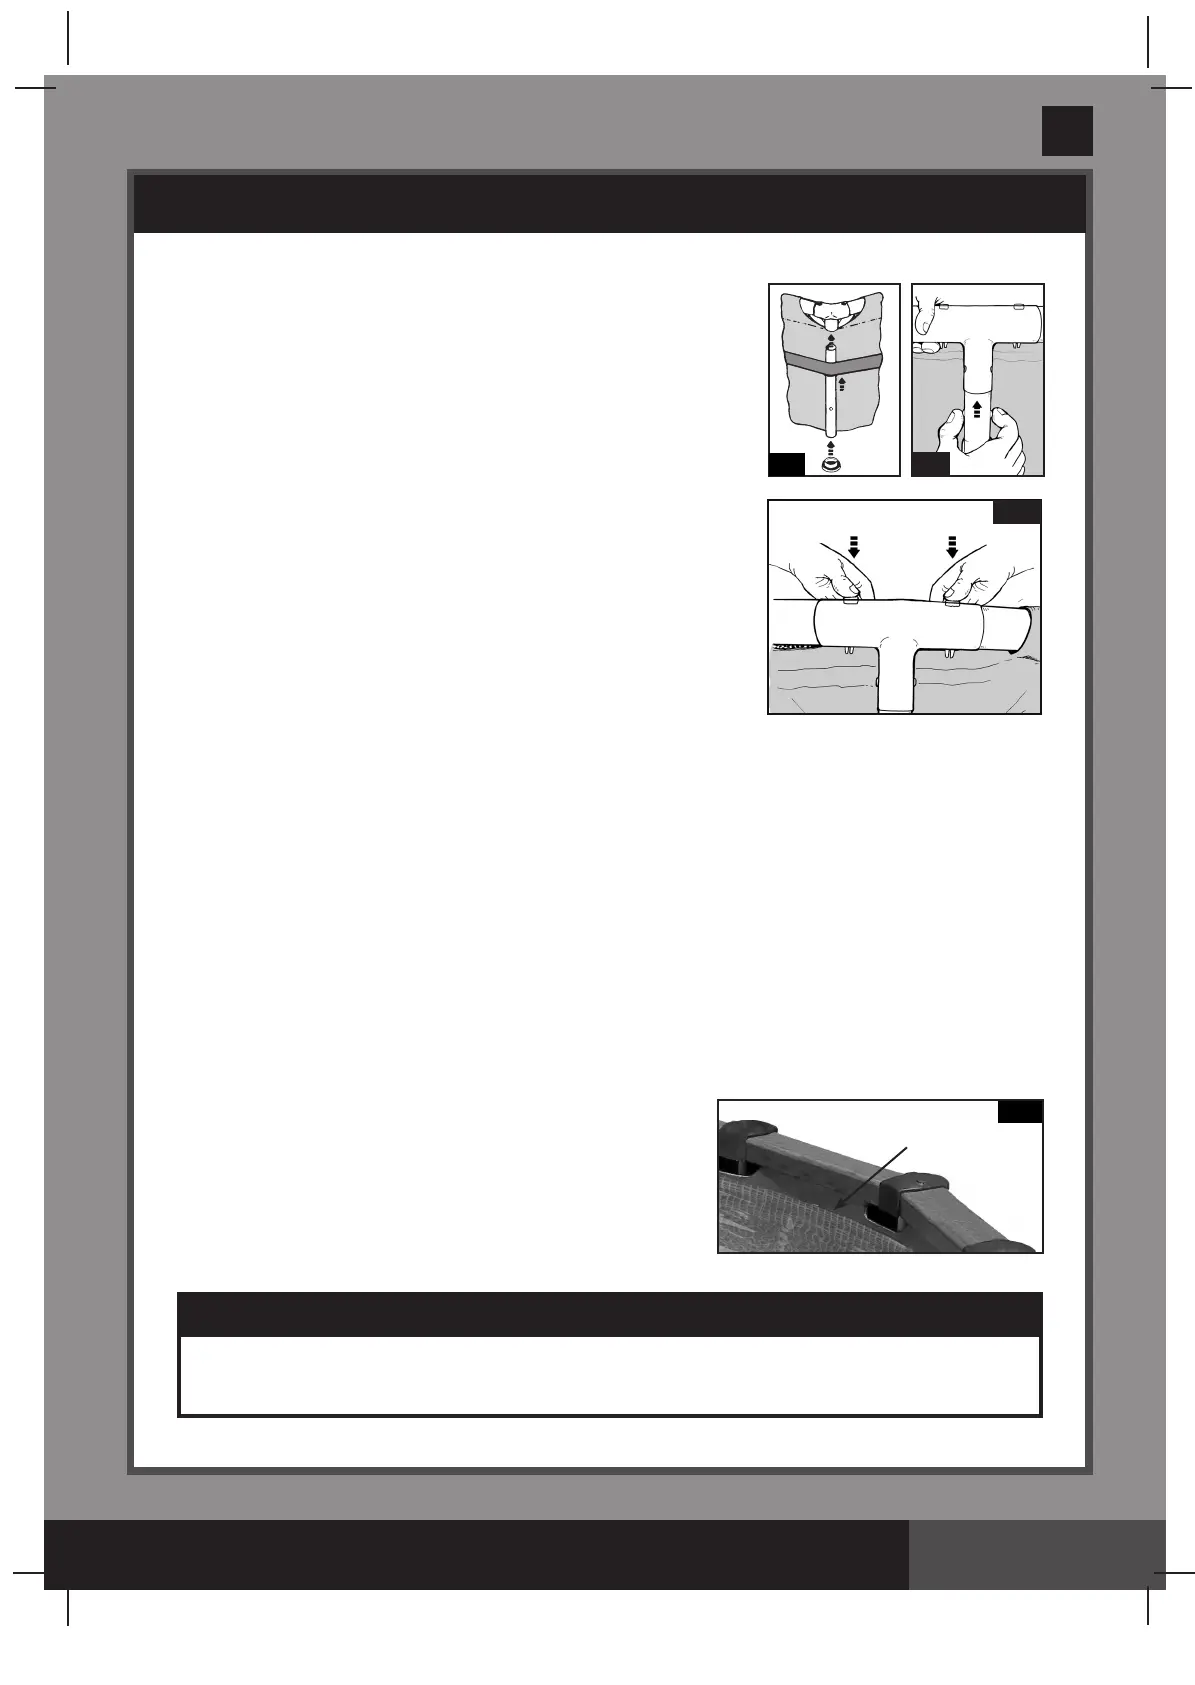
• Nextslidetheverticallegsintothebeltlooplocatedinthemiddleof
the pool liner. Carefully slide the leg into the belt loop and insert the
top of the leg into the bottom of the joint.
Snapthelegintothejoint’sholesbyaligningtheholesandthe
spring-loadedpin.Attachtheleg’sendcap
(6) to the bottom of the
leg
(see drawings 6.1 & 6.2).
• Uponconnectingthelastleg,grabholdoftheframepool’stopbeams
in2–3locations.Shakethepooltobesurethatallthejoints,legs
and beams fit into each other. Ensure that all pins are in position by
pushing them downwards through the holes
(see drawing 7.1).
• Pull gently, in an outward direction, the bottom of the leg making sure
thelegisverticalandperpendiculartothelevelground.
3. Filling of the pool
• SeeKrystalClear™filterpumpmanual,installthestrainernuts,
flat strainer rubber washers and threaded strainer connectors on the
linerpre-cutholes.Usestrainervalvecaps
(19) and plug them into
the threaded strainer connectors from the inside of the pool so water
will not run out while filling.
• Beforefillingthepoolwithwater,ensurethatthedrainpluginsidethepoolisclosedandthatthedrain
capontheoutsideisscrewedontightly.Fillthepoolwithnomorethan1inch(2.5cm)ofwater.Check
toseewhetherthewaterislevel.
IMPORTANT: If the water in the pool flows to one side, the pool is not completely level. Setting up
the pool on unlevel ground will cause the pool to tilt resulting in the sidewall material bulging and
a potential collapse of the pool. If the pool is not completely level, you must drain the pool, level
the area or move the pool to a different area that is level, and re-fill the pool, following the above
directions.
• Smoothoutthebottomlinerwrinkles(frominsidethepool)bypushingoutwherethepoolfloorandpool
sidesmeet.Or,(fromoutsidepool)reachunderthesideofthepool,graspthepoolfloorandpullin
anoutwarddirection.Ifthegroundclothiscausingthewrinkles,have2peoplepullfromoppositesidesto
removeallwrinkles.Usetheproperlyassembledpoolladderwhenenteringorexitingthepoolduringthis
process.
4
.Fillthepoolwithwateruptojustbelowthesleeveline.
(see drawing 7.2).
6.1
5
6
3
6.2
4
7.1
7.2
WATERLEVEL
IMPORTANT
The installer of the vinyl liner shall affix on the original or replacement liner, or on the pool
structure, all safety signs in accordance with the manufacturer’s instructions. The safety
signs shall be placed above the water line.