8 60129676-A
Invacare
®
Softform Active
®
2 Rx
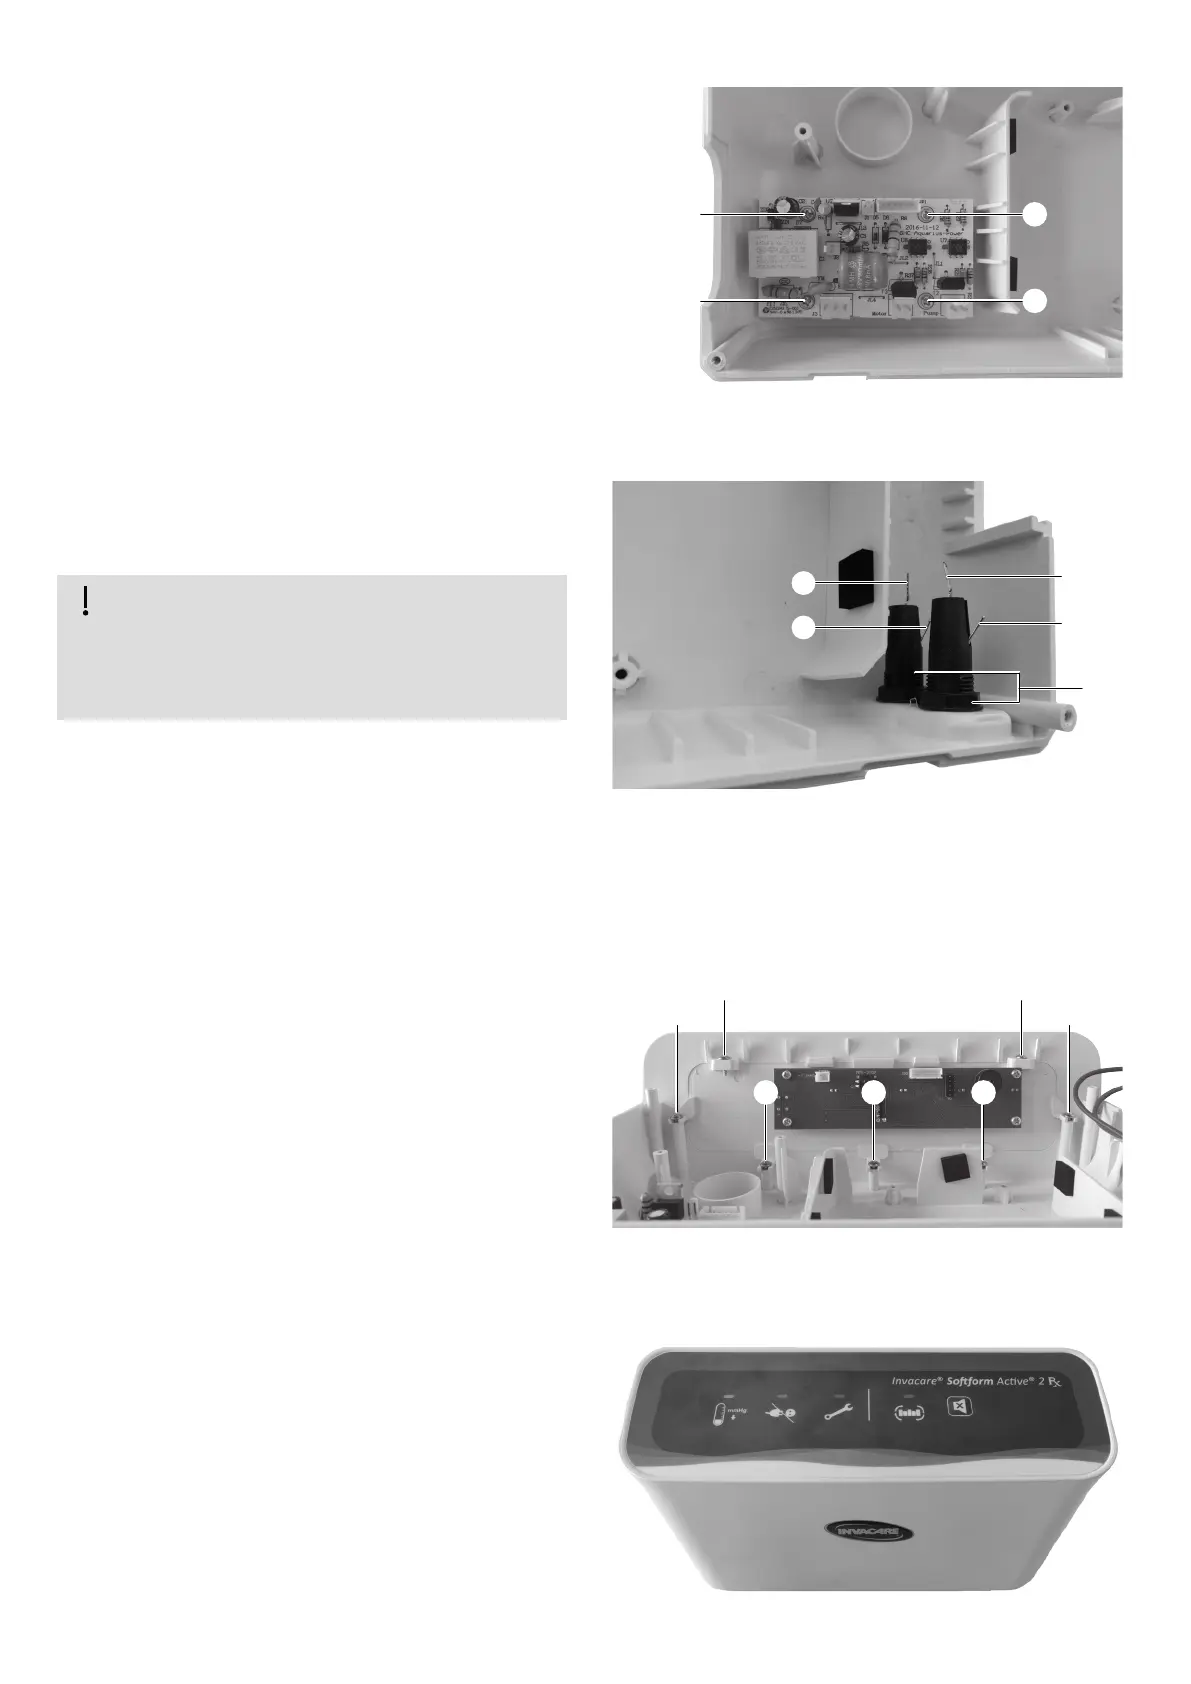
7.
Loosen and remove the four screws D fixing the
PCB to the front housing.
8. Unplug all wires.
9.
Unplug the four wires - brown E, black F, red G
and blue H - connected to the fuse holders I,
located on the front housing's bottom right side.
Risk of malfunction or damage to the
Control Unit
Ensure the brown E, black F, red G and
blue H wires are plugged back into their
original positions.
10.
Using the indicated wrench, loosen and remove
the fuse holders I from the front housing.
11.
Remove the digital control's label from the front
housing.
12. Loosen and remove the seven screws J from
the front housing.
13.
Remove the User's interface from the front hous-
ing. Discard the defective front housing.
14.
Place the User's interface in the new front housing.
Position and tighten the provided screws.
15. Place the unit with the Invacare logo facing
forward and install the new digital control's
stick-on label as illustrated.
16.
Place and secure the remaining components on
the new front housing in the reverse order to
which they have been removed from the old one
(see steps 5 to 10).
17. Reinstall the bottom housing.
D
D
D
D
Fig. 4-4
H
G
I
E
F
Fig. 4-5
J
J
JJ
J J J
Fig. 4-6
Fig. 4-7
 Loading...