300 Quick Start Guide 3
Install Ioline Software
1. Insert the 300 Software CD-ROM into the
CD-ROM drive.
2. The installation should start automatically.
If it does not, go to Start Menu>Run.
Click on Browse and choose the CD-ROM
drive (usually D:\). Select iosetup.exe then
Open and Run.
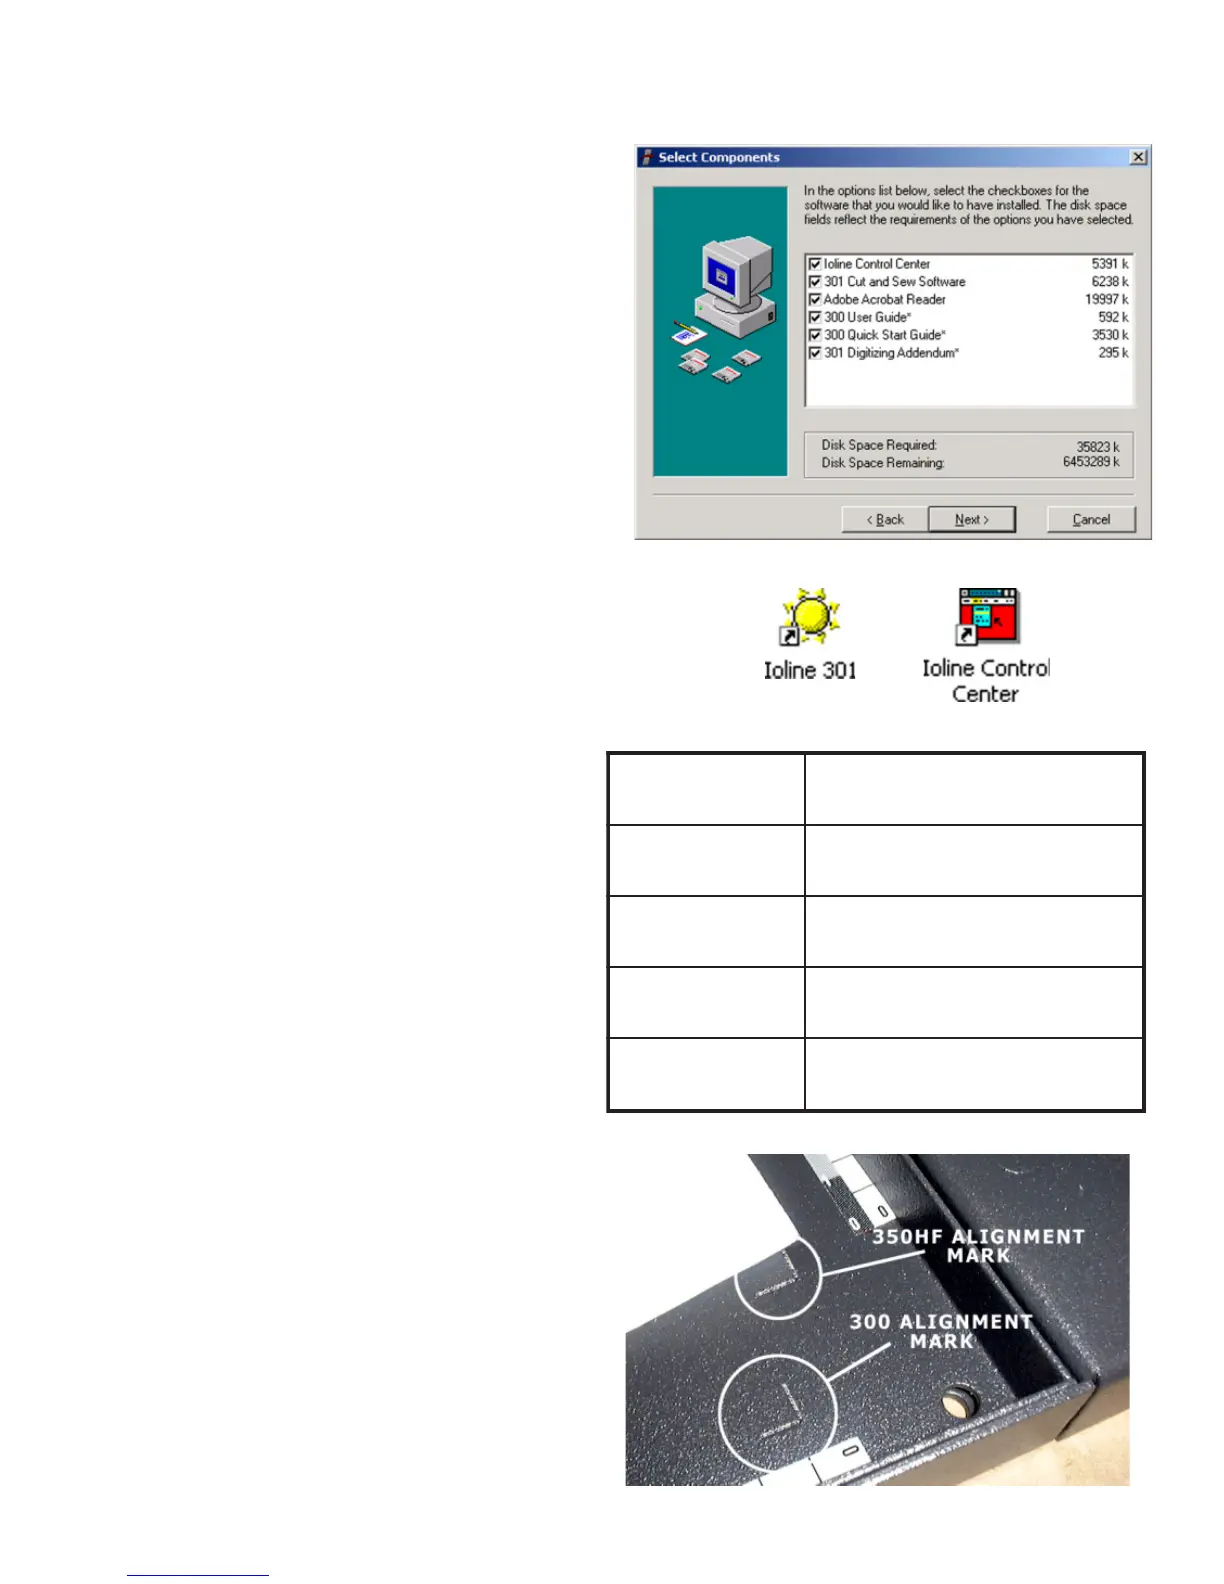
3. Follow the self-guided installation instruc-
tions to install the Ioline Control Center,
301 Software, Acrobat Reader, and all
manuals. Fig G.
4. A window may appear asking to install
Hardlock drivers. Answer ‘Yes’ to all ques-
tions.
5. Restart the computer if requested. All icons
chosen in the installation will appear on
the desktop. Fig. H.
Figure H: Ioline Software Icons.
Figure G: The 300 software installation screen.
Install an Adhesive Sheet
1. Ensure that the light on the 300 Keypad is
red. Press Start/Stop if it is not. Use the
Arrow keys on the Keypad to move the
Table all the way forward.
2. If the Tray is installed in the Table, loosen
the Thumb Nuts and remove it by lifting
up in the front and pulling forward. Place
the tray on a stable surface.
3. Choose an adhesive sheet and backing
material (if required) that will work with
the material planned for cutting. Table 1
is a guide for choosing the proper sheet
and backing types. There is more infor-
mation about choosing adhesive sheets
in the 300 System User Guide.
4. Peel the backing paper off of one side.
With the exposed side facing the Tray,
align the corners of the sheet with the “L”
shaped marks in the tray. Fig. J.
5. Smooth the adhesive sheet down until all
bubbles are removed. Leave the paper
cover on the top of the adhesive sheet
until ready to apply material for cutting.
kcaThgiH
)TH(
,rehtaelniht,tlefmircS
.draoblicnetsdnagnihcte
kcaTmuideM
)TM(
esu,teehsesopruplarenegA
.slliwttsomhtiw
kcaTwoL
)TL(
dnanihtrodekcablaestaeH
.slairetameligarf
dediS2
)S2(gnikcaB
-nonotecafrusevisehdasddA
.slairetamdekcabevisehda
dediS1
)S1(gnikcaB
.slairetamnihtezilibatS
Table 1: Adhesive sheet and backing material application table.
Figure J: Align the adhesive sheet with the System 300 alignment marks.
 Loading...