4 300 Quick Start Guide
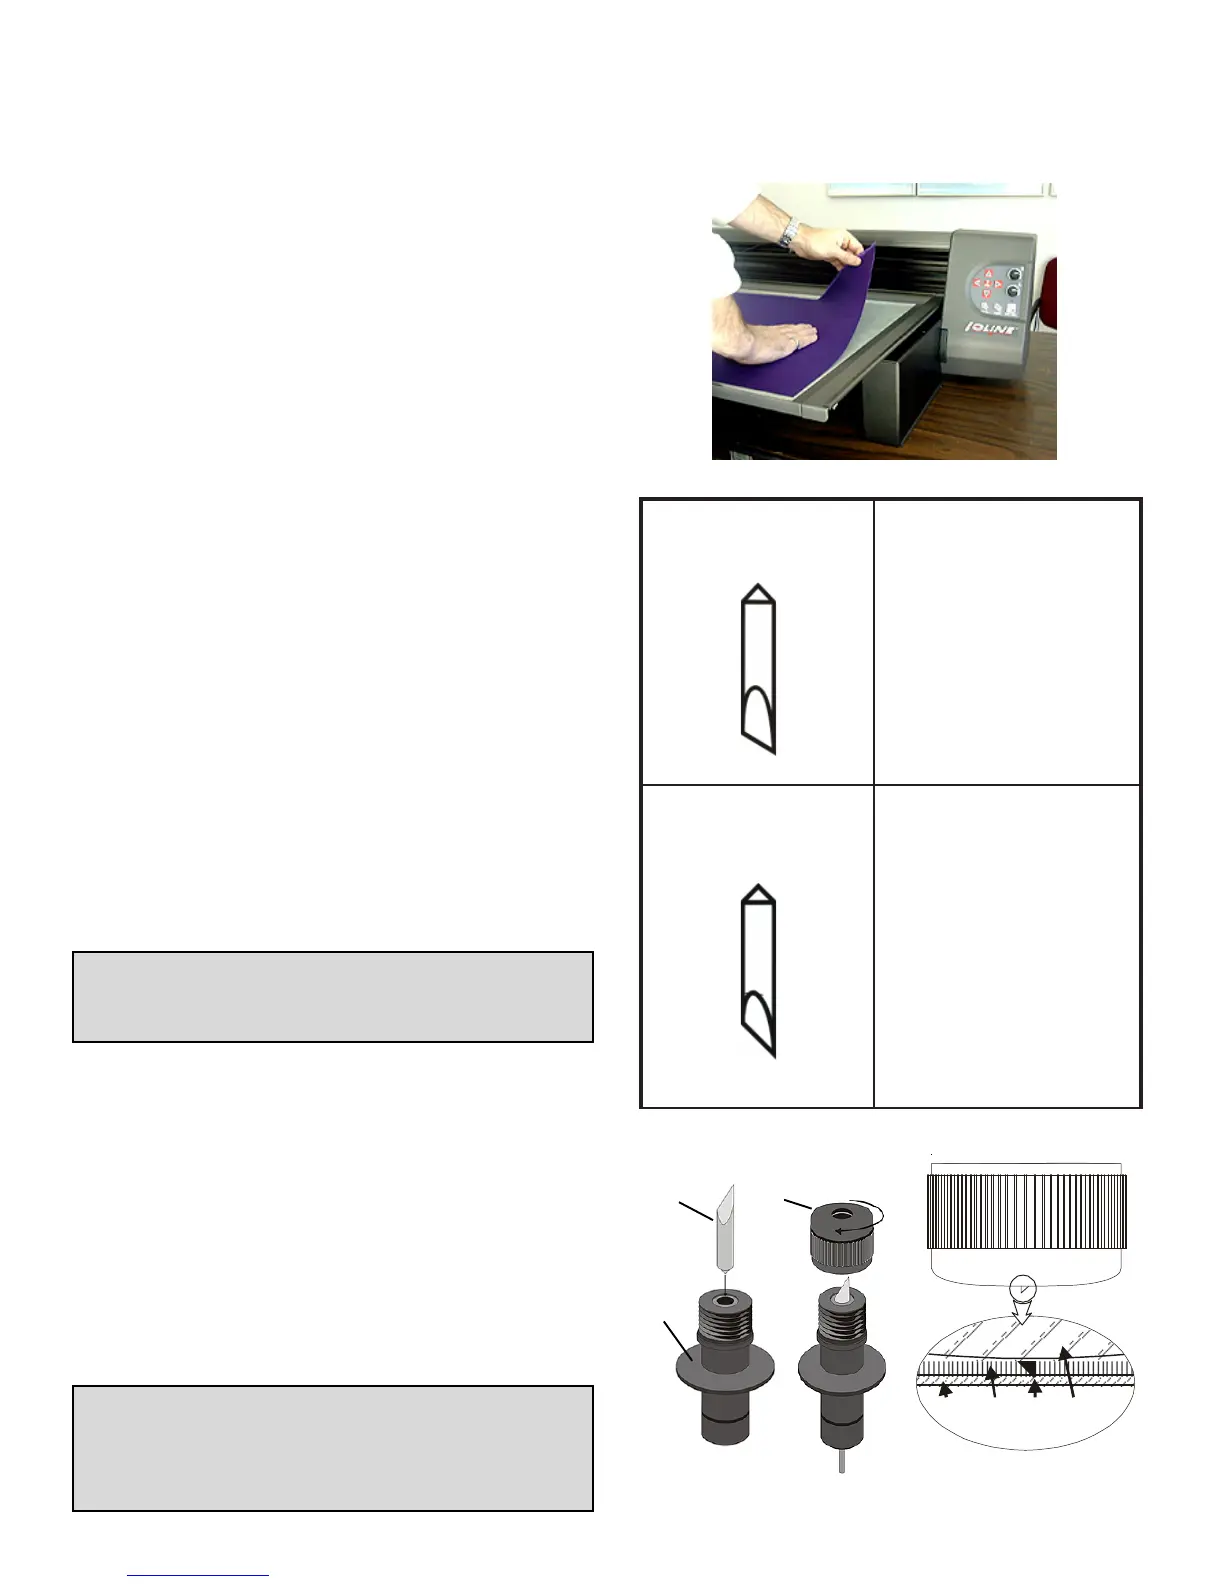
Blade
Foot
Blade
Holder
Figure N: Blade installation into
the Blade Holder.
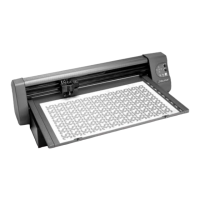
Apply Cloth & Install the Tray
1. Remove the cover from the Adhesive Sheet
and carefully apply fabric to the Tray. Smooth
all bubbles out of the material. Fig. K.
2. Slide the Tray onto the Table with the Thumb
Nuts facing the front of the machine. Make
sure the rear lip of the Tray fits tightly under
the white strip in the rear of the Table. The
thumb nut posts should drop smoothly into
the slots on the front of the Table.
3. Press the Tray down into the Table and
tighten the Thumb Nuts.
4. Use the Arrow keys on the Keypad to posi-
tion the Carriage and Table so that the knife
is in lower right corner of the Table. This is
where cutting will start.
5. Press Set Origin on the Keypad. The light
on the Keypad will turn green.
M
a
t
e
r
i
a
l
t
o
c
u
t
A
d
h
e
s
i
v
e
s
h
e
e
t
B
l
a
d
e
F
o
o
t
Figure P: A Properly adjusted
Blade.
Figure K: Applying material to the Tray.
Choose a Blade
1. Find the included 322 blade in the accessory
kit. Table 2 shows blade usage information.
2. Unscrew the Foot (Figure N) from the Blade
Holder.
IMPORTANT: The Blades are very sharp and
the tip is fragile. Use caution when inserting
them into the Blade Holder.
3. Insert the Blade into the Blade Holder (Fig-
ure N). It will resist at first then slide freely
to a hard stop when properly inserted.
4. Gently turn the Foot onto the Blade Holder
until just before the tip of the blade protrudes
from the opening in the foot.
5. Follow the steps in the 300 System User
Guide to adjust blade exposure and force.
This step is very important!
6. The 300 is ready to cut!
TIP: Properly adjusted blade depth and force
will substantially increase the life of the
blade, adhesive sheet and reduce the
chance of damaging the tray.
edalB123
889601NP
tesffo"490.0-°03
nogniyarfsecudeR
dnaslairetameligarf
elbixelfnognillup
.slairetam
edalB223
989601NP
tesffo"490.0-°54
.edalbesopruplareneG
.slairetamkcihtstuC
Table 2: Blade application table.
 Loading...