Do you have a question about the Ioline 100 and is the answer not in the manual?
Essential safety guidelines to follow before operating the cutter.
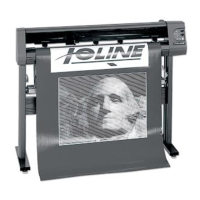
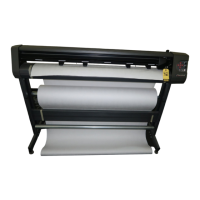
Instructions for safely removing the cutter from its packaging.
Steps for assembling the cradle and attaching the cutter.
Process for securely attaching the cutter to its stand or base.
Guidelines for setting up a clean and spacious work environment.
Procedure for connecting the cutter to the computer via serial or parallel cable.
Steps for turning on the computer and cutter correctly.
Instructions for installing the Control Center software from the CD-ROM.
Description of the cutter's keypad and its main functions.
How to start, stop, and resume cutting operations using the Start/Stop key.
Functionality of arrow keys for material and carriage movement.
Procedure for setting the initial starting position for a design cut.
How to adjust the cutter's speed using the Speed knob.
How to adjust the force applied to the blade using the Force knob.
Procedure to cut a test pattern for determining optimal force and blade exposure.
How to reproduce the most recently created design using the Repeat key.
Adjusting cutter parameters via the menu and Control Center.
Summary of functions available within the Control Center menu bar.
Details on adjustable settings like Measurement Units, Panel Size, and Scale.
Information on blade length settings for pouncing and tag board.
How to update displayed screen values with current cutter settings.
Options for sending temporary or permanent settings to the cutter.
Adjusting acceleration and up/down delays for cutter movement.
Configuring force, blade overcut, and blade offset for precise cutting.
Setting the minimum angle for blade steering arc performance.
Essential tips for successful design cutting operations.
Steps for turning on the computer and cutter for operation.
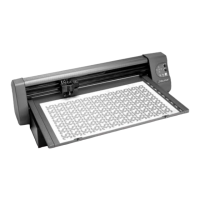
Guides on how to properly load various types of material into the cutter.
Process for aligning material and pinchwheels for accurate cuts.
Details on adjusting pinchwheel spring force for different material types.
How to lock idler pinchwheels off the platen to prevent ink smearing.
Procedure for installing the blade and blade foot into the blade holder.
Guides on inserting blade holders or pens into the carriage jaw.
How to properly adjust blade exposure and force for optimal cutting.
Process for transferring design files from software or Control Center to the cutter.
Instructions on how to pause and resume a cutting job.
Steps to abort a cutting job from design software or Control Center.
Steps for using the pounce feature to create perforated patterns.
Instructions for using the Tag Board Cutout feature for stencil creation.
Tests communication between computer and cutter on parallel or serial ports.
Diagnoses issues with the cutter's serial COM port.
Diagnoses issues with the computer's serial COM port.
A chart listing common problems and their potential solutions.
Explains the meaning of different front panel LED light combinations.
Steps to resolve parallel port communication and BIOS setting issues.
Procedure for safely removing and installing a new cutting blade.
Instructions for cleaning the drive shaft to ensure accurate cut lines.
Steps to input measured calibration data into the Control Center.
Resources and contact information for customer support and assistance.
Information regarding FCC compliance and radio frequency interference.
Invitation for feedback and details on contacting customer service.
Statement defining operator responsibility for cutter performance and safety.
| Interfaces | Serial |
|---|---|
| Repeatability | ±0.1 mm |
| Resolution | 0.025 mm |
| Interface | Serial |
| Power Requirements | 50/60 Hz |