18
Ioline FlexJet E Quick Start Guide
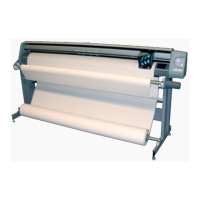
2. Check that the holes in the endplate line up with the threaded
holes in the leg. If they do not align, check to make sure that the
rear alignment pin is resting in the rear notch on both legs.
3. Insert four
5
/
8
-in button-head screws through the two holes in
both end plates to connect the head to the stand. Tighten all
four screws with the included T-handle wrench.
5
/
8
-in Screw
(2 per side)
Print head attachment
5
/
8
-in screws—shown here at actual size.
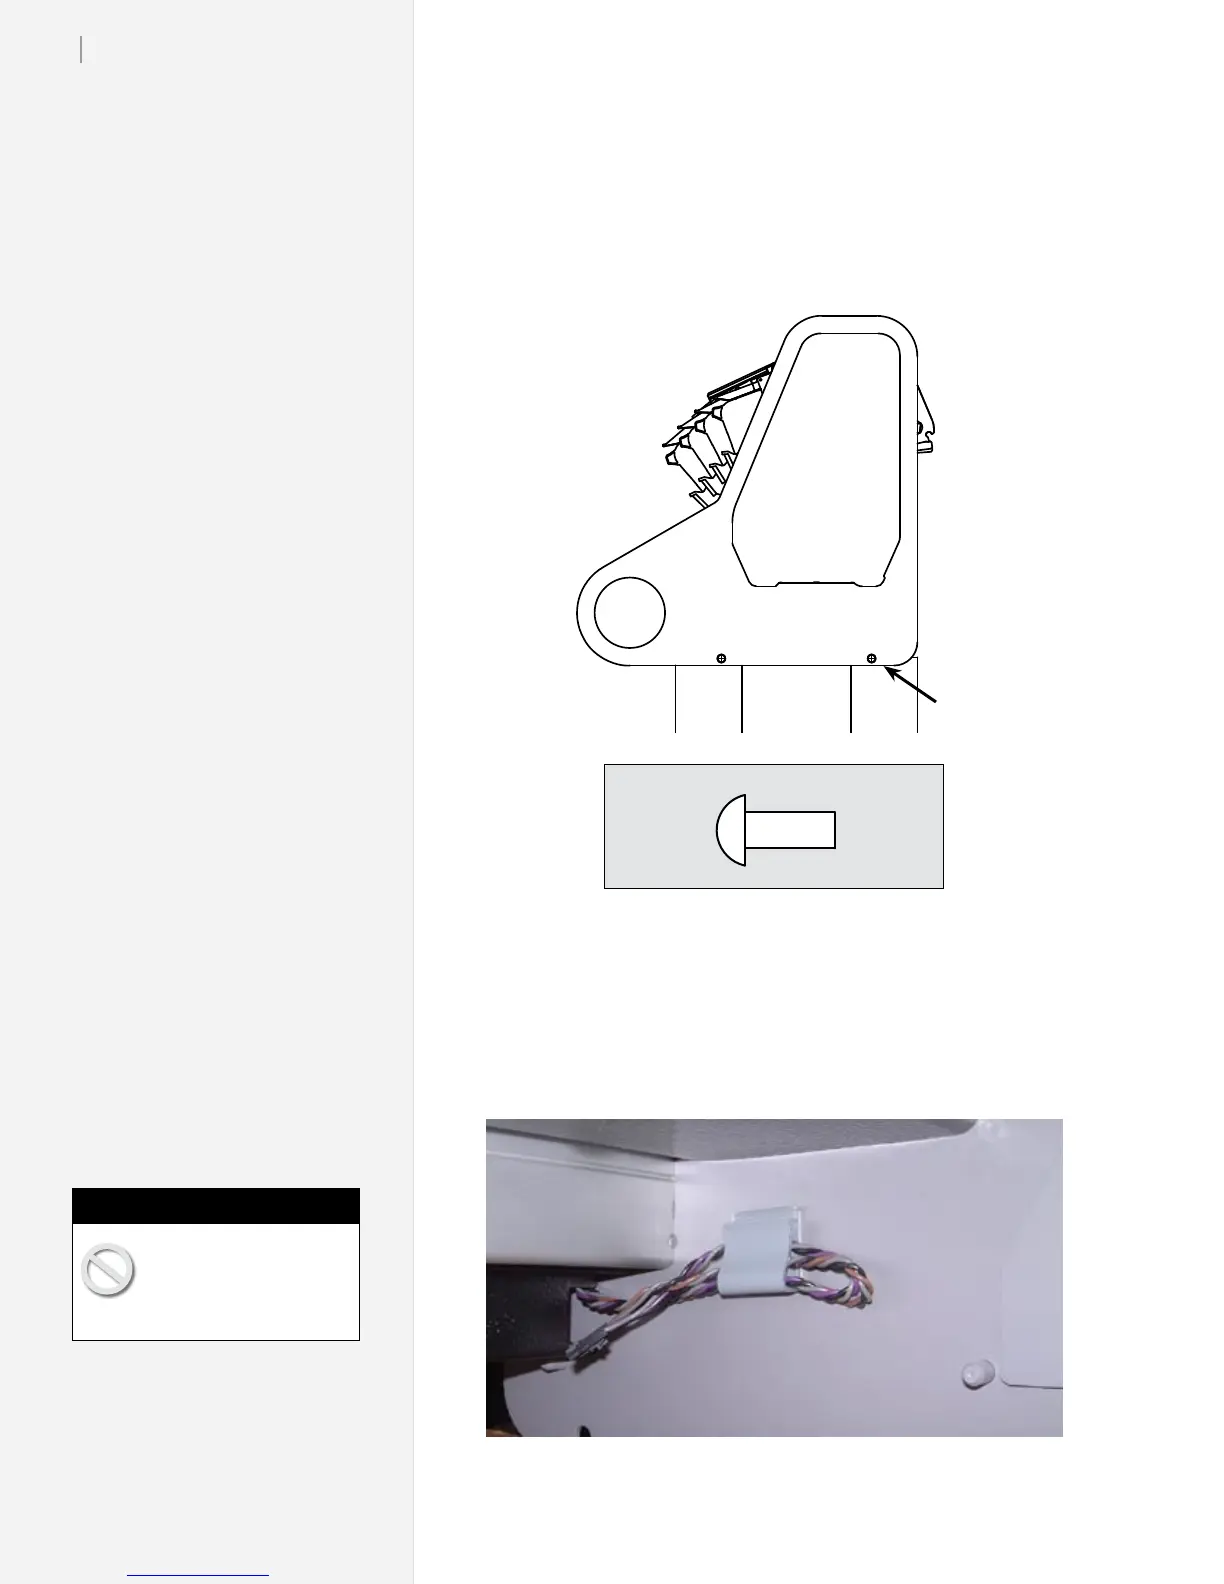
Step 7: Connect the Paper Sensor Cable
1. Make sure power is off to the machine. Find the small plug
clipped to the bottom inside edge of the right endplate.
Make sure power to the
machine is off before con-
necting the cables.
Caution