32
Ioline FlexJet E User Guide
Installing the Take-up Shaft
(FlexJet E only)
The Paper Out sensor on the back of the printer detects when the
paper runs out. If paper isn’t loaded or if the take-up key is not posi-
tioned properly, place a small piece of masking tape over the Paper
Out sensor before following the steps below. Remove the tape after
the take-up key is properly positioned before installing paper.
1. If the take-up shaft has plotted markers on it, remove them. See
Removing Markers from the Take-up Shaft later in this chapter.
2. Turn the printer on (the switch is on the back of the left cover.)
3. Use the keypad Unroll key to rotate the take-up key until it is
oriented perpendicular to the support block opening as shown
in Figure 19.
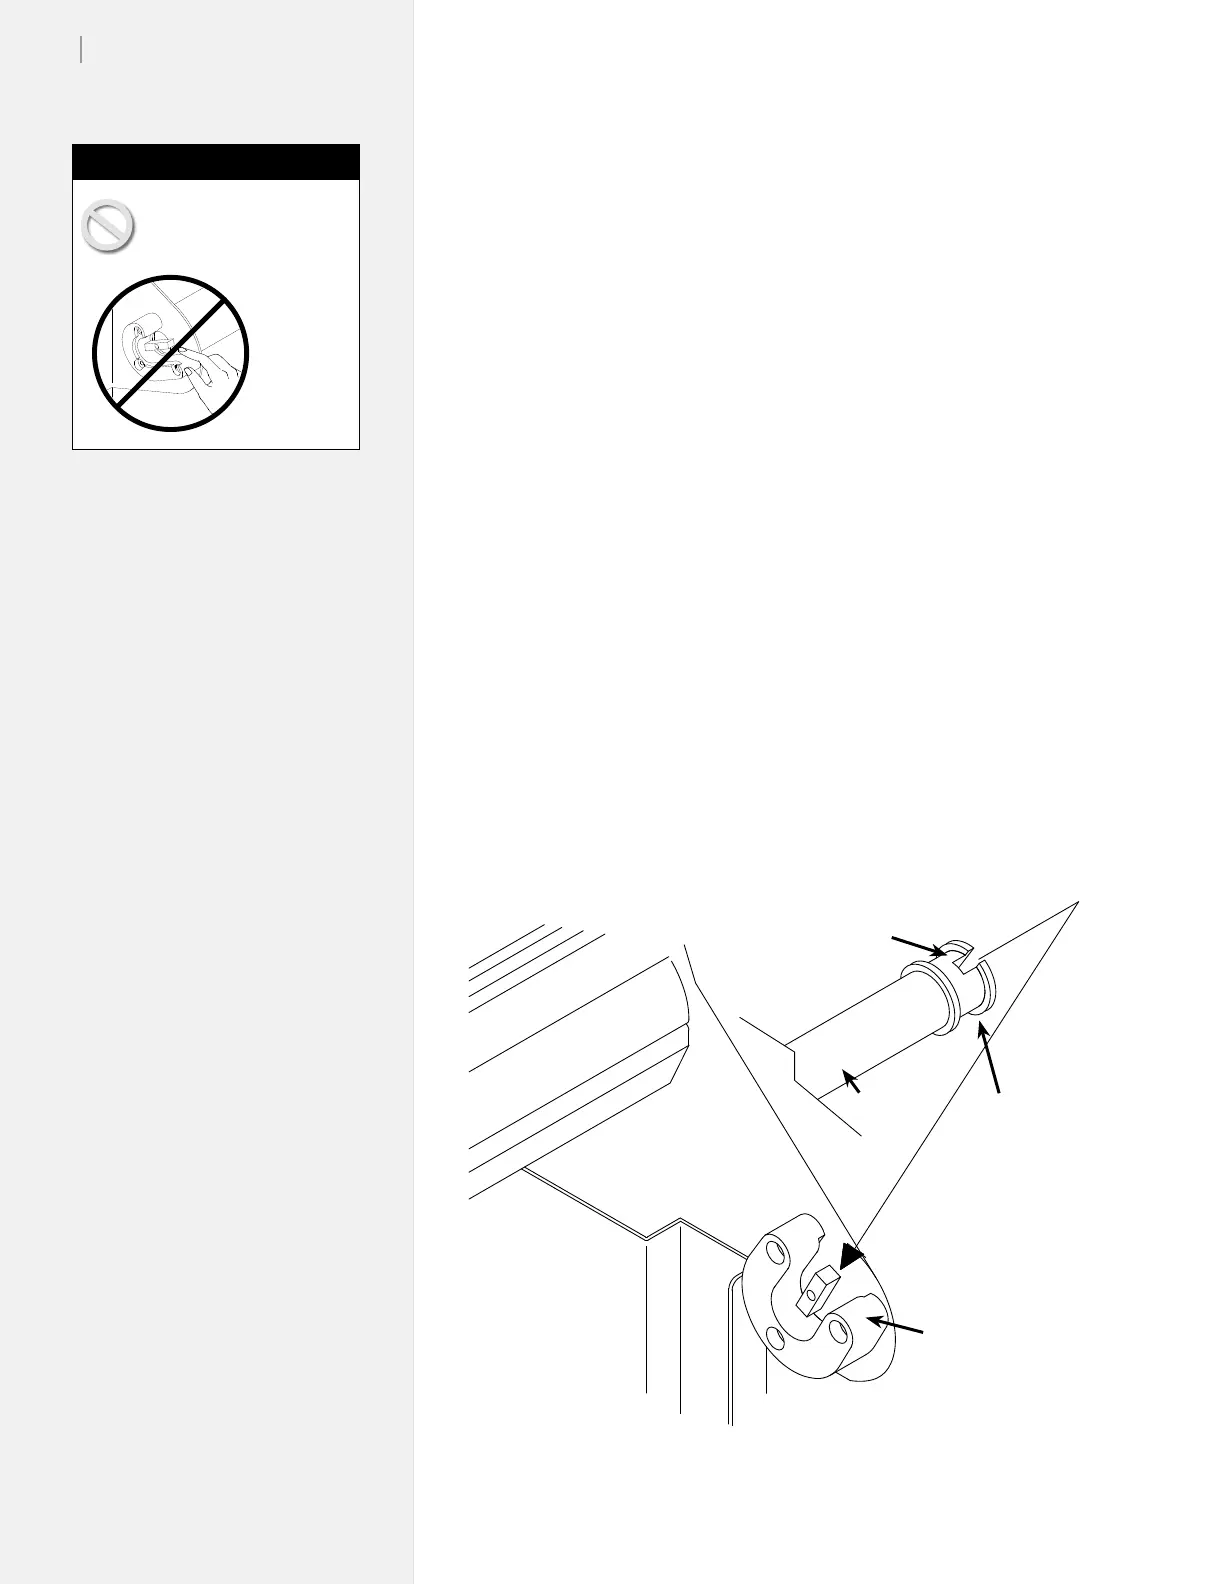
4. Put the take-up shaft into the front support blocks with the
anged coupling at the right (keypad) end. Rotate the shaft
until the slot in the anged coupling is aligned with the take-
up key. When the shaft slot and the key are aligned, push the
Figure 19. Installing the take-up shaft in the support blocks.
Never touch the take-up
key or anged coupling
while they are rotating.
Serious
personal
injury
could re-
sult. Turn
power off
rst.
Caution
Position take-up
key as shown
Rectangular
slot
Flanged
Coupling
Take-up
Shaft
Support Block