43
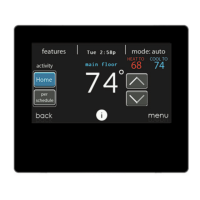
Next, the installer will enter the WEIGH IN screen to verify the current total charge is accurate.
Once the installer has confirmed, touch DONE.
Next, the installer will enter the SERVICE VALVE SUBCOOL screen. This screen will show
the current liquid line subcool target (in °F). To begin the charging, touch START. If the
outdoor temperatures are not in the required range, Service Valve Subcool may not be available.
For HTG CHECK CHARGE, the option Service Valve Subcool is unavailable.
Next, the installer will enter the SERVICE VALVE INFORMATION screen. The current
liquid line subcool target, stabilization time, mode and speed in rpm, EXV position in percent,
indoor airflow in CFM, outdoor coil temperature in °F, indoor temperature in °F, outdoor
temperature in °F, compressor discharge pressure in psig, and accumulator suction pressure in
psig are displayed on this screen. Once the stabilization time has expired, touch DONE.
A14286A_2
A14664a
6.6.2. Pump Down
Because this system has an inverter controlled compressor, suction pressure transducer and
EXV, conventional procedure cannot be used to “pump down” and isolate the refrigerant into
the outdoor unit. The control has provisions to assist in performing this function.
• Select mode to pump down in (COOL or HEAT). COOL mode allows refrigerant to be
isolated in outdoor unit. HEAT mode allows the refrigerant to be isolated in indoor coil and
lineset. Set desired time period. Default time period for procedure is 120 minutes.
• Touch START to begin the pump down process. Unit will begin running in selected mode
after a brief delay.
 Loading...