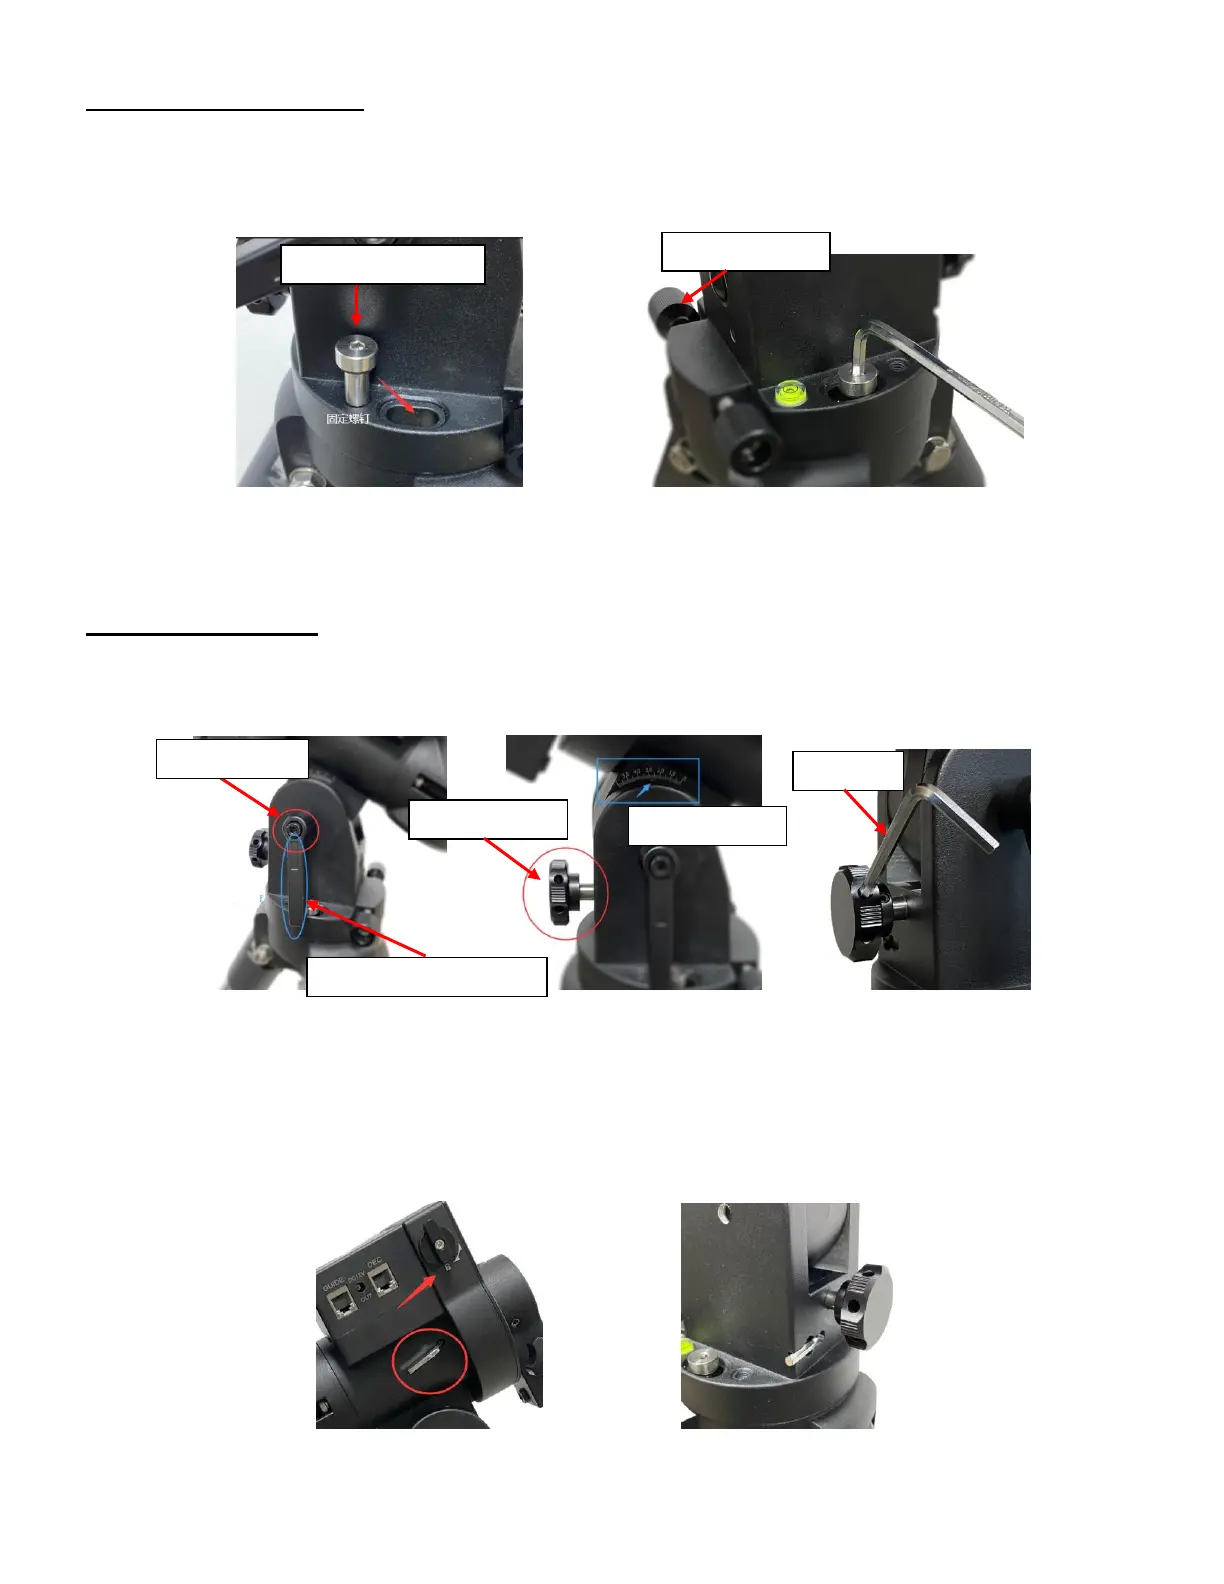
Step 3. Attach mount head
Before put the mount onto the tripod, make sure the RA gear switch is at lock position to
prevent mount head free swing by accident! Retract the 2x Azimuth (Azi) Adjustment Screws from both
sides to leave ample space for the alignment peg to be fitted in between the 2x Azi Adjustment Screws.
Remove the 2x Azi Locking Screws from the mount base and insert them into the opening next. Secure the
mount head by tightening the Azi Locking Screws into the M6 holes on the tripod.
Figure 9. Attach the mount
Level the mount by adjusting the tripod legs. Use the build-in Bubble Level Indicator or an external
leveler for this purpose.
Step 4. Adjust latitude
Pull the Allen wrench out from the RA axle. Rotate the mount head 180º around the R.A. axis to
move the dovetail face upside. There are four RA axle locking positions for the GEM28 mount: Zero
Position, East and West position, and storage position.
Figure 10. Rotating GEM28 mount head upward
Loosen the Latitude Locking Lever. Turn Latitude Adj. Knob to adjust the latitude until the arrow
points to the current latitude on the Latitude Scale. You may use the Allen wrench for easy adjustment.
Tighten the Latitude Locking Lever.