Figure 11. Adjust latitude
You may lift the Latitude Locking Lever handle by push the Push Button on this ratchet lever to
disengage gear teeth and rotate freely for quick adjustment.
There are four RA axle locking positions for the GEM28 mount: Zero Position, East and West
position, and storage position.
Figure 12. Allen wrench to lock the RA axle and storage
The Allen wrench can be stored on the bottom of the mount, as show in Figure 12.
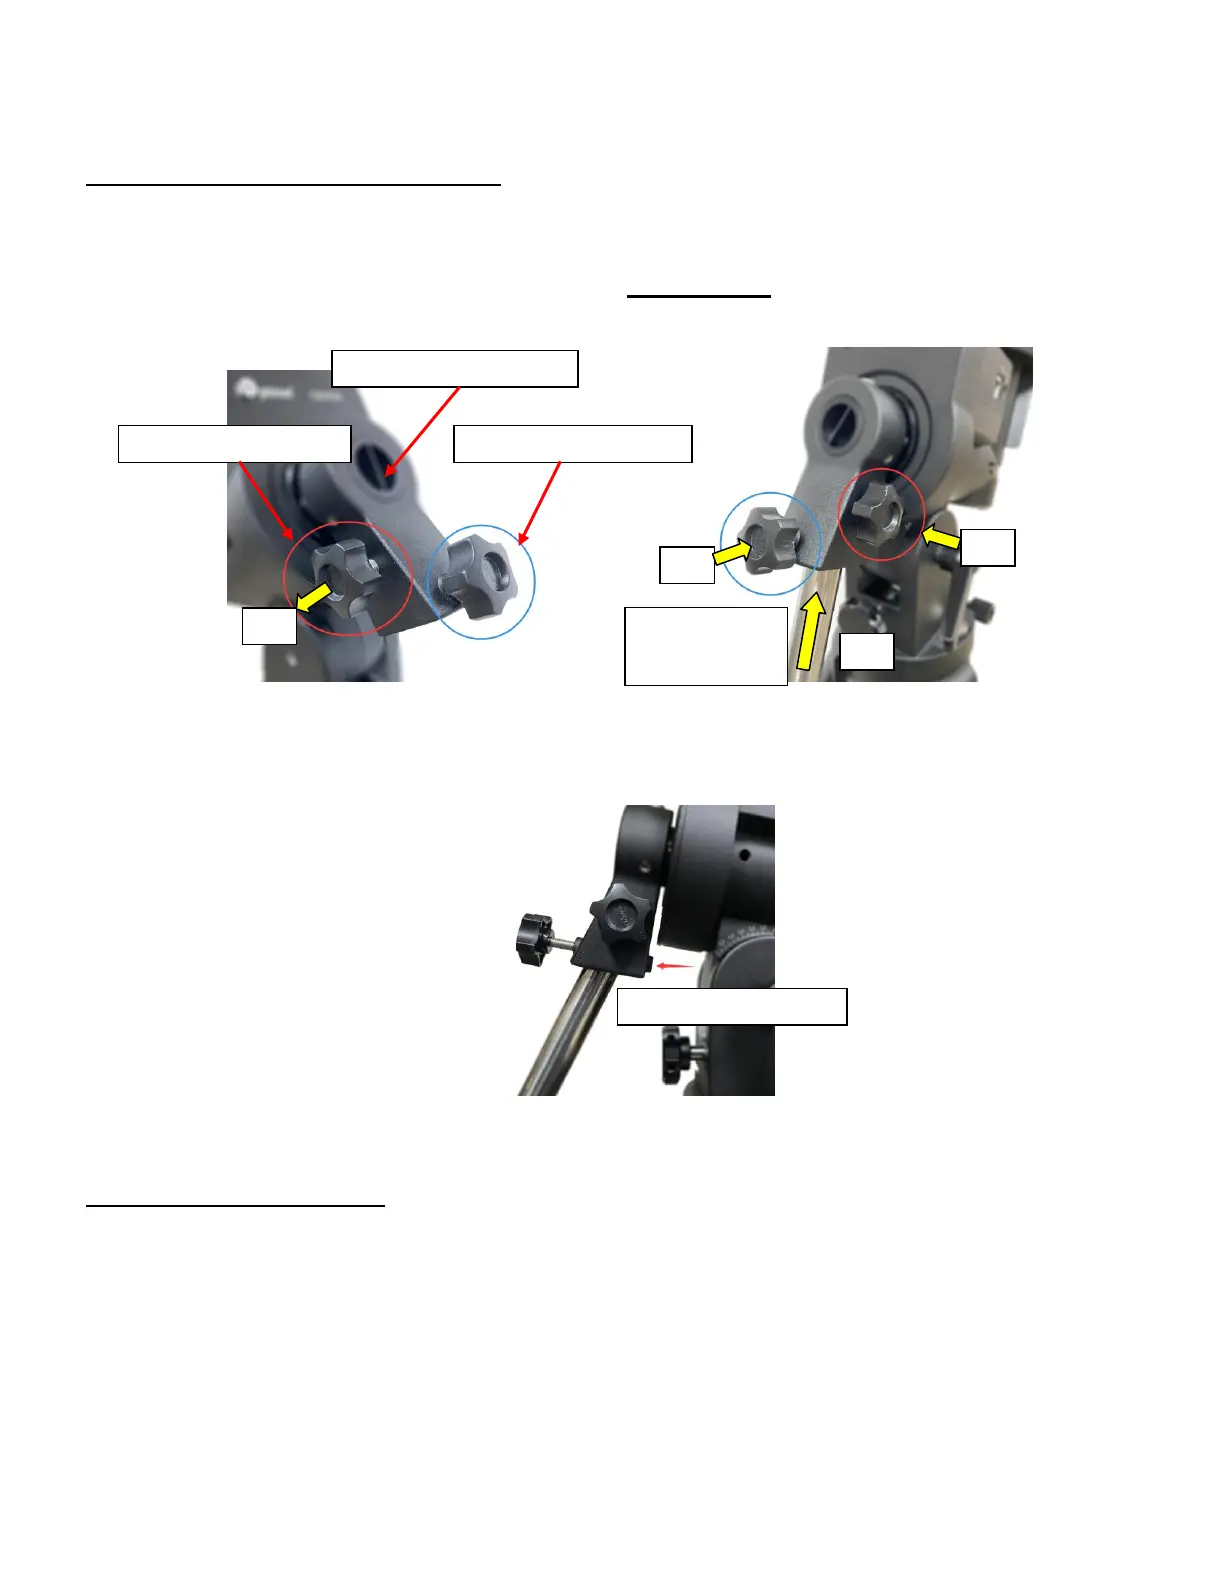
Step 5. Install counterweight (CW) shaft
Unscrew the CW shaft from the top of the mount as shown in Error! Reference source not
found.(a) and thread it into the opening of the DEC axis as shown in Error! Reference source not
found.(b).
Figure 13. Install counterweight shaft