To mount a telescope on to the mount, release the dovetail Saddle Locking Knob and slide the
telescope dovetail plate into the saddle. Tighten the Saddle Locking Knob.
There are two threaded holes on the side of the dovetail saddle for mounting an iOptron mini
autoguiding system, iGuider.
Figure 16. iGuider mini-autoguiding system
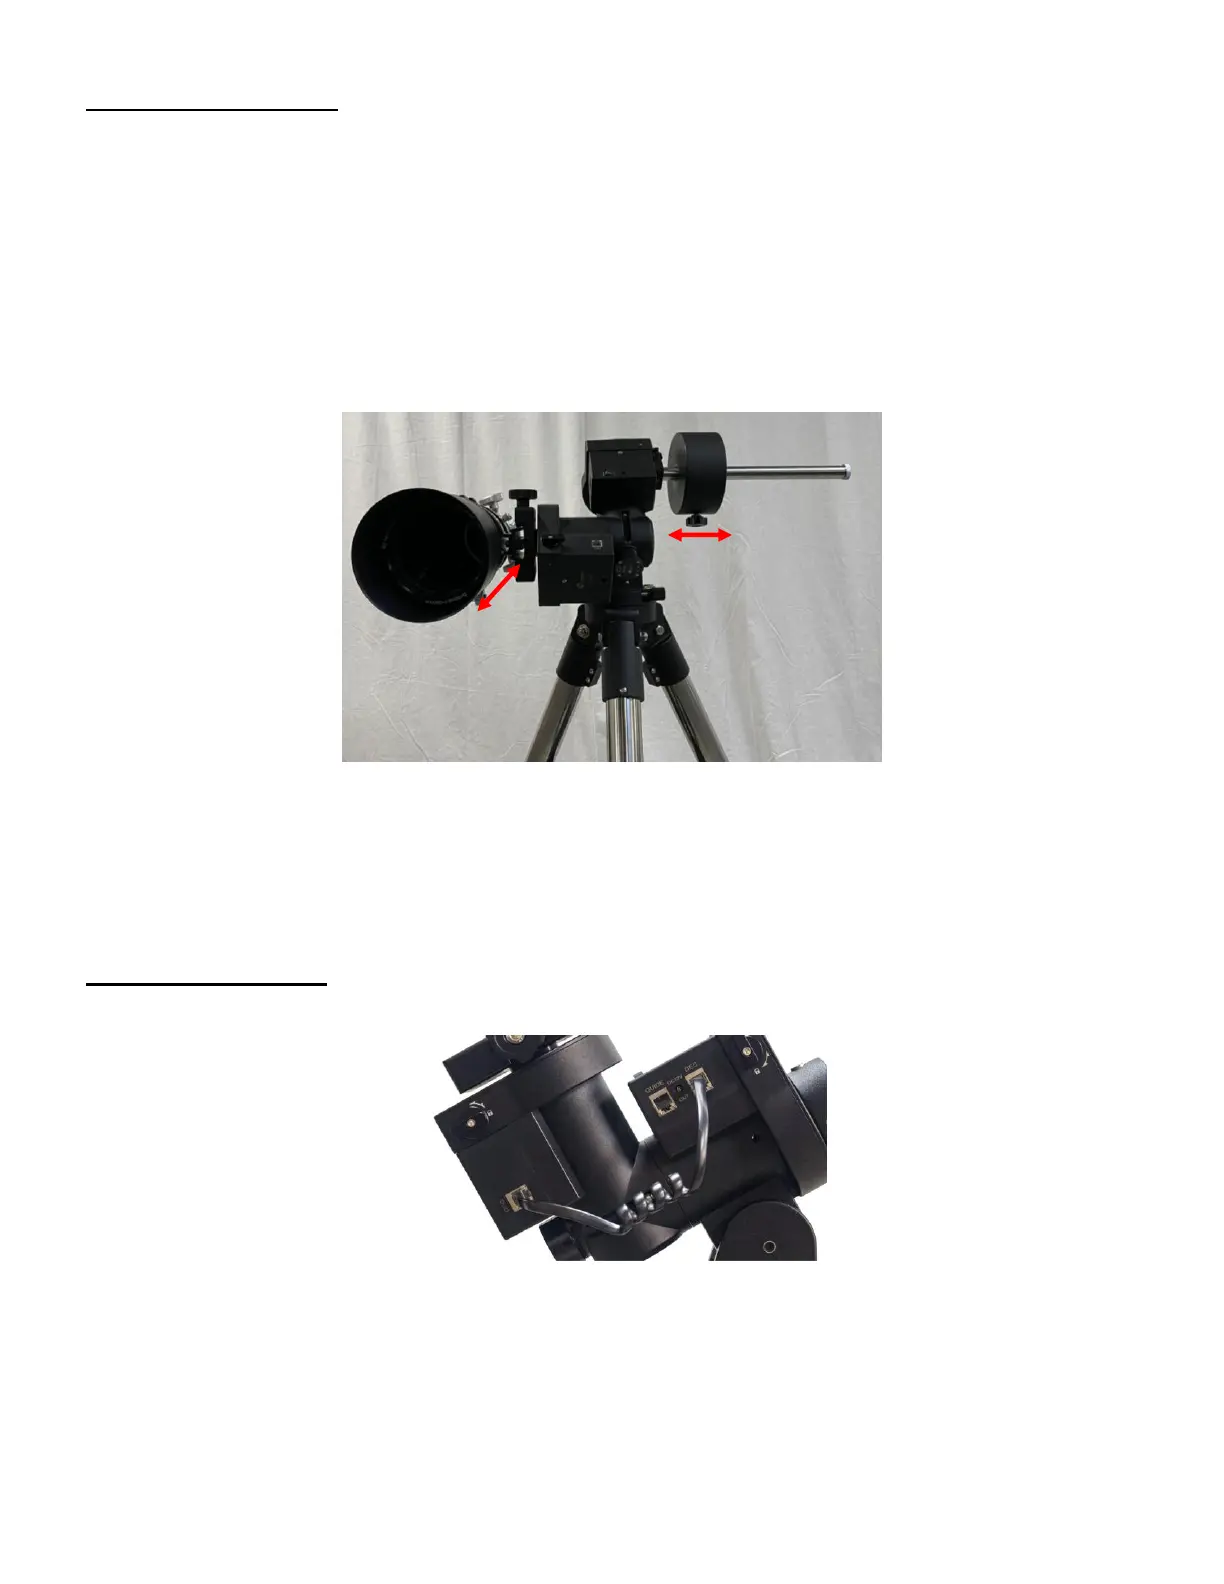
Step 8. Balance payload
After attaching the scope and accessories, the mount head assembly must be balanced in both DEC
and RA axes to ensure minimum stresses on the mount driving mechanism.
CAUTION: The telescope may swing freely when the R.A. or DEC Gear Switch is disengaged.
Always hold on to the mount and/or telescope assembly before releasing the Gear Switches to
prevent it from sudden swinging, which can cause personal injuries and/or equipment damages.
Set the mount at Zero Position. Disengage both RA and DEC gear switches and move the mount to
horizontal position to check balance. Return to Zero Position for balance adjustment. Balance the DEC axis
by moving the scope with accessories back and forth in the mount saddle or within the scope mounting
rings. Balance the assembly in R.A. axis by moving CW along its shaft. Repeat the process until both DEC
and RA axes are balanced.
Figure 17. Balance a telescope
CAUTION: The balancing process MUST be done with Gear Switch at the total disengaged position!
Otherwise it might damage the worm system.
Return the mount to Zero Position after balancing and engage gear switches.
Step 9. Connect cables
Use the short RJ11 cable to connect the DEC control unit to the DEC port of the RA control unit.