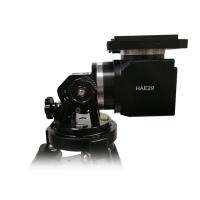
Step 2. Attach mount head
Remove the mount from the package. Retract the 2x Azimuth (Azi) Adjustment Screws from both
sides to leave ample space for the alignment peg to be fitted in between the 2x Azi Adj. Screws. Remove
the 2x Azi Locking Screws from the mount base and insert them into the opening next. Secure the mount
head by tightening the Azi Locking Screws into the M6 holes on the tripod. An Allen wrench is stored in the
EQ base if needed.
Figure 11. Attach the mount
Level the mount by adjusting the tripod legs. Use the build-in Bubble Level Indicator or an external
leveler for this purpose.
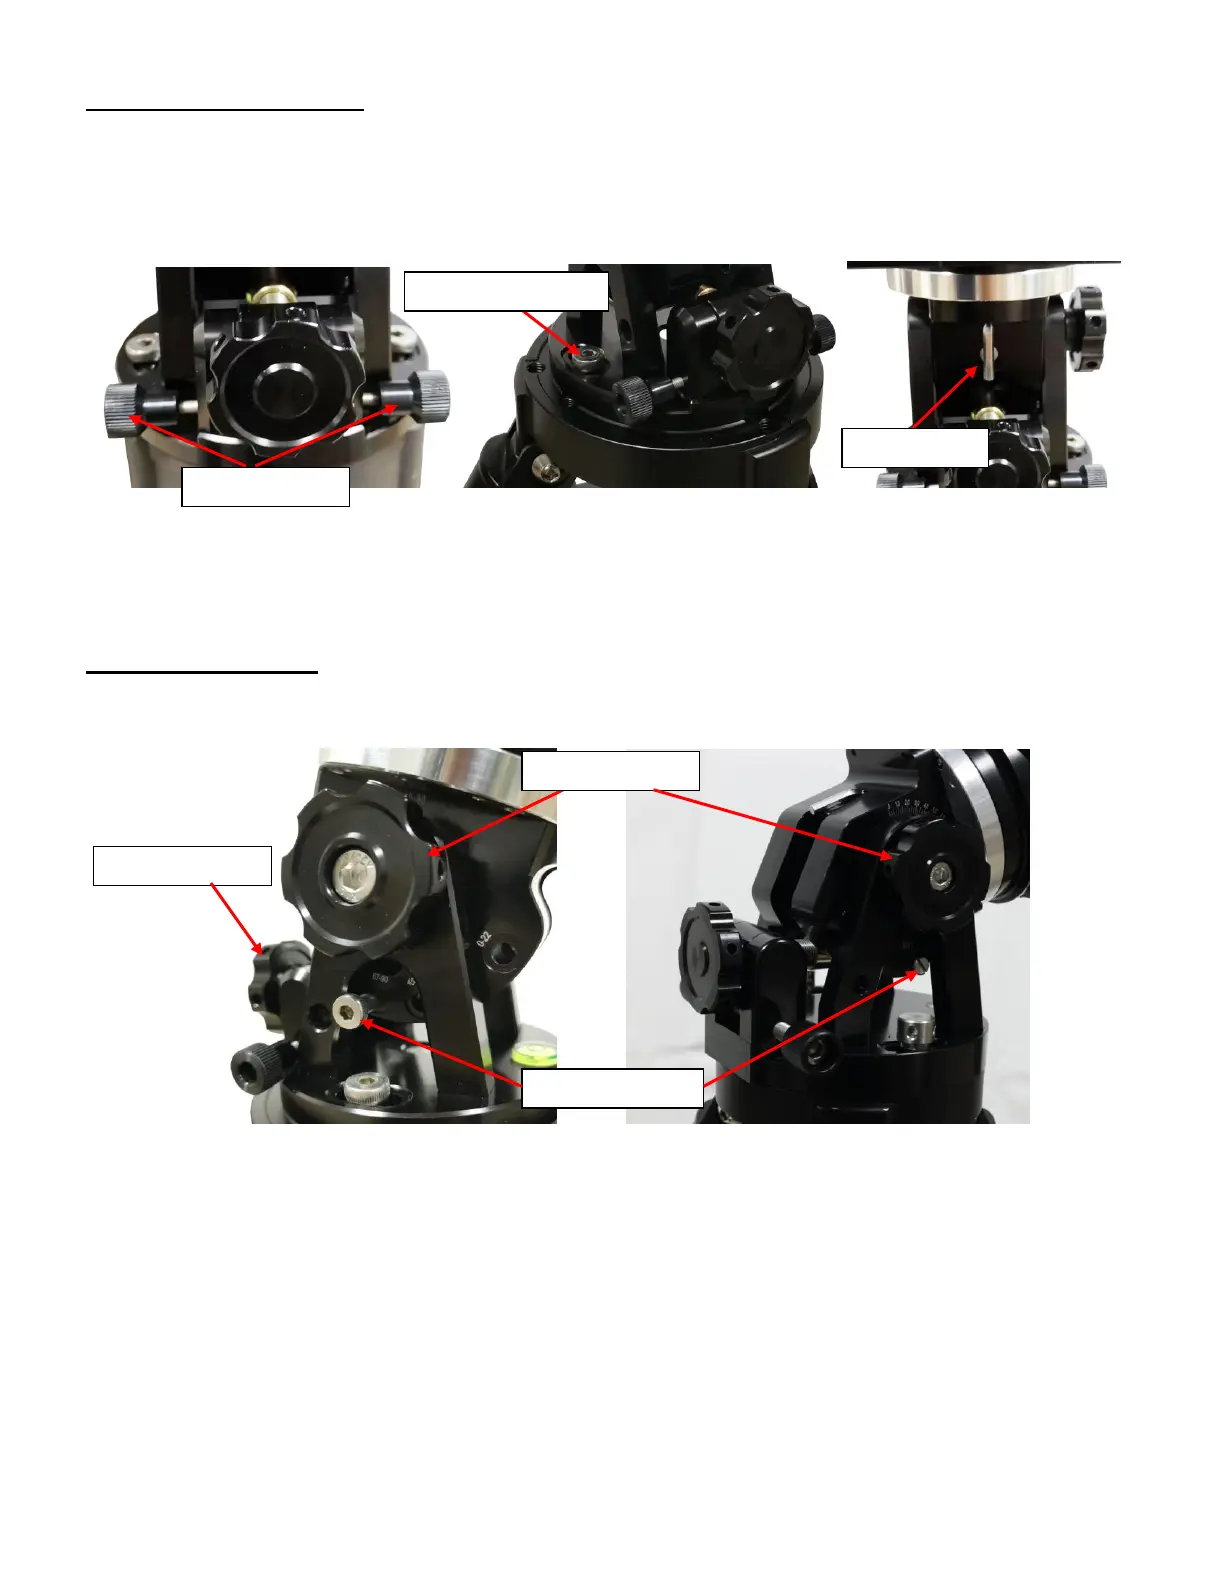
Step 3. Adjust latitude
For an HAE29 mount, there are four latitude ranges: 0°~22°, 22°~45°, 45°~67° and 67°~90°. For an
HAE43 mount, there are three latitude ranges: 0°~31°, 29°~60° and 59°~90°.
Figure 12. HAE latitude range settings for HAE29 (left) and HAE43 (right)
Without any payload, remove the Latitude Range Bolt. Loosen the Latitude Locking Knob. Use the
Latitude Adjustment Knob to move the mount to a proper Latitude Range and thread in the Latitude Range
Bolt. Fine adjust the latitude to corrected latitude. Here the mount is set at 40°.