ENGLISH
18
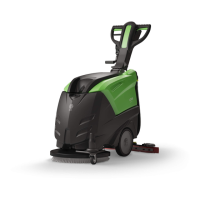
8.2.2. Rear bin: replacing
• Remove the back wheels
• Remove the rear bin
• Unscrew the two pins fixing the flap (fig. F, ref. 3).
• Grip the flap and pull (fig. F, ref. 4)
• Replace the flap, insert the two pins in the relative holes
• Screw up the fixing pins and assemble the machine.
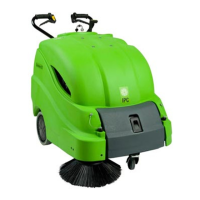
8.2.3. Centre brush: replacing
• Remove the front bin (fig. A / B, ref. 2)
• Unscrew the screws fixing the brush to the shaft.
• Remove the brush
• Replace the brush making sure the orientation of the bristles is correct.
8.2.4. Side brush: replacing
• Lift the front of the machine
• Unscrew the screw (fig. D, ref. 1), remove the worn brush
• Install the new brush and fix it with the screw (fig. D, ref. 1).
• Unscrew the two screws (fig. E, ref. 1), adjust the height of the brush and tighten
the screws.
IMPORTANT
Never use a fuse with a higher amperage than specified.
If a fuse continues to blow, the fault in the wiring, boards (if present) or motors must be
identified and repaired. Have the machine checked by qualified personnel.
8.2.5. Fuses: replacing
• Turn the key switch (fig. C, ref. 1) to the "0" position.
• Rotate the cowling to access the machine compartment
• Remove the fuse holder cover
• Check the fuses.
• Replace with a new fuse.
• Close the cover again
Fuse table: For the complete fuse table, see the spare parts catalogue.
8.2.6. Side brush belt: replacing
• Rotate the top cowling.
• Remove the pulley (fig. G, ref. 2) belt (fig. G, ref. 1)
• Unscrew the fixing pin (fig. G, ref. 3) and side arm hooks (fig. G, ref. 4) from the
idle toothed ring.
 Loading...