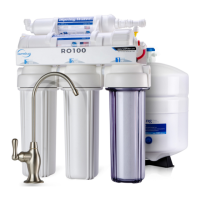
iSpring Water Systems Page 14
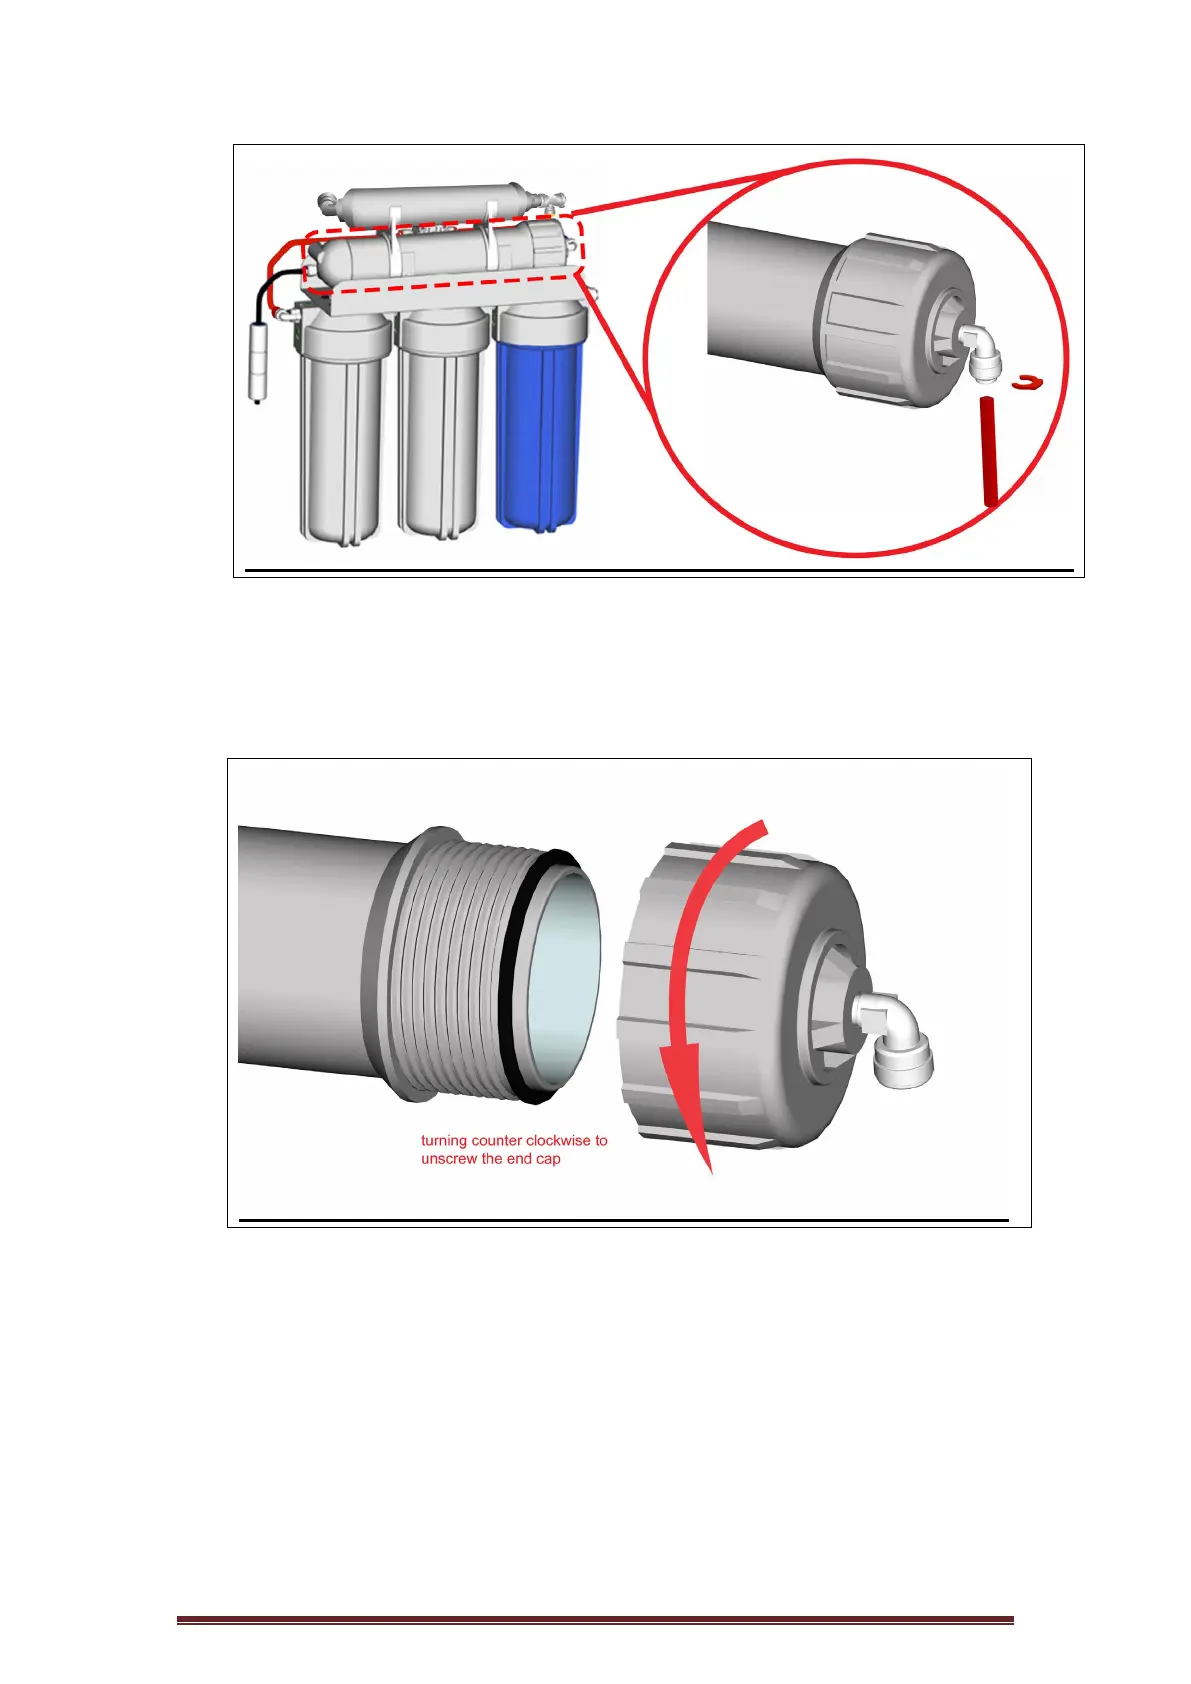
2.) Remove the membrane housing from the plastic mounting clip.
Remove the membrane housing’s end cap by turning
counterclockwise as shown in the diagram below.
3.) Insert the RO membrane cartridge into the housing as shown in the
diagram below. The O-rings on the product water tube of the RO
membrane cartridge MUST FULLY SEATED in the membrane
housing for proper operation. Also, make sure that the Brine Seal on
the membrane seals with no gaps or wrinkles inside the membrane
housing. Once the RO membrane cartridge is installed, replace the
end cap and reconnect the tubing.
 Loading...