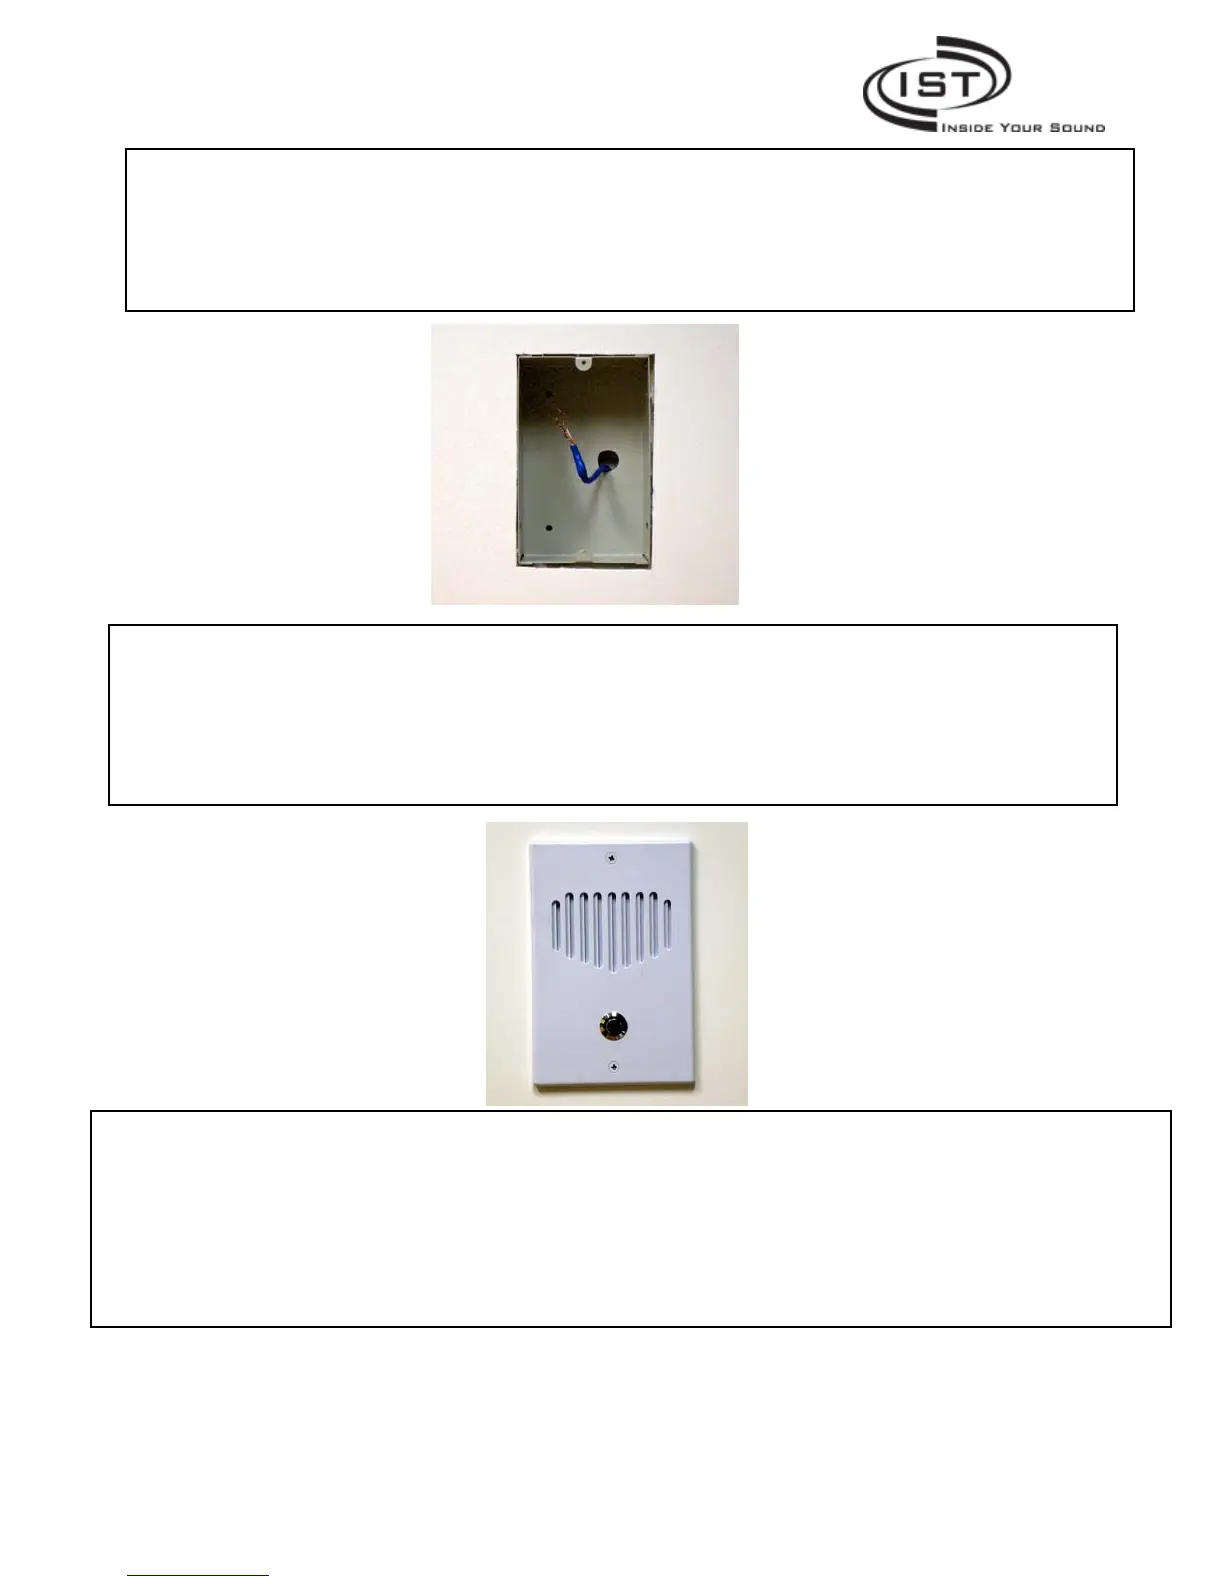
Removing the Old Door Station
Remove the screws holding the old door station
Carefully pull out the old door station
Disconnect the wires from the old door station and set it aside
Leave the existing door station mounting box installed
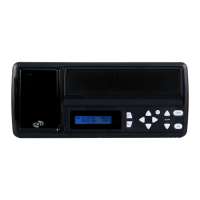
Installing the New Door Station
When installing the new Intrasonic Technology Retrofit master station, you selected 3 wire
colors from the existing wires. Please select those same 3 colors and attached them to the
same terminals (+15V, GND, LINK) on the back of the door station. Remember it is
important to use the same color wire for each of the 3 terminals on both ends of the wire.
Now attached the door station to the existing mounting box using the screws provided.
As mentioned earlier, these steps are generic only. There are too many possible variations to be able to be
specific with installation details. Because of this, from time to time there may be additional cutting, drilling
or possible sheetrock work that may be required to install any retrofit system.
Every effort has been made to make the adapter plates as universal as possible. But if you find that the
provided adapter plate does not have the correct holes for a specific retrofit application, you can simply drill
additional holes in the adapter plate to match the application.
Intrasonic Technology, Inc. l 610 presidential Dr. Suite 104 l Richardson, Texas 75081 877-435-0670
Page 15 of 18
 Loading...