Wiring in the Master Station
Determine how many room, patio and door stations you will be installing. Remove the
appropriate number of green connectors from the rear of the master printed circuit board
Strip the existing wires ¼ inch for all the stations.
For each station there are connections marked “+15V”, “GND” & “LINK”. Select a wiring
pattern or color code system to use throughout the entire system. In other words, let’s say
you have selected red, black and white wires. Now setup a color code that you wire all red
wires to the +15V, all black wires to the GND and all the white wires to the LINK. The one
important thing to remember the same wire color scheme must be used on the end of the
wires in the master housing and on the other end at the individual room, patio and door
stations.
Leave the station wires with the connectors attached hanging in the master housing, while
you proceed to connect the rest of the wires.
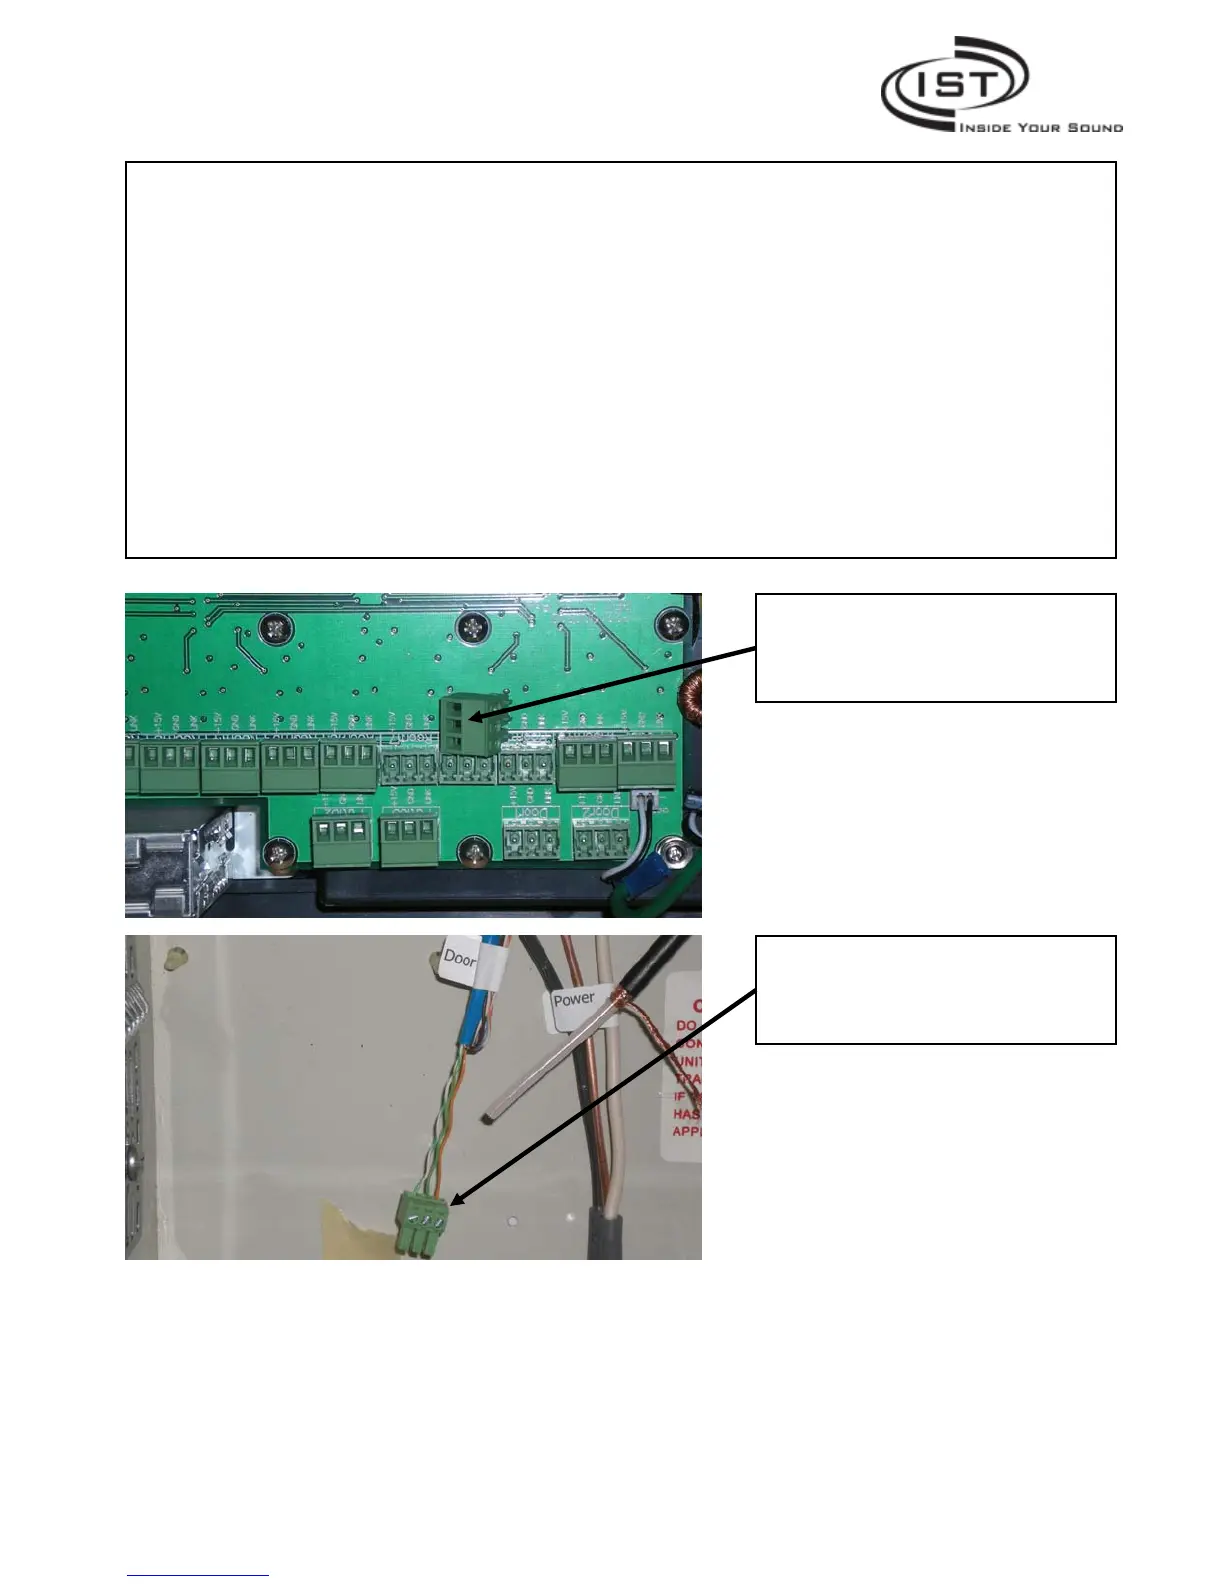
This view shows the removable
connectors on the back of the
master printed circuit board.
This view shows one of the green
connectors attached to the
existing wires.
Intrasonic Technology, Inc. l 610 presidential Dr. Suite 104 l Richardson, Texas 75081 877-435-0670
Page 7 of 18
 Loading...