3. Installation
The iTechworld 40 Amp MPPT Solar Charge Controller should be installed as
close as possible to the battery being charged, this allows for more efficient
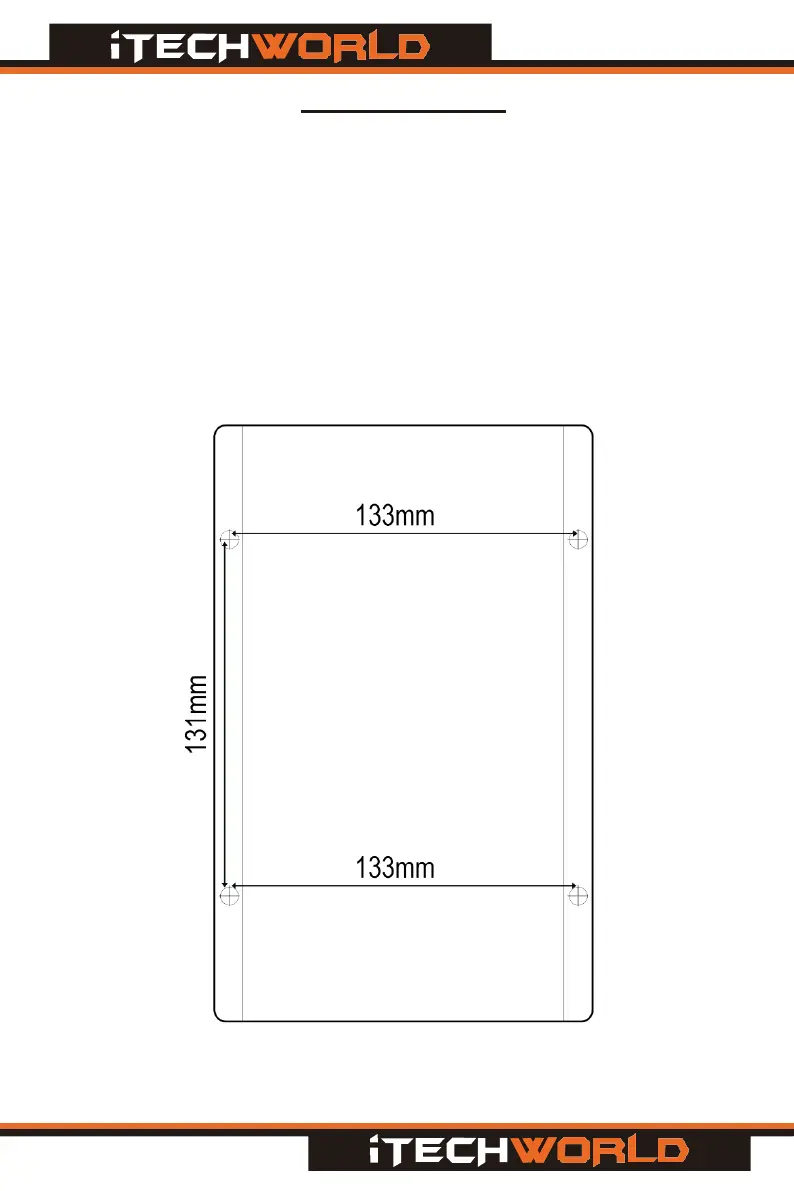
charging of your battery. The solar charge controller is best mounted
vertically with 4 screws (Not included) there are cut outs on the heatsink of
the charger where the screws are hooked on. Below is the screw template,
the maximum screw head diameter is 5mm.
The solar charge controller should be installed in a dry location, please ensure
no liquids (such as water) can enter the solar charge controller. For proper air
flow to cool the solar controller, please allow at least 15cm of space above and
below the controller and 5cm at the sides.
Figure 2 Mounting Diagram
- 7 -- 7 -