3. INSTALLATION
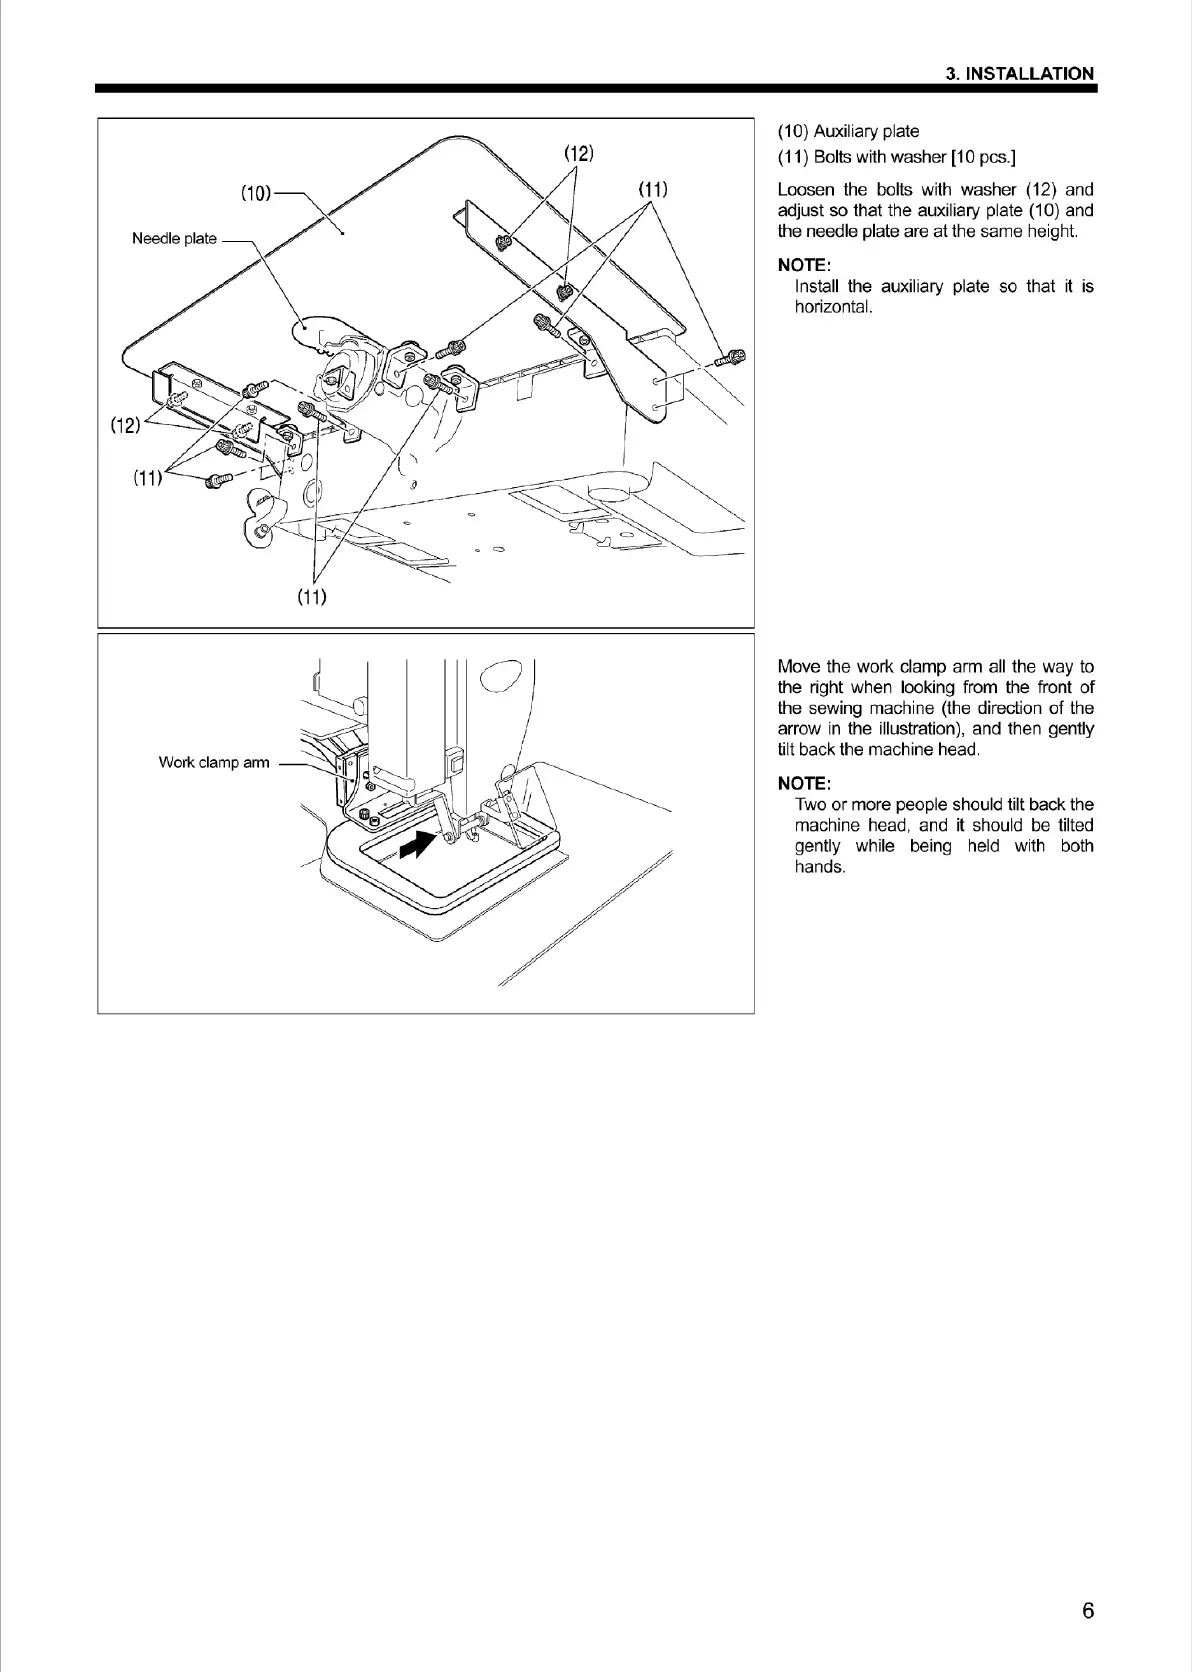
(10) Auxiliary plate
(
11
) Bolts with wash
er
[10 pcs.]
Loosen the bolts with washer (12) and
adjust so that the auxiliary plate (10) and
the needle plate are at the same hei
gh
t.
NOTE:
Insta
ll
the auxiliary plate so that it is
horizontal.
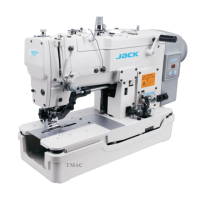
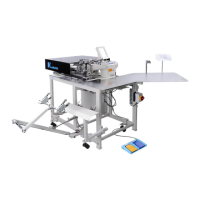
Move the work clamp arm all the way to
the right when looking from the
fron
t of
the sewing machine (the direction
of
the
arrow in the illustration), and then gently
ti
lt back the machine head.
NOTE:
Two or more people should lilt back the
machine head, and it should be tilted
gently while being held with both
hands.
6
From the library of Superior Sewing Machine & Supply LLC - www.supsew.com