5. SEWING
5.
SEWING
AcAur10N
A Turn off the power switch at the following times.
~
If the foot switch is depressed by mistake, the sew
in
g machine might start operating and injury could result.
• When threading the needle
• When replacing the bobbin and
ne
edle
• When not using t
he
machine and when leaving the machine unattended
A Do not touch any
of
the moving parts
or
press any objects against the machine while sewing, as this may result in
~
personal
in
jury
or
damage to the machine.
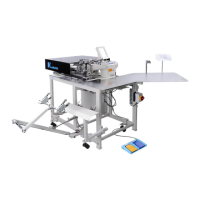
5-1. Sewing
21
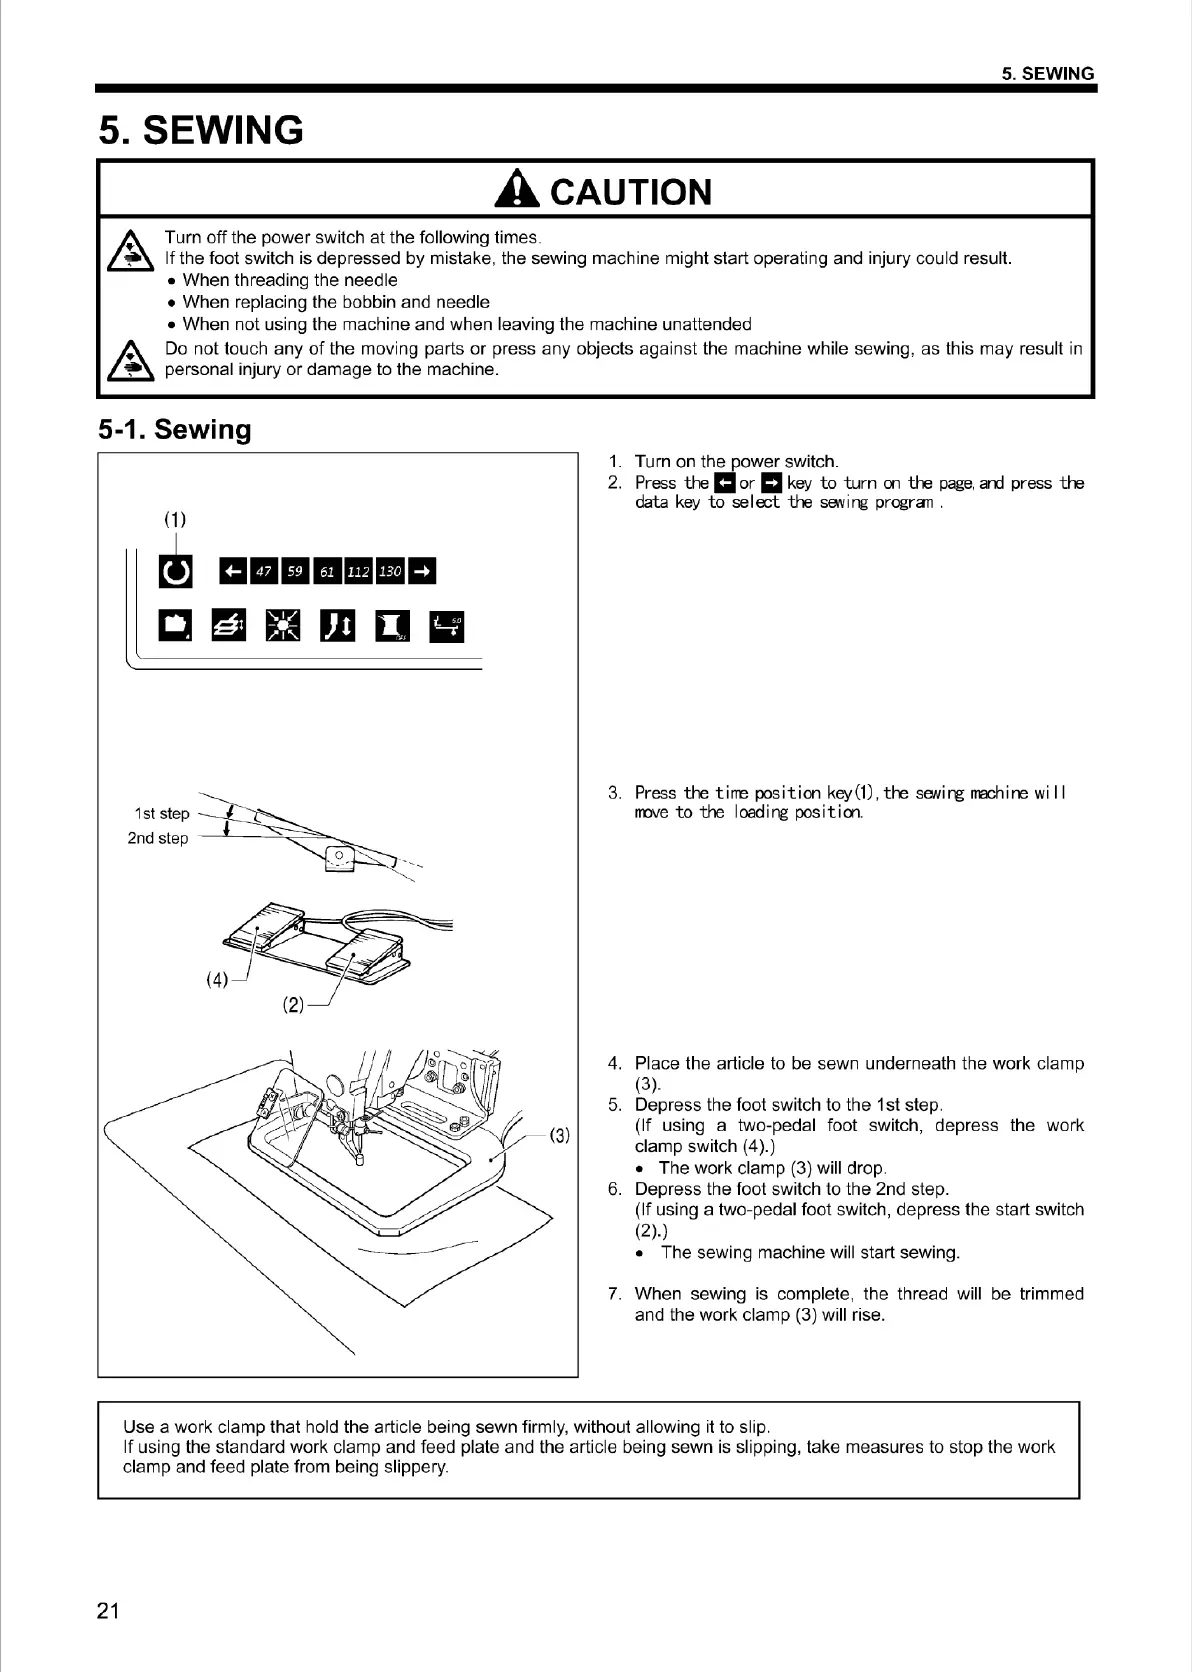
(1)
~
m■
m1111111m
cm
ama
11
1st step
2nd step -
~-
~s::-=
=-.__
1.
Turn on the power switch.
2. Press
the
1:1
or
ml
key
to
turn
on
the
page,
ard
press
the
data
key
to
select
the
saving progran .
3. Press
the
tirre
position
key(1),
the
sewing rrachine
wi
11
rrove
to
the
I
oad
i ng pas
it
ion.
4.
Place the article to be sewn underneath the work clamp
(3).
5.
Depress the foot switch to the 1st step.
(If using a two-pedal foot switch, depress the work
clamp switch (
4
).
)
• T
he
work clamp (3) will drop.
6. Depress the foot switch to the 2nd step.
(If usi
ng
a two-pedal foot switch, depress the start switch
(2).)
• The sew
in
g machi
ne
will start sewing.
7.
When sewing is complete, the thread will be trimmed
and the work clamp (3)
wi
ll rise.
Use a work clamp that hold the article being sewn firmly, without allowing it to slip.
If using the standard work clamp and feed plate and the article be
in
g sewn is slipping, take measures to stop the work
clamp and feed plate from being slippery.
From the library of Superior Sewing Machine & Supply LLC - www.supsew.com