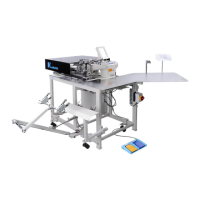
3. INSTALLATION
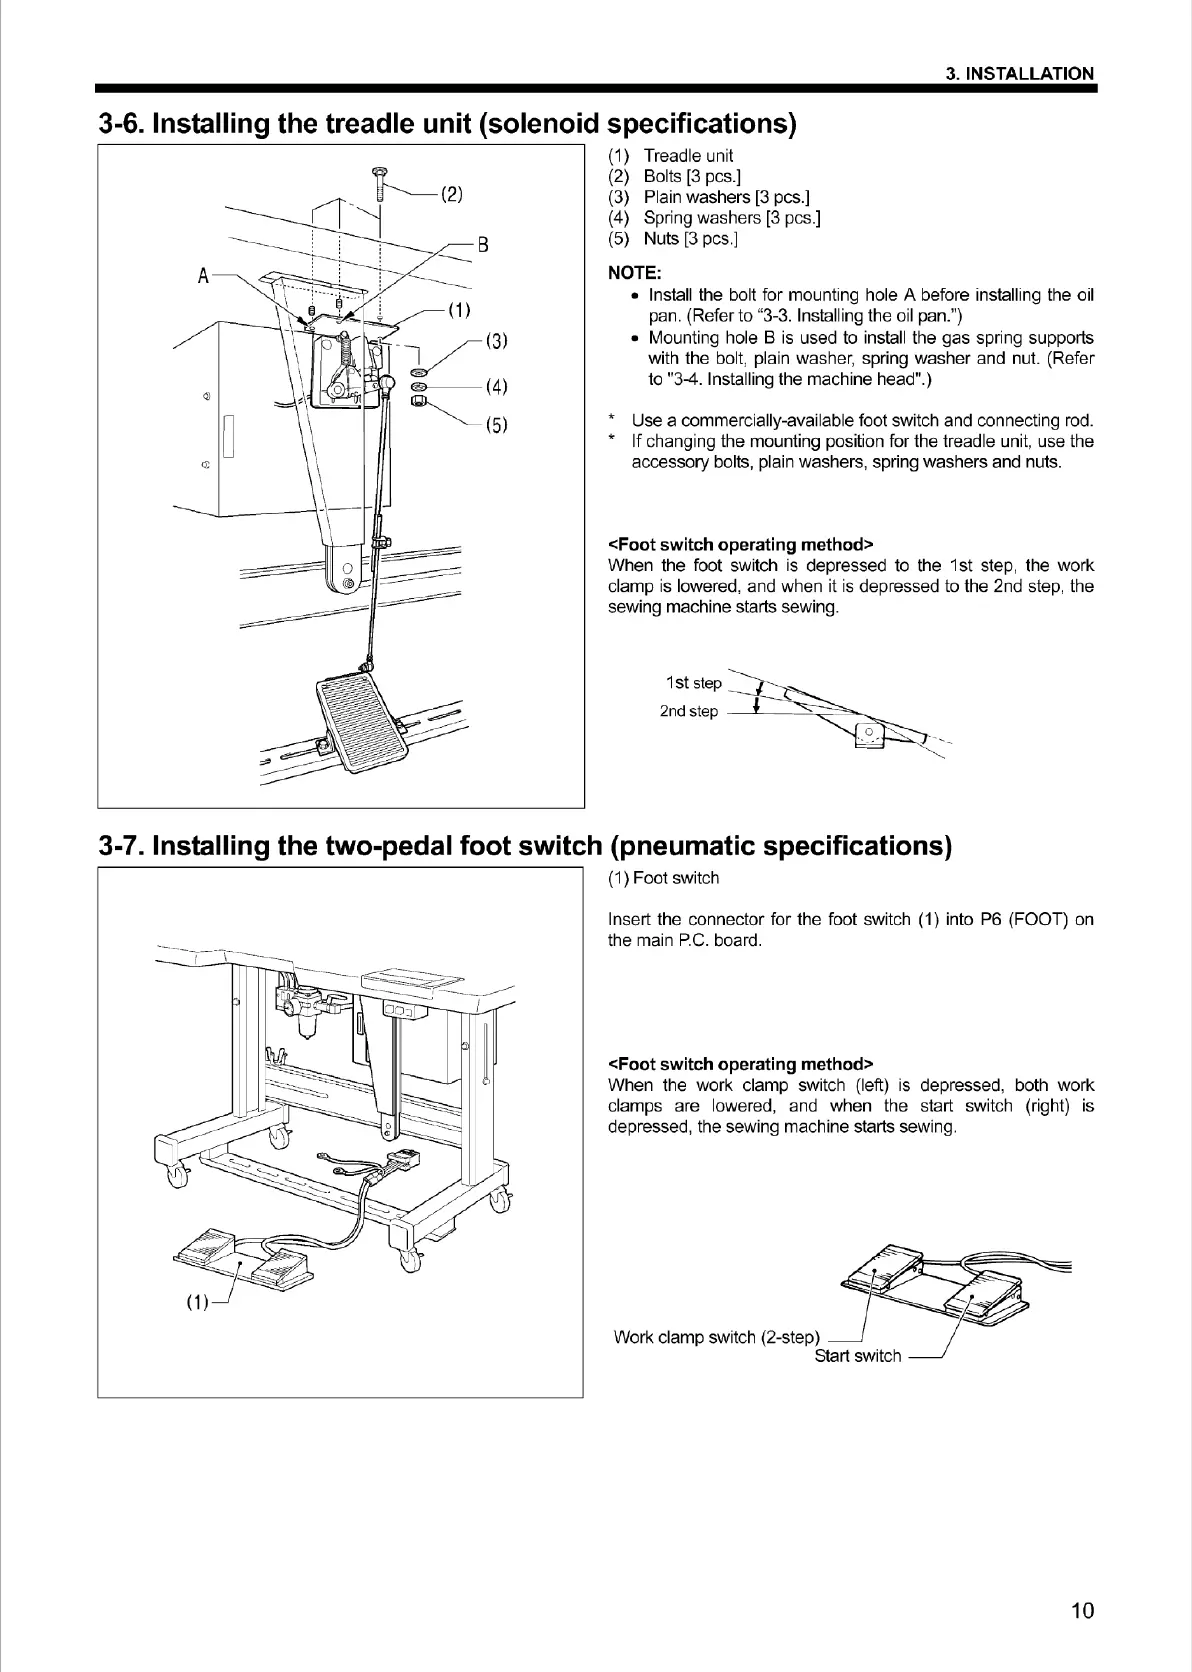
3-6. Installing the treadle unit (solenoid specifications)
(1
) Treadle unit
(2) Bolts
(3
pcs.]
(3) Plain washers [3 pcs.]
(4) Spring washers
(3
pcs.]
(5) Nuts [3 pcs.]
NOTE:
• Install the bolt for mounting hole A before installing the oil
pan. (Refer to "3-3. Installing the oil pan.")
• Mounting hole B is used to install the gas spring supports
with the bolt, plain washer, spring washer and nut. (Refer
to "3-4. Installing the machine head".)
• Use a commercially-available foot switch and connecting rod.
• If changing the mounting position for the treadle unit, use the
accessory bolts, plain washers, spring washers and nuts.
<Foot switch operating method>
When the foot switch is depressed to the 1st step, the work
clamp is lowered, and when it is depressed to the 2nd step, the
sewing machine starts sewing.
1st
step
2nd
step
_
_,__
_
...c,_,,_
:-=
......___
3-7. Installing the two-pedal foot switch (pneumatic specifications)
(1) Foot switch
Insert the connector for the foot
sw
itch (1) into P6 (FOOT) on
the main P.
C.
board.
<Foot switch operating method>
When the work clamp switch (left) is depressed, both work
clamps are lowered, and when the start switch (right) is
depressed, the sewing machine starts sewing.
Work clamp
sw
itch (2-step)
Start switch
10
From the library of Superior Sewing Machine & Supply LLC - www.supsew.com