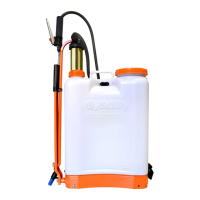
5/53
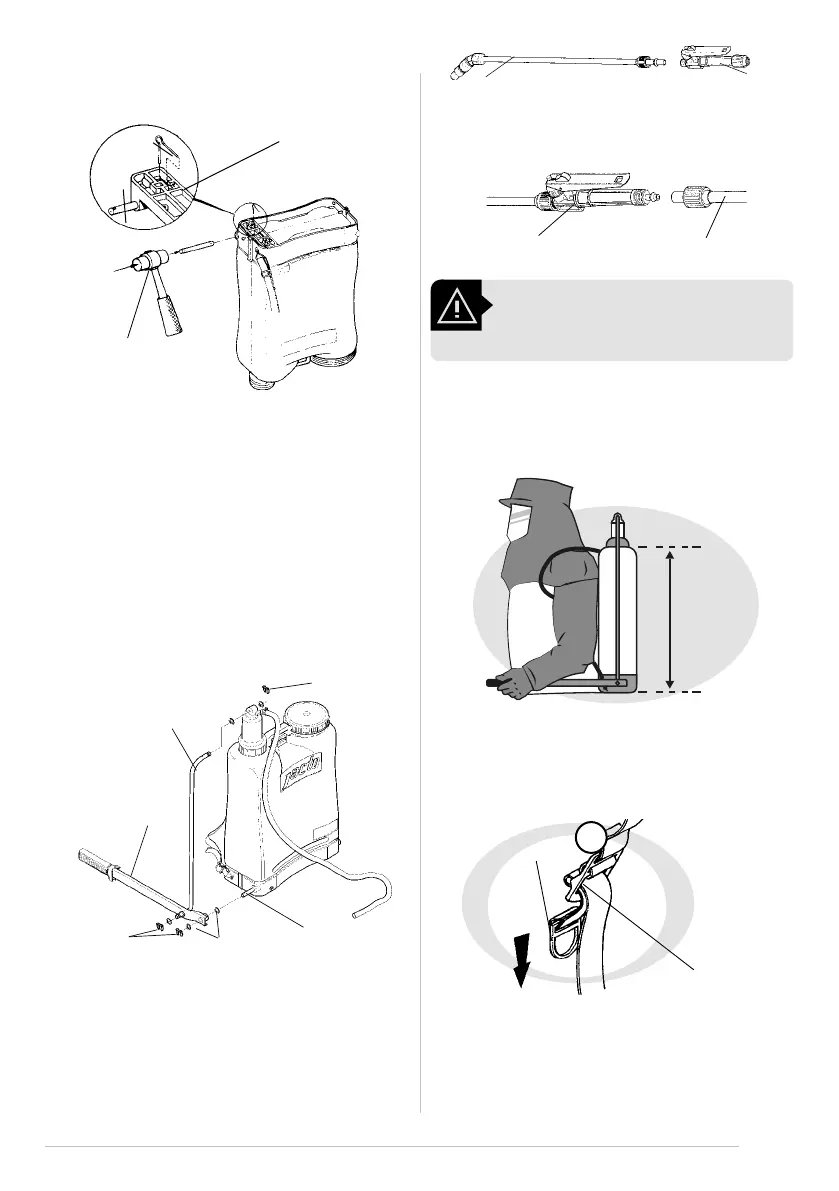
3.3. Installing the lever on the shaft and the
rod on the chamber top
• Grease slighty the lever orice and instal it on the rod. Fit a
at washer before the locked ring.
• Grease slighty the orice on the chamber top.
• Fit a at washer on the shaft and rod.
• For easy assembly, install the lever on the shaft and the rod
on the chamber top at the same time.
• Install the other at washers on the shaft and rod and lock
with the locked ring.
Base
reinforcement
Hammer
1
2
Rod
locked ring
Lever
Shaft
Washers
locked ring
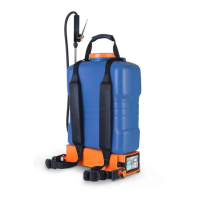
3.4. Attaching the lance to the trigger valve
(starting and stopping)
• Push the lance into the trigger valve and secure it with the
screw cap.
WARNING!
Do not overtighten the screw cap.
Lance
Trigger
valve
Hose
Trigger
valve
Screw cap
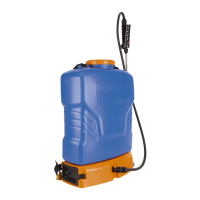
3.5. Adjusting the strap
• The tank is contoured for the operator comfort. The shoulder
straps can be quickly adjusted to properly position the spray-
er on the operator’s back.
Handle
Buckle
A
3.6. Tightening
• Hold the strap buckle rmly with one hand, and pull the han-
dle downward with the other hand.
3.7. Loosening
• Hold the buckle rmly with one hand, and pull the strap up-
ward with the other hand.
ment.
• Lock the shaft with the cotter pin (2).