Page 14
ENGLISH
Jandy
®
JRT Series Heat Pumps
|
Installation and Operation Manual
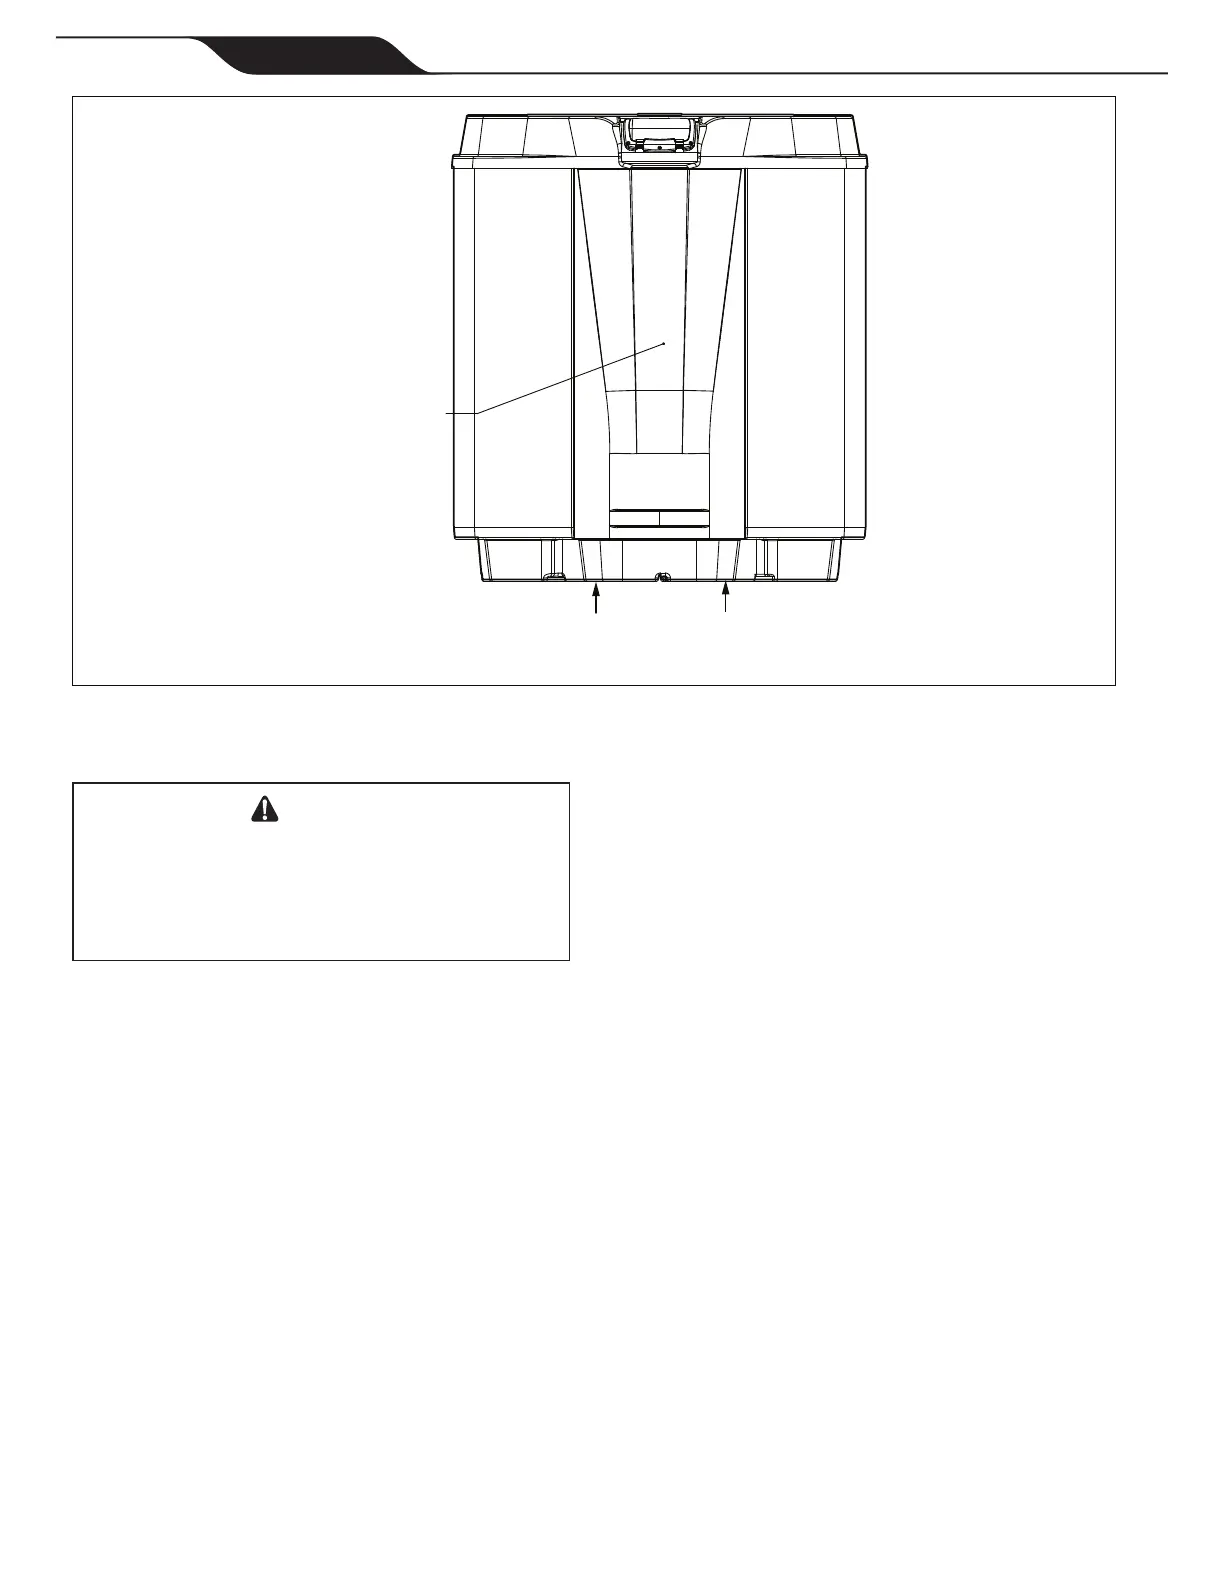
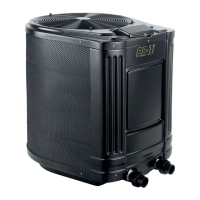
Figure 9. Jandy JRT Heat Pump Front View
SERVICE ACCESS
PANEL (3 SCREWS)
ACCESS FOR
HIGH VOLTAGE WIRES
ACCESS FOR
LOW VOLTAGE WIRES
4.3 Bonding
CAUTION
This heater must be connected to a bonding
grid with a solid copper wire not smaller in
diameter than 8 AWG (In Canada, it shall be no
smaller than 6 AWG.)
The National Electrical Code® (NEC® in the United
States) or the Canadian Electrical Code (CEC in
Canada) requires pool equipment to be bonded to
each other. Check your local codes to determine if the
NEC or CEC and/or other local installation codes are
enforced by the Authority Having Jurisdiction (AHJ
in the United States) or the local competent authorities
in Canada. A solid, copper 8.37 mm2 (8 AWG) wire
is required per the NEC, and 13.3 mm² (6AWG) per
the CEC, for bonding the equipment to a permanent
bonding connection that is acceptable to the local AHJ
or the local competent authorities in Canada.
Refer to your locally enforced codes for the acceptable
bonding wire gauge. Connect to the bonding point
located on the bottom of the heat pump to a common
bonding point. Do not use the heat pump as the
common bonding point. Each piece of non-related pool
equipment requiring a ground should also be bonded to
the common, approved bonding point.
National Electrical Code® (NEC®) requires bonding
of the Pool Water. Where none of the bonded pool
equipment, structures, or parts are in direct connection
with the pool water; the pool water shall be in direct
contact with an approved corrosion-resistant conductive
surface that exposes not less than 5800 mm² (9 in²)
of the surface area to the pool water at all times.
The conductive surface shall be located where it is
not exposed to physical damage or dislodgement
during usual pool activities, and it shall be bonded in
accordance with the bonding requirements of NEC
Article 680. Refer to locally enforced codes for any
additional pool and spa bonding requirements.
4.4 Optional Remote Controls
Electrical wiring must be in accordance with all
applicable national and local codes and ordinances.
Connection to a Remote Pool-Off-Spa Selector
(3-Wire Connection)
Install the Remote Pool-Off-Spa Selector
1. Turn off the power to both the pool/spa control
system and the heat pump unit.
2. Remove the screws that attach the service/access
panel to the heat pump unit and the cover to the
junction box (see Figure 9).
3. Run the wires from the pool/spa control system
into the conduit connection labeled “Low Voltage
Connection”, located on the lower right hand side
of the heat pump (see Figure 9).
4. Connect the wiring from the pool/spa control
system to the heat pump remote control terminal
(see Figure 10a).