M
Michael GutierrezAug 3, 2025
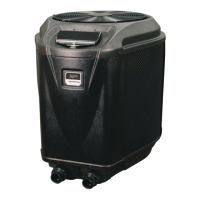
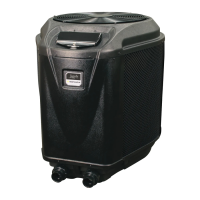
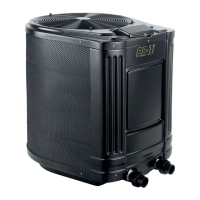
Why does my Jandy JE3000T Heat Pump not run and display 'FAULT- HIGH REF PRESSURE'?
- LLydia MasonAug 3, 2025
If your Jandy Heat Pump displays 'FAULT- HIGH REF PRESSURE', ensure the circulating pump is running and there are no water flow restrictions. If you have a two-speed or variable-speed filter pump, try a higher speed. Also, check that all valves are open and properly positioned for adequate water flow to the heat pump. Make sure the filter and skimmers are clean, and verify the water level in the pool. If the heat pump hasn't been used for a while, cycle it on and off up to three times to clear the condition. If the problem persists, it's time to call for service.