Page 16
ENGLISH
Jandy
®
Pro Series JE Heat Pumps
|
Installation and Operation Manual
1. Turn off the power to both the pool/spa control
system and the heat pump unit.
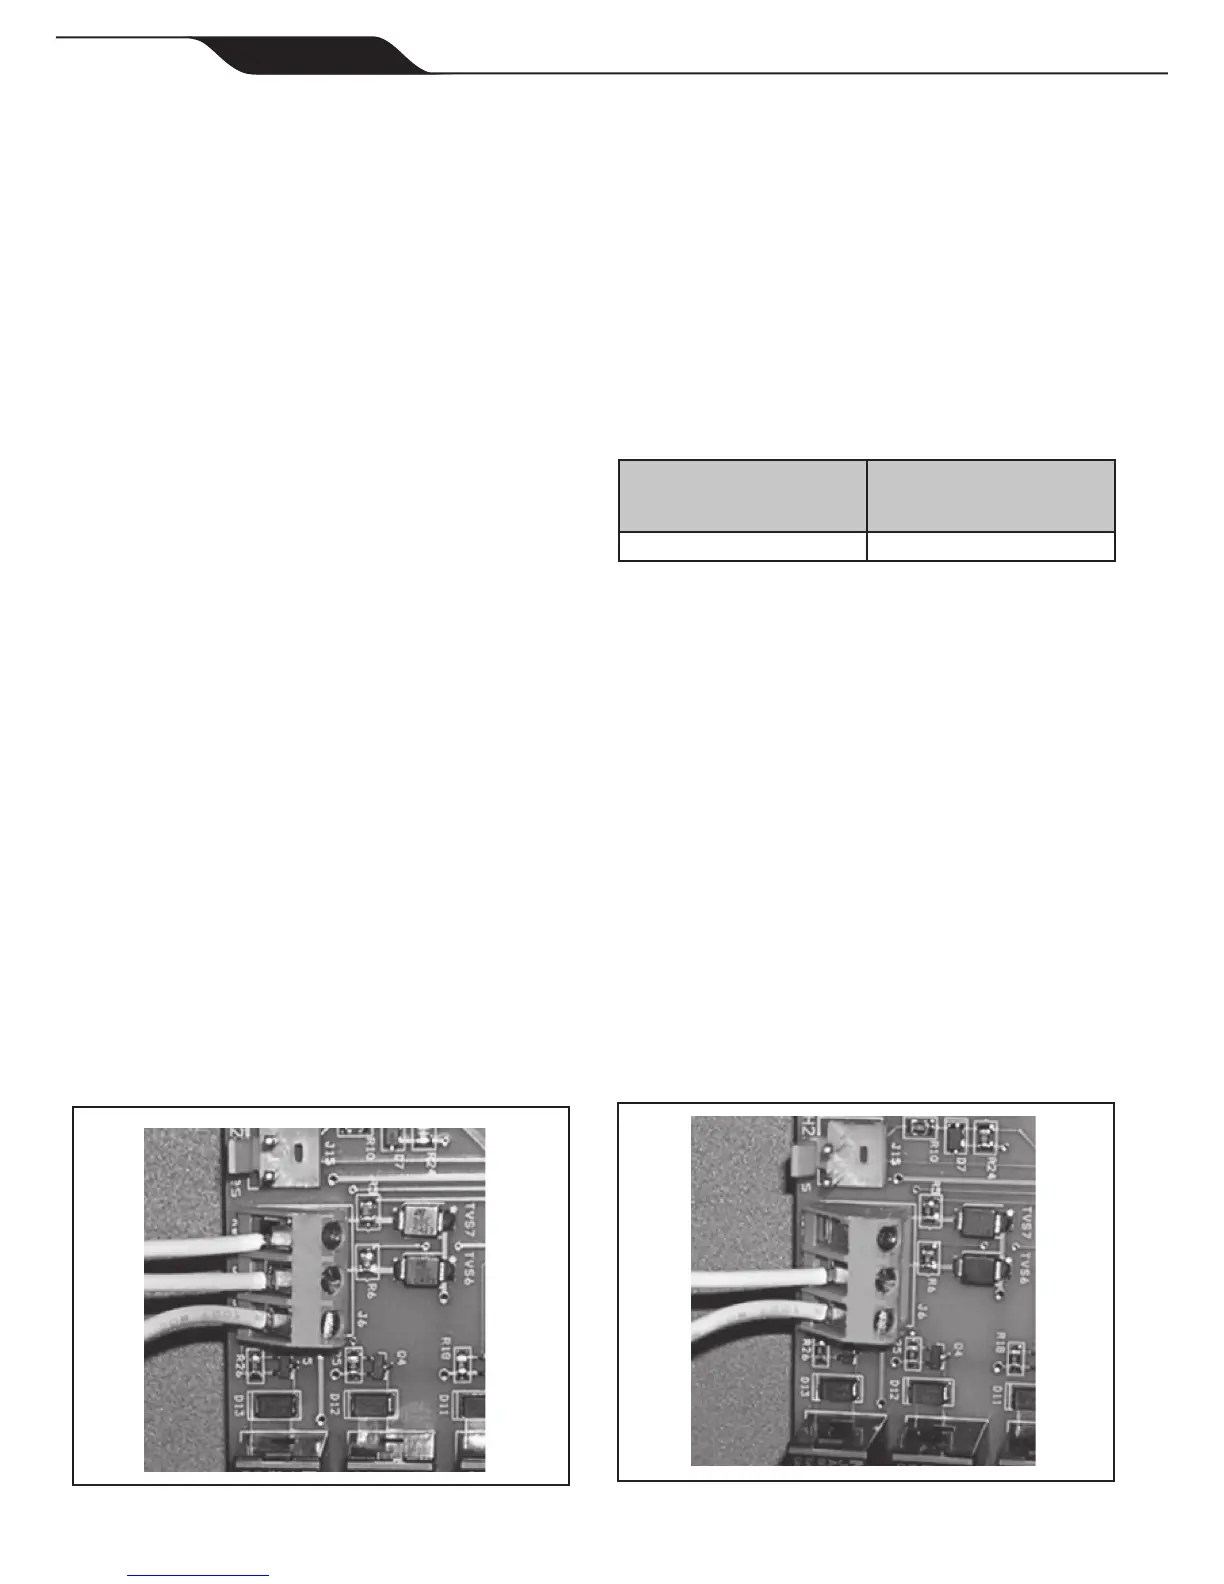
2. Connect two (2) wires to the AquaLink RS green
10-pin terminals 1 and 2.
3. Put DIP S2-1 (pin #1 of the 4 position DIP switch)
into the ON position (see Figure 12).
1. Turn off the power to both the pool/spa control
system and the heat pump unit.
2. Remove the screws that attach the service/access
panel to the heat pump unit and the cover to the
junction box (See Figure 10).
3. Run the wires from the pool/spa control system
into the conduit connection labeled “low voltage
connection”, located on the lower right hand side
of the heat pump (See Figure 10).
4. Connect the wiring from the pool/spa control
system to the heat pump remote control terminal
(See Figure 11b).
5. Restore power to the heat pump and the pool/spa
control system.
1. Make sure the control is in the mode.
2. To enter the Service Setup mode, press and hold
the , , and buttons for 5
seconds.
The display will revert back to after one
minute since the last key press.
3. Press the or button to display
. The
(default remote) appears, use the
or
button to scroll through the Remote options. When
you reach , press the
button to select the remote. Press or
to exit the Service Setup mode.
4. Press . For heating, adjust the setpoint to the
maximum setting. For chilling, adjust the setpoint
to the minimum setting.
1. Conrm the Jandy Pro Series JE heat pump and
AquaLink RS software revisions are compatible.
Only a revision “N”, or higher, program chip in
the RS system will support the Jandy Pro Series
JE
heat pump interface.
2. Turn off the power to both the heat pump and
the RS control and open the RS Power Center
enclosure and remove the front dead panel.
3. Remove the two (2) screws holding the bezel in
place and turn the bezel over to view the circuit
board on the back.
4. Locate the programmed chip on the Power Center
Board. In the center of the chip is the revision
letter. If the revision letter is “
” or higher go to
step 5. If the revision level is “
” or lower,
replace the board or connect as shown in Section
4.5
 Loading...