Page 12
6. The laminar jet is installed on two (2) pivots.
Loosen the locking screws to adjust the jet angle.
Refer to Figure 11. Once you are satisfied with the
angle and location of the jet, tighten the locking
screws.
7. Secure the deck canister lid to the deck canister
collar, using two (2) #10 by 1½ inch, Phillips, flat
head stainless steel screws.
NOTE It is recommended to drill 1/8" pilot holes in the
lid. Then the screws can be threaded into the
holes. This will complete the installation and
secure the jet from movement.
Section 7. Operating the Laminar Jet
with LED Light
7.1 To Operate the Light and Change
Colors
Turn the light ON. The fi rst time the light is turned on,
the color sequence begins with the Alpine White. To
change the color, turn the light OFF and then ON within
three (3) seconds. Continue turning OFF and ON until
the desired light color mode is reached. See Table 2 for
the color mode sequence.
Table 2. Jandy Laminar Jet with LED Lights
Sequence
Sequence Order Color Modes
1 Alpine White
2 Sky Blue
3 Cobalt Blue
4 Caribbean Blue
5 Spring Green
6 Emerald Green
7 Emerald Rose
8 Magenta
9 Violet
10 Slow Color Splash
11 Fast Color Splash
12 America the Beautiful
13 Fat Tuesday
14 Disco Tech
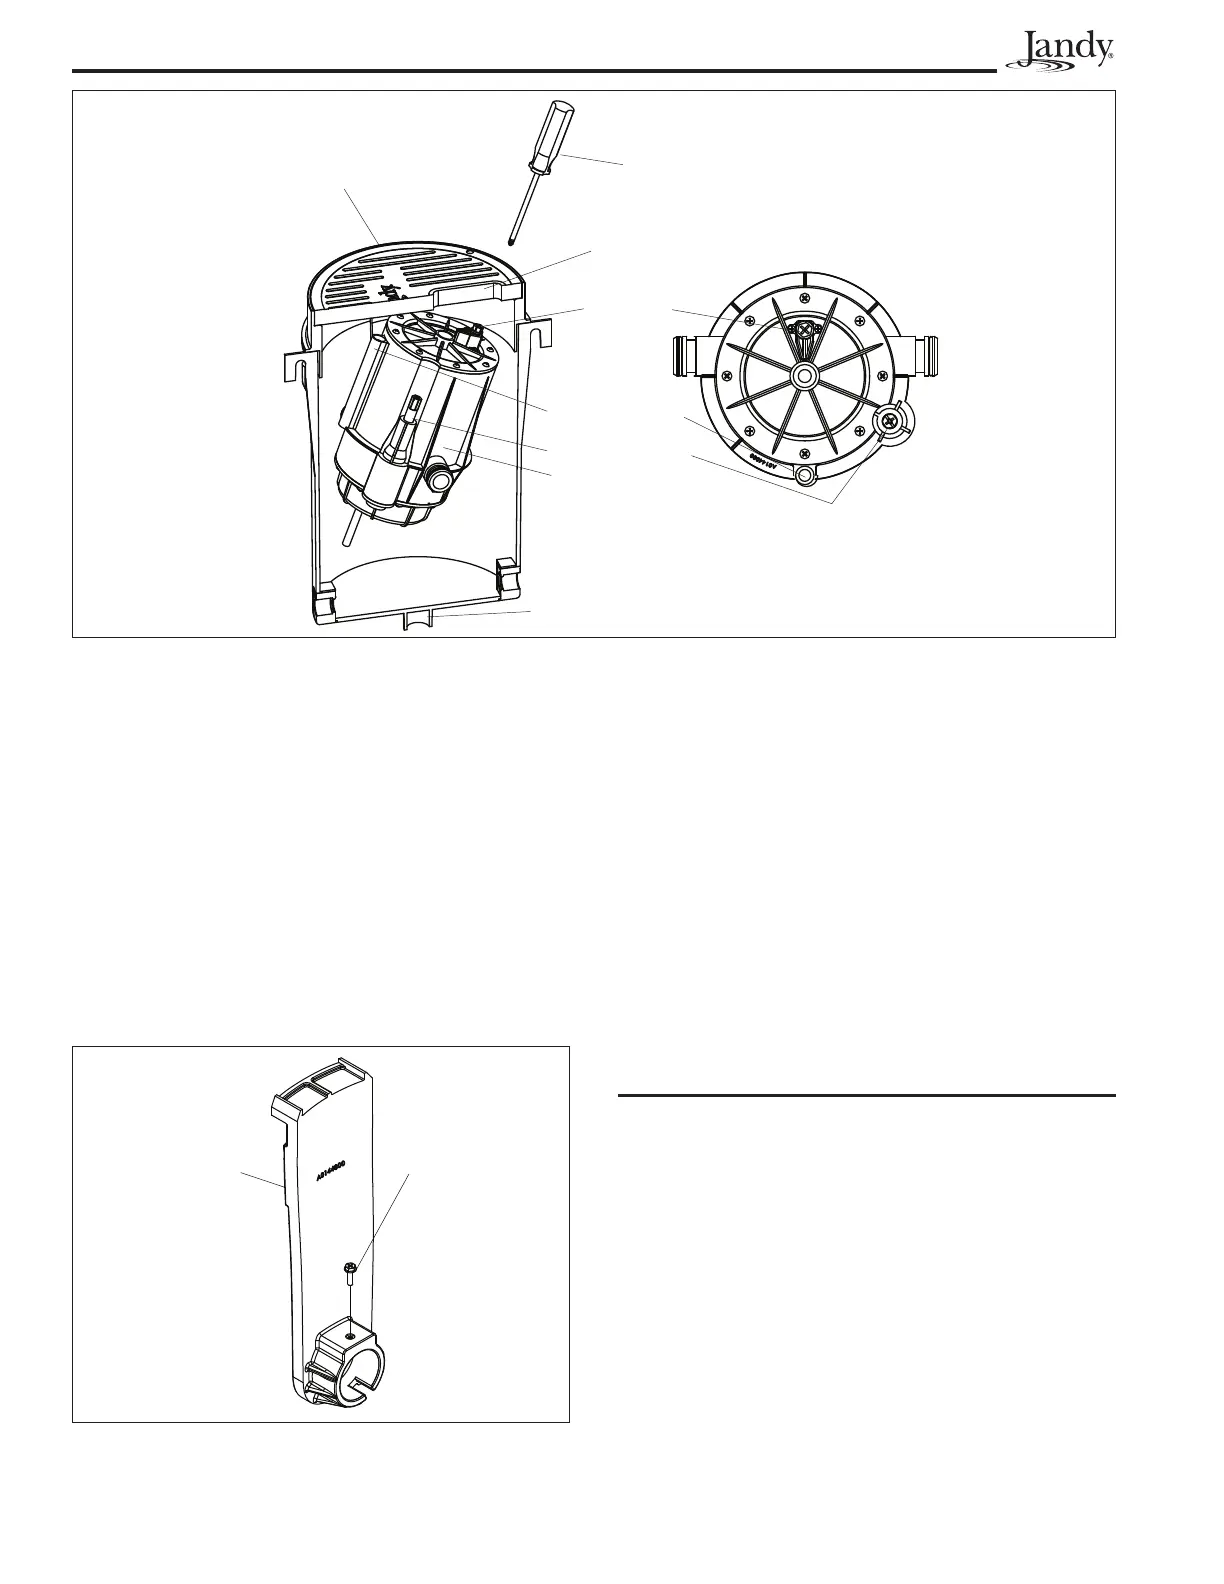
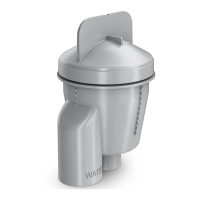
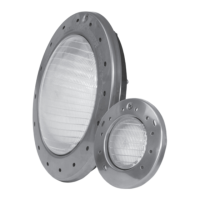
Figure 11. Locking Screw Location
Locking Screw
Pivot
Screwdriver
Slot
Lid
Laminar Jet
Light Intensity
Adjustment Screw
1" Stake Up Feature
Angle Adjustment Slot
Flow Adjustment Valve
Figure 10. Laminar Jet Light and Flow Adjustment