Janfire NH Burner Service Installation Manual 4.16.09 - Technical specifications are subject to change without prior
notice.
15(38)
4.4 Pellet Level Adjustment
The level control for the burner is pre-programmed. Its sensitivity can however be affected during transportation
or after operational time (about 2 weeks) and may require adjusting. In all cases, at start-up, perform the steps
below to ensure sensor sensitivity compliance.
1. Stop the burner. The main circuit breaker must be turned on so that there is operational power.
2. Loosen and remove the drop tube from the burner inlet.
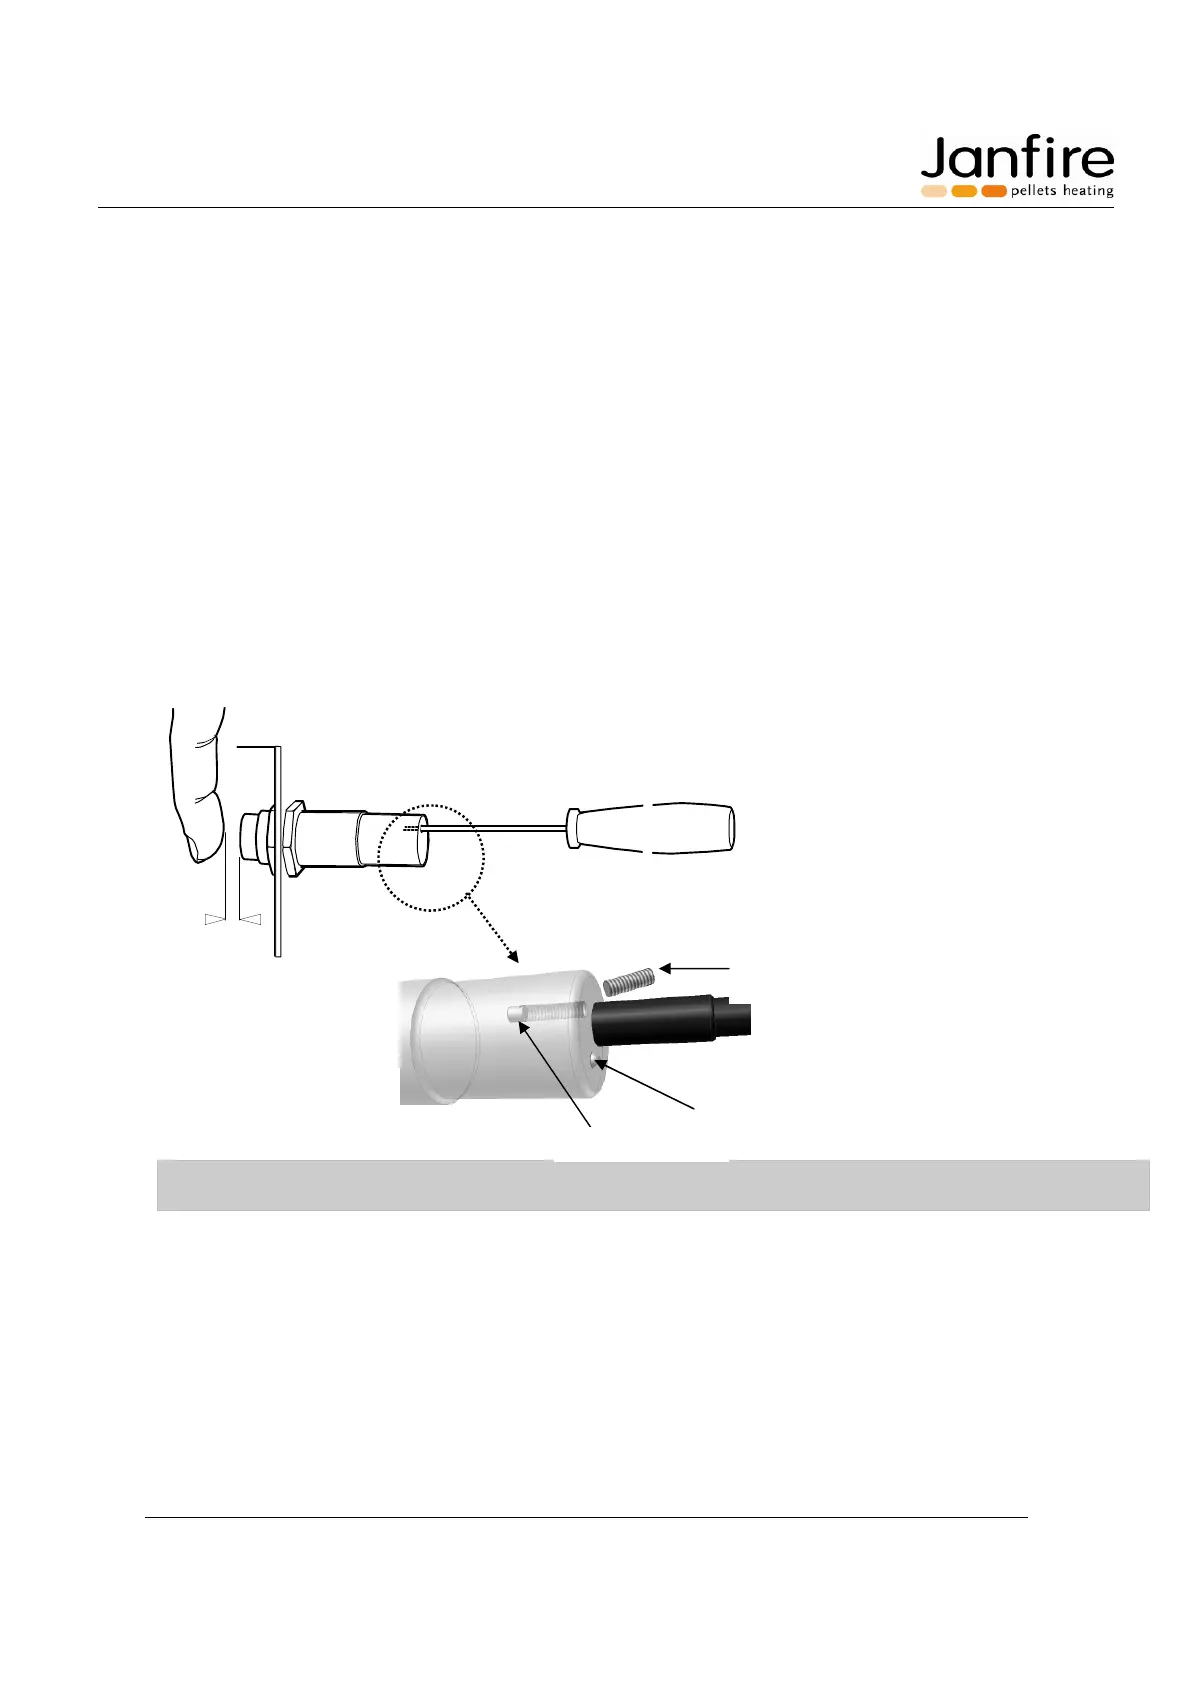
3. Test with your finger to see if the diode lights up at a distance of 3/8” (8-9 mm), see Figure 8 Level
adjustment below.
4. Use a screwdriver and unscrew the cover plug, as you now can reach the adjustment screw. Turn the
screw inside the hole until the correct distance is reached 3/8” (8-9 mm). Counter-clockwise rotation
reduces sensitivity; the sensor reacts at a shorter or reduced distance. Clockwise rotation increases the
sensitivity; the sensor reacts at longer distances.
Figure 8 Level adjustment
NOTE: The adjustment screw is very sensitive and requires no more than a few degrees of rotation in either
direction. Be very careful not to turn screw too hard.
5. Reinstall the cover plug and drop tube and secure with the furnished clamps.
Adjustment screw
LED (yellow)
Cover plug
3/8”