


M
Matthew HernandezAug 17, 2025
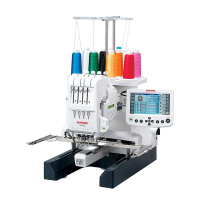
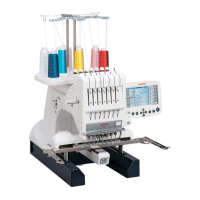
Why Janome MB-4 Sewing Machine needle thread breaks?
- MMichael MedinaAug 17, 2025
The needle thread may break due to several reasons: * The needle thread is not threaded properly. * The needle thread tension is too tight. * The needle is bent or blunt. * The needle is not inserted properly. * Stitch density is too dense; modify the pattern by using an embroidery software. * Poor quality threads are used; use high quality threads. * The bobbin thread is not threaded properly.