
N
navarrojeanJul 28, 2025
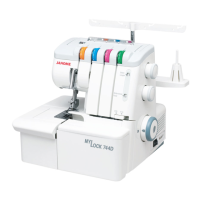
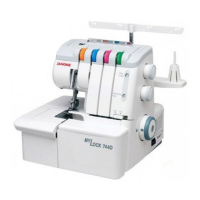
Why does my Janome My Lock 744D Sewing Machine keep skipping stitches?
- DDebbie GoodJul 28, 2025
Skipped stitches on your Janome Sewing Machine can occur if: * The needle is bent or blunt. * The machine is not correctly threaded. * The needle is incorrectly inserted.