EasyManua.ls Logo

Jarvis VC - User Manual

Jarvis VC
12 pages
Print Icon
To Next Page IconTo Next Page
Loading...
JARVIS
TABLE OF
CONTENTS Page.........................
Model VC Package 4302008...........
Model VC 4302007...............
Balancer 1350084................
Air Control Circuit 3350006........
Vacuum Hose (8 ft.) 1323010......
Air Hose Assembly 1323011.......
Water Tube (8 ft.) 1323019........
Grease (1 lb.) 1348001............
Oil (1 pt.) 1348004................
Notice to Employer and Safety
Director 2.........................
Notice to Operators, Maintenance
and Cleanup Personnel 3............
Parts Diagram and List 4............
Installation Instructions 6............
Specifications 7....................
Operation Instructions 8.............
Blade / Pilot Pin Information 9........
Maintenance Instructions 10.........
Troubleshooting 12.................
PRODUCTS CORPORATION
33 ANDERSON ROAD, MIDDLETOWN, CONNECTICUT 06457--4926
UNITED STATES OF AMERICA E--MAIL. jarvis.products.corp@snet.net
TEL. 860--347--7271 FAX. 860--347 --6978
WWW
.jarvisproducts.com
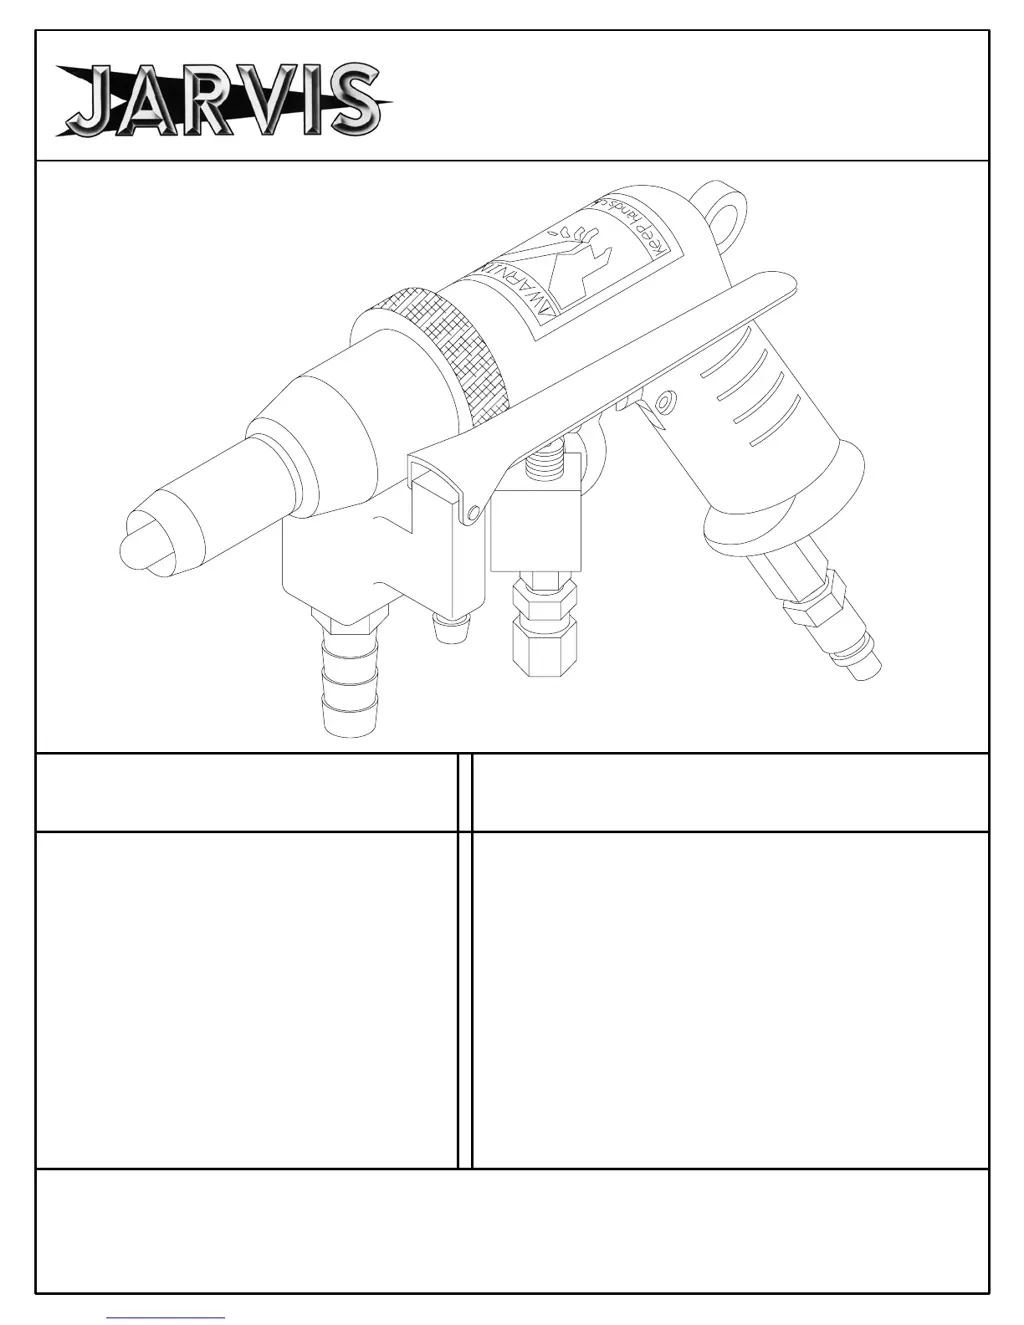
Model VC
Poultry Vent Cutter
EQUIPMENT
SELECTION Ordering No...........
6222009::.
®

Questions and Answers

  • L
    lisa21Aug 2, 2025
    What to do if the blade does not rotate and shuts off when the trigger is pulled on my Jarvis VC Power Tool?
    • V
      Vickie BoydAug 2, 2025
      First, adjust the air regulator (item 58). Pull the trigger and turn the air regulator knob (item 58) clockwise until the blade turns off, continuing until you reach your desired blade rotations. If this does not work, check the air pilot valve (item 59) by removing the four screws and cover, then carefully inspect the rubber diaphragm. If there's a hole, the diaphragm needs replacing (part number 3343009). Finally, if the regulator has no range of adjustment, clean the venturi assembly (item 53) by removing the tube connector (item 52) and clearing the small hole in the silver pin with a small diameter wire, being careful not to enlarge the hole.
  • J
    Jennifer KellerAug 8, 2025
    Why does the motor run when the trigger is released on my Jarvis VC Power Tool?
    • S
      Sherry SmithAug 8, 2025
      The motor may continue to run after releasing the trigger on your Jarvis Power Tool due to a couple of reasons. First, check the air motor trigger (item 38). If it's malfunctioning (flops in and out or stays depressed), remove the air inlet valve (item 32) and valve stem pin (item 33). Use long nose pliers to remove valve pin (item 34) and clean the pins until their surfaces are smooth. Clean out the deepest hole in the pistol grip handle (item 22) with a drill, rotating by hand, without increasing the hole size. Alternatively, check the O-ring located in the air inlet valve (item 32). Remove the retaining ring, screen, spring, and poppet. Check for an O-ring on the poppet or inside the air inlet valve, and reassemble it to the poppet before reassembling the air inlet valve.
  • J
    jimmycarterAug 17, 2025
    What to do if the blade does not rotate when trigger is pulled on my Jarvis VC?
    • J
      Jeremiah HillAug 17, 2025
      If the blade on your Jarvis Power Tool doesn't rotate when the trigger is pulled, check the following: 1. Air Supply: Ensure the air pressure gauge (item 61) shows pressure. 2. Vacuum: Confirm there is suction at the blade when the trigger is pulled. No suction indicates the air supply to the tool is shut off. 3. Vanes (Item 17): If air exhausts through the pistol grip handle, release the trigger, turn the blade 1/2 revolution, and pull the trigger again. If it now runs properly, it indicates sticky vanes due to wrong oil, dirt, or lack of oil. Disassemble the motor, clean the rotor, and check the vane length (they should be .002 shorter than the rotor). Also, check the rotation of each bearing to ensure they rotate freely.
  • W
    wolfenicholasAug 25, 2025
    How to fix a water valve leak on my Jarvis VC Power Tool?
    • R
      Richard LopezAug 25, 2025
      If the water valve on your Jarvis Power Tool is leaking, there are a couple of things to check. If the leak occurs at the time of installation, look for metal fragments from the threaded pipe. Remove the water tube from the tube connector (item 13), then remove the tube connector (item 13) itself. Inspect the water valve (item 12) for debris and carefully remove it with a small pointed object, being careful not to damage the spring or seal. If the leak occurs after considerable use, the water valve (item 12) likely needs to be replaced.

Summary

Notice to Employer and Safety Director

Notice to Operators, Maintenance and Cleanup Personnel

Parts Diagram and List

Air Control Circuit

Installation Instructions

Specifications

Operation Instructions

Blade and Pilot Pin Information

Maintenance Instructions

Blade Disassembly and Assembly

Steps for removing and reassembling the blade, including necessary tools and precautions.

Model VC Disassembly

Guide for taking apart the main body of the Model VC, with safety warnings.

Gear Shaft and Motor Procedures

Gear Shaft Disassembly and Assembly

Detailed steps for disassembling and assembling the gear shaft and its components.

Motor Disassembly and Assembly

Procedures for taking apart and reassembling the tool's motor.

Troubleshooting

Jarvis VC Specifications

General IconGeneral
BrandJarvis
ModelVC
CategoryPower Tool
LanguageEnglish

Related product manuals