111
plumbing SyStem
Winterizing with antifreeze Method:
It may be easier to winterize the RV with another person to assist you.
Antifreeze should never enter the water heater, RV water lter, refrigerator water lter, or
fresh water tank.
1. Turn water heater power OFF. (both switches: Electric & LP Gas) Water heater should
never be drained when HOT or under pressure.
2. Level the RV and drain the fresh water plumbing system. (See Draining the Fresh
Water System)
3. Replace the water lter cartridge with the plastic bypass hose (if so equipped). On full
system canister water lters (if so equipped), remove the canister, take out the lter, and
reattach the empty canister.
4. Water heater should be empty after performing Step 2.
5. Make sure the “fresh water tank drain” and “low point drains” are closed.
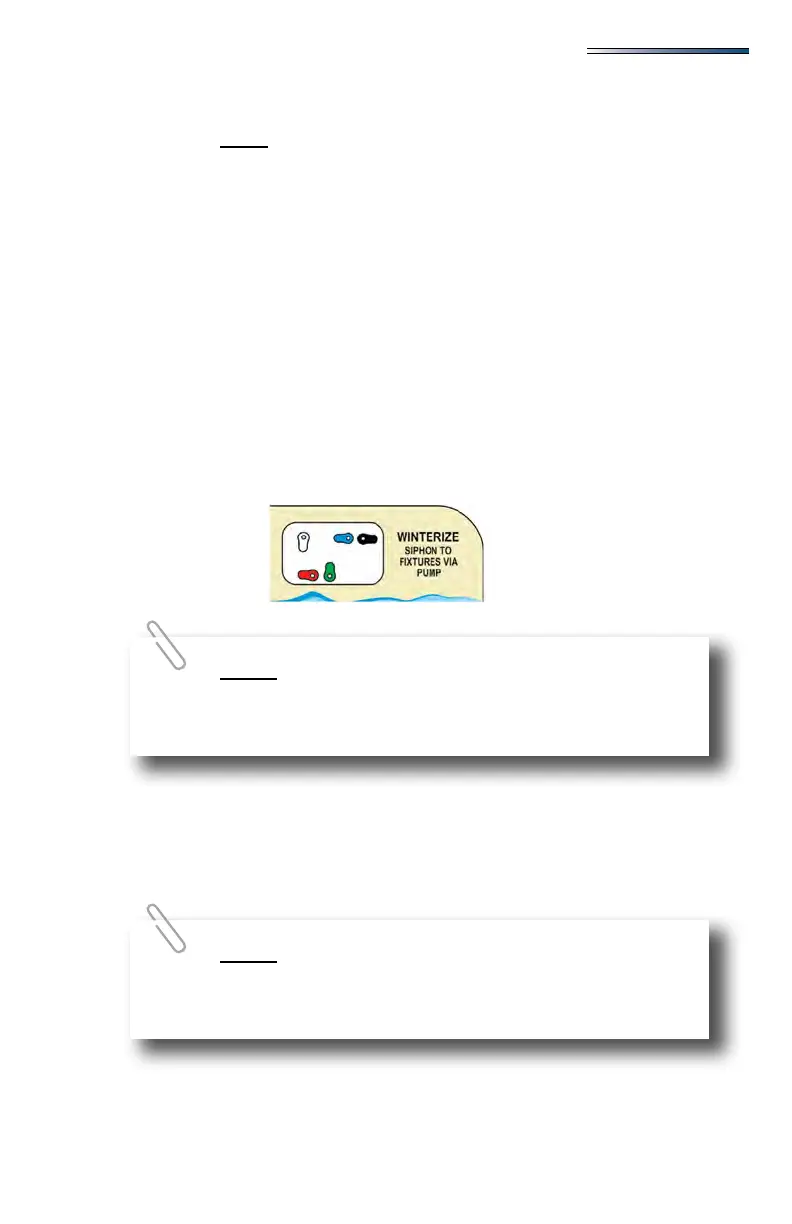
6. Set the water valves to WINTERIZE setting, connect a hose to the City Water Fill
inlet. Insert the other end of the hose in a container of antifreeze. Turn the pump ON.
Antifreeze will be drawn into the water lines and xtures (pump only runs when a
faucet or xture is open).
7. Turn the water pump ON. Antifreeze will be drawn into the water lines.
8. Open the hot water line faucets (kitchen/bath sinks, shower and outside shower (if so
equipped)) until RV antifreeze begins to ow continuously.
9. Close the hot water line faucets and repeat with the cold water line faucets.
When you are nished adding RV antifreeze:
1. Turn the water pump OFF. Remove hose & container from the City Water Fill inlet. Put
the cap back on the City Water Fill inlet. Leave the valves in WINTERIZE position.
NOTE: When set to WINTERIZE: antifreeze will not enter the water
heater or the fresh water tank. There are no dedicated water heater
bypass valves.
NOTE: Refer to the Winterizing appliances with antifreeze – no
kitchen island OR Winterizing appliances with antifreeze – with a
kitchen island sections before you nish the winterizing process.