71
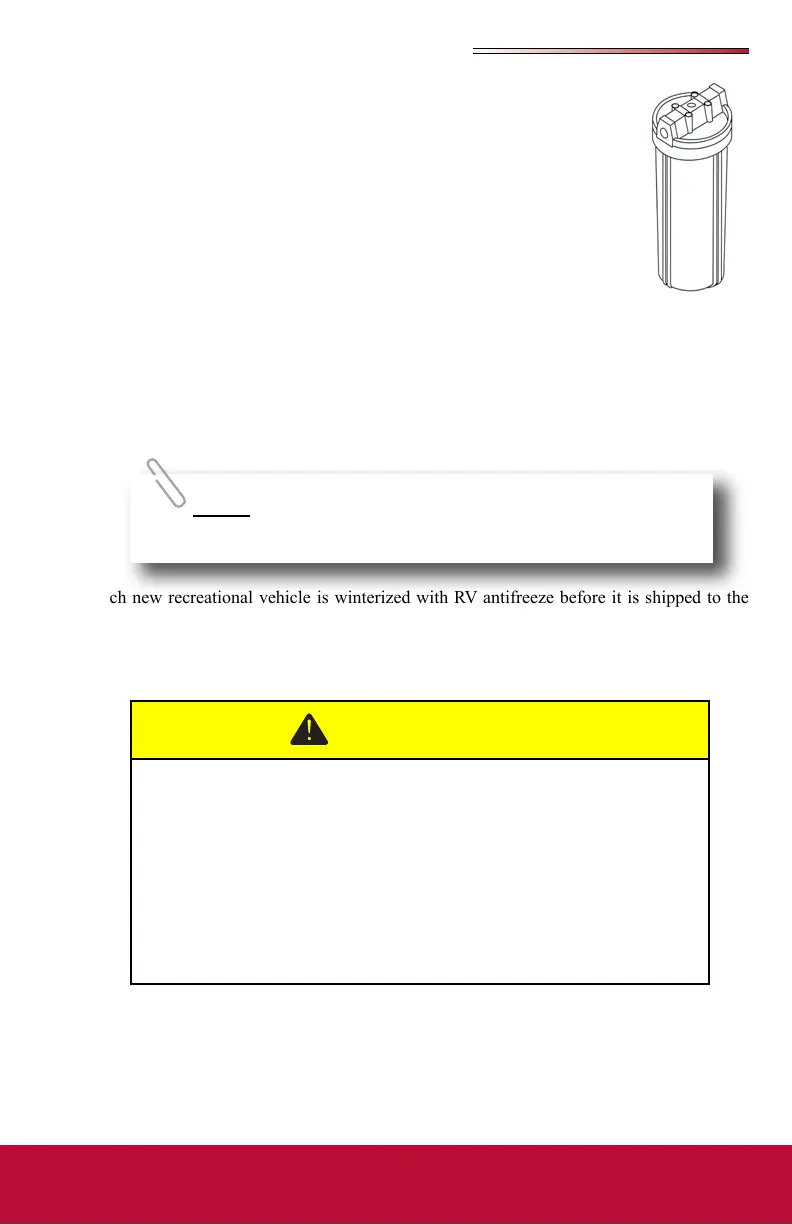
1. Turn o water supply using the valve located on the water line on go-
ing into the canister. Water pump should be OFF.
2. Place drip pan below lter housing to catch any spillage.
3. Press the red button on top of the lter housing to release pressure.
4. Using a spanner wrench, rotate the lter housing. Unscrew the hous-
ing completely, dump water out and remove the lter (dispose of the
old lter properly).
5. Clean the inside of the lter housing with mild detergent. Thoroughly
rinse and wipe clean.
6. Remove the O-ring from the groove in the housing and wipe clean.
Coat with petroleum jelly.
7. Replace the O-ring in the groove, making sure it is properly seated.
8. Install the new lter cartridge.
9. Replace the canister housing (hand tighten is normally sucient).
10. Turn on the water supply, turn the pump ON, open a faucet and check for leaks. Turn
the pump OFF afterwards.
Each new recreational vehicle is winterized with RV antifreeze before it is shipped to the
dealer. To use the water purication system, full system canister water lines need to be
ushed of antifreeze and then the lter installed in the canister before use.
Refer to the manufacturer’s owner’s manual and the label on the water lter cartridge for
further information.
There is no bypass feature on a canister style water lter. The
lter cartridge be removed before sanitizing or winterizing the RV.
Do not allow water in the canister housing to freeze.
Remove the lter before using anti-freeze to winterize the system or
chlorine solution to sanitize the system.
Flush canister housing thoroughly before it is put back into service after
winterizing or sanitizing.
For best results replace lter every 6-12 months.
Do not use carbon cartridges where water is microbiologically unsafe or
of unknown quality.
Maximum operating pressure is 125 psi (8.75 bar).
Maximum water temperature is 125° F (52° C).