VEHICLE OPERATION
“We like to take our Jayco Toy Hauler
out here, packed with bikes and
friends, and ride around together”
Taylor
[California]
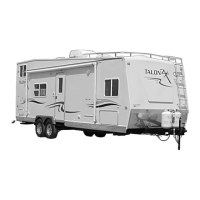
Retractable Screen Wall (if equipped)
Before extending the screen wall, remove
all obstacles from its path. To extend the
screen wall, grip the strap attached to the
pull bar and gently pull down. Grasp the
screen wall by the pull bar and continue
pulling until it is completely extended.
Make sure it is securely attached to the
floor catch.
To return the screen wall to the stored
position, pull up on the pull bar handle to
release it from the floor catch. Push the
screen wall up until it is fully retracted.
To avoid injury or damage to the screen wall, make sure it is fully
extended and snapped in place at the floor when in use, and fully
retracted when not in use.
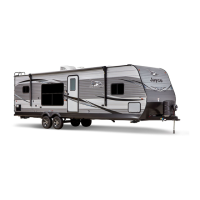
Sliding Rear Screen Door (if equipped)
The two center doors slide
back behind the outer doors
to allow walk out access
to the deck. The screen
doors incorporate a swing
out feature to allow loading
of vehicles in the cargo bay.
To operate this feature, pull
down on the (spring-loaded)
handle, which unlocks the
doors from the door frame.
They can now swing out over the ramp door. Once the vehicle is
loaded, swing the doors back in place against the door frame, and
re-latch the spring loaded handle.
Retractable Screen Wall
Sliding Screen Doors
Spring
Loaded
Handle
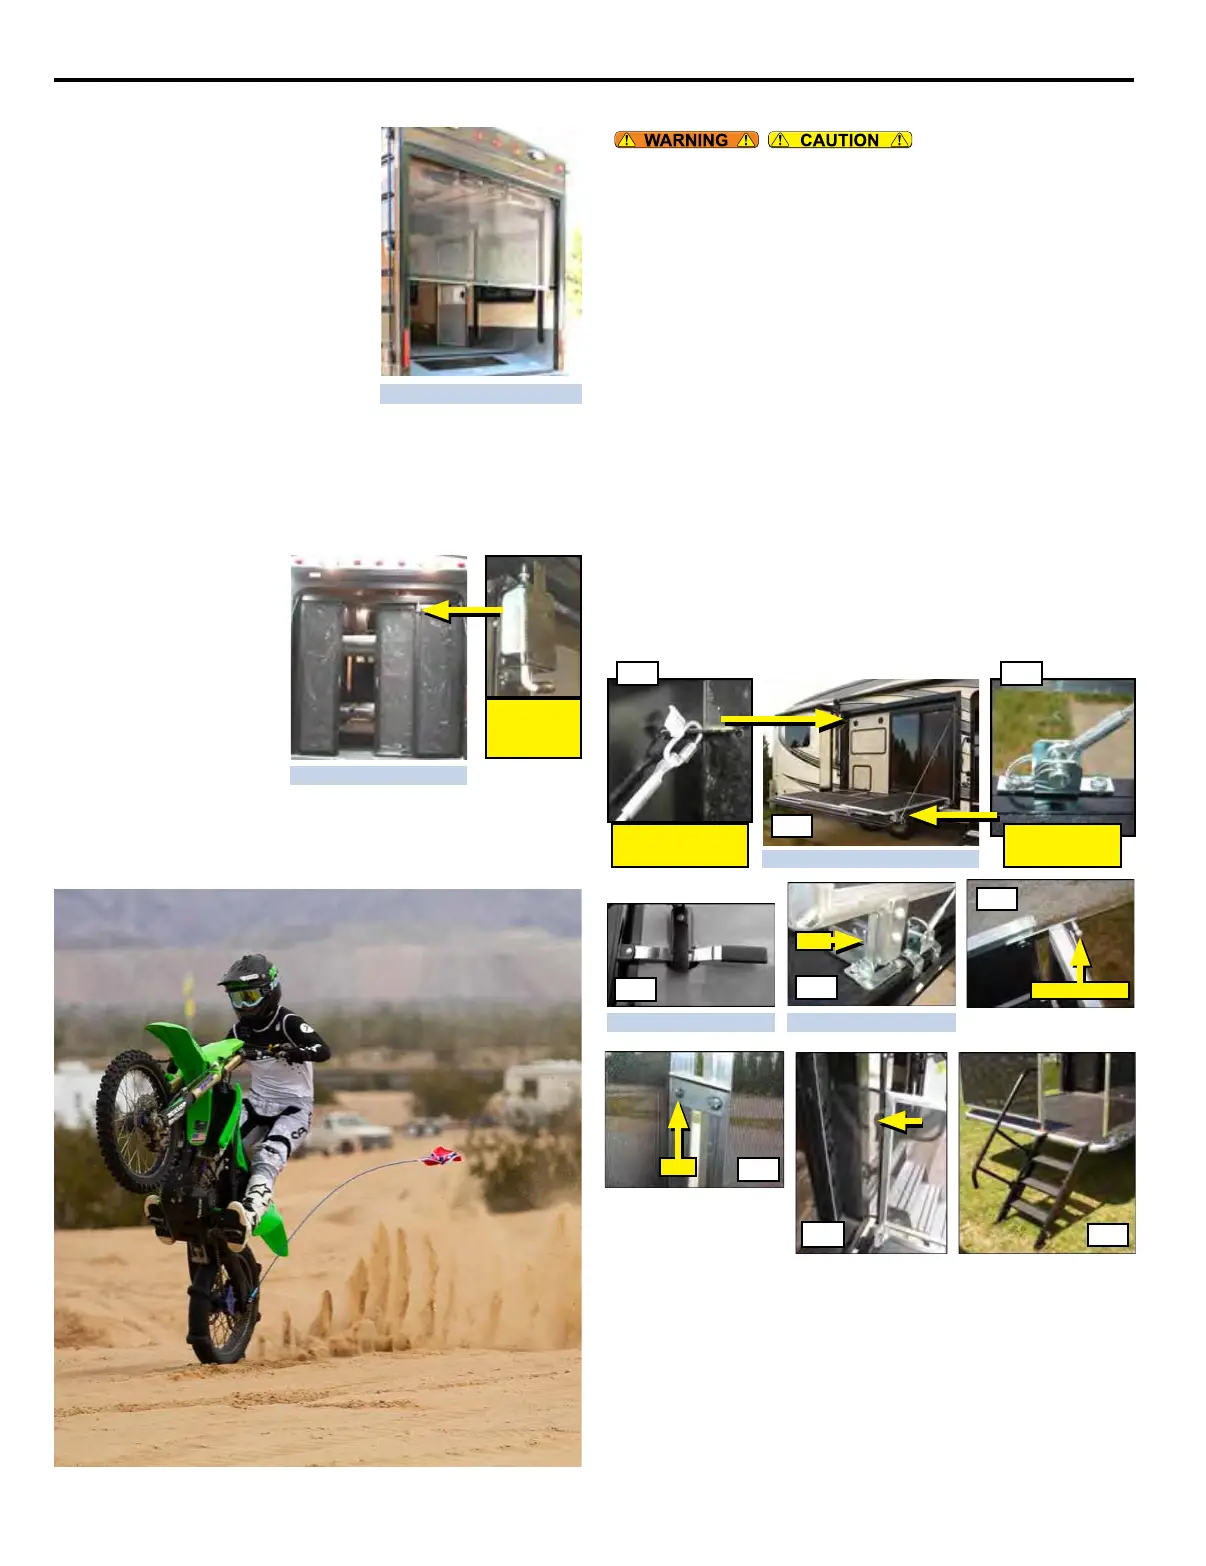
PATIO DECK – SIDE (IF EQUIPPED)
To set up the patio deck, unlatch the two keyed handles from the side
of the RV (Fig 4). Lower the patio deck until the cables on each side
support it. Support cables are attached at the top of the door opening
with a quick link (Fig 1) and to the deck with a safety pin (Fig 3).
The patio deck is designed to be folded up with the support cables
attached.
To set up the side rails, lift the (3) rails into their vertical positions.
The rail supports drop into a slot on the deck mounted brackets (Fig
5). The front railing attaches to the side railing with a ball and socket
connector (Fig 6). The deck’s front gate has a pivoting bracket to
latch the gate. This bracket latches over a metal pin (Fig 7).
The patio deck comes equipped with mesh end curtains that snap to
the door jamb of the patio deck and to the frame work of the railings.
These curtains close off the gap between the railing and the door
jamb (Fig 8).
Before returning the patio deck to the stored position, the rails must
be lifted up to release them from the locking slots in the mounting
brackets, and then they can be laid down on the deck.
Fig 9 shows the complete patio deck with the optional step ladder.
(See page 34 & page 35)
Quick Link Cable
(Top of Door Frame)
Patio Deck
Safety Pin Cable
(Patio Deck)
Latch Handle Side Rail and Bracket
Fig.2
Fig.4
Fig.9
Fig.8
Fig.7
Fig.6
Fig.5
Pin
Slot
Ball & Socket
Fig.1 Fig.3
Page 30