14 - 6
Assembly (continued)
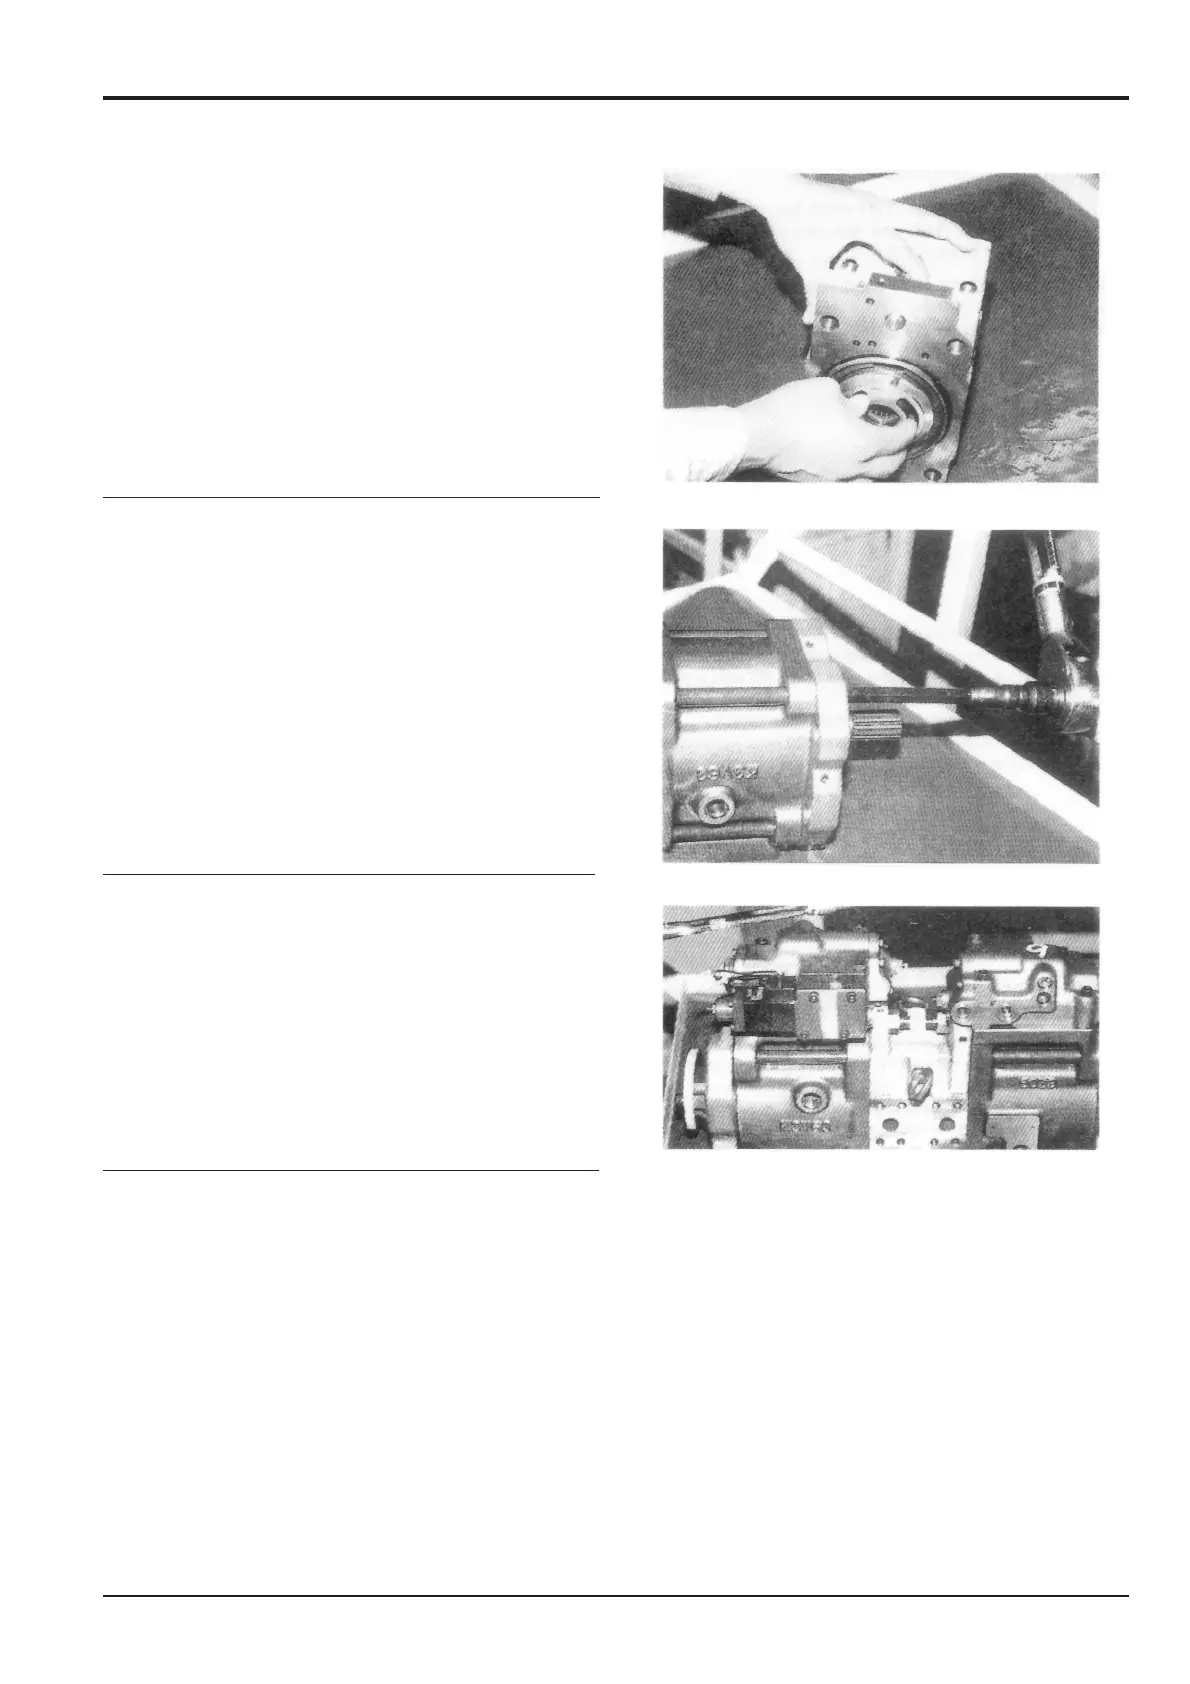
6. Aligning the pin, install the valve plate (313) into the
valve block (312).
Note: Be careful not to mistake the valve plate suction and
delivery directions.
7. Install the valve block (312) to the pump casing (271)
and tighten the hexagonal socket head bolt (401).
Note:
a. The work would be easier if the rear of the pump is
assembled first.
b. Take care not to mistake the direction of the valve block.
When looking from the front side, the regulator is on the top
and the delivery flange is on the left.
8. Insert the feedback pin of the tilting pin into the feedback
lever of the regulator and install the regulator, tightening
the hexagonal socket head bolts (412, 413).
Note: Take care not to mistake the front and rear of the
regulator.
Section E
Hydraulics
9803/6400
Section E
14 - 6
Issue 1
Hydraulic Pump JS200, JS240