27 - Driveline
06 - Semi-Automatic Gearbox
13 - Clutch - Master
27 - 134 9813/6850-2 27 - 134
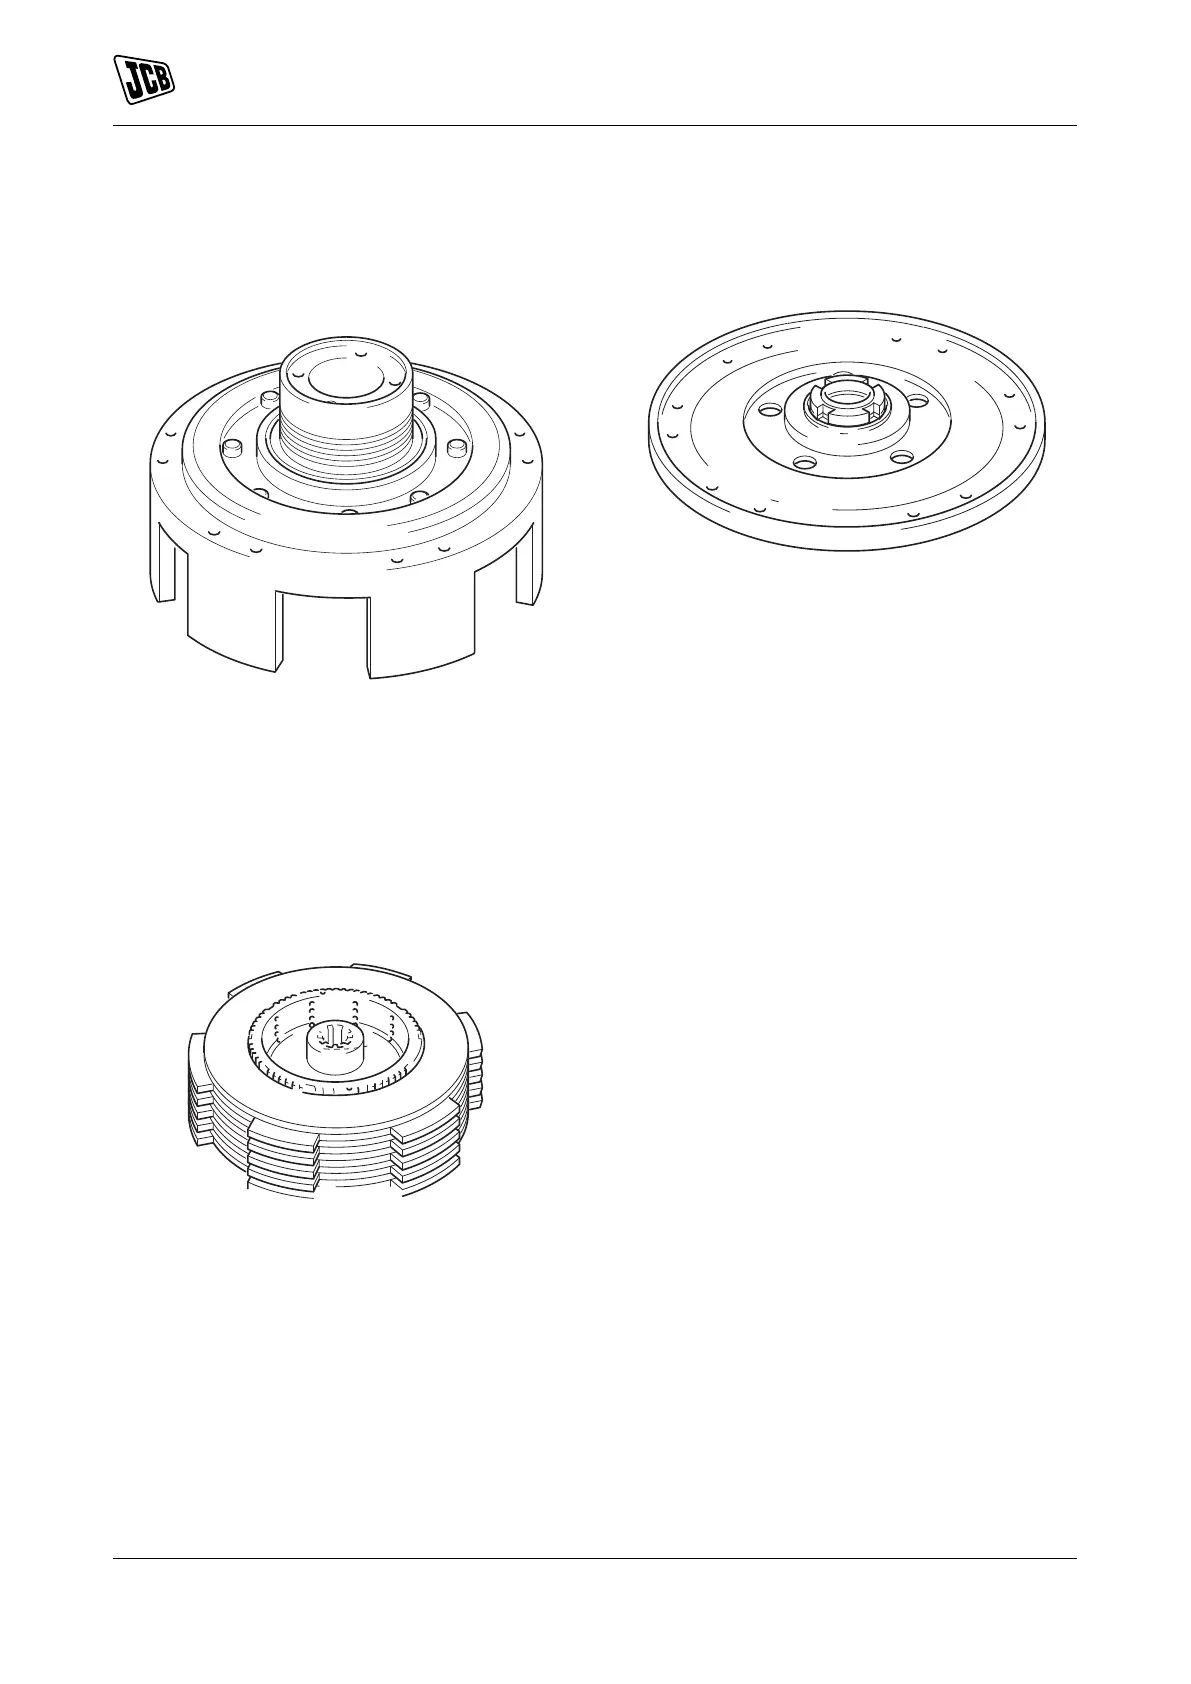
Figure 577.
29.2. Remove the clutch plates and plate carrier
sub-assembly. Refer to Figure 578.
Figure 578.
29.3. Remove the clutch drum carrier and input
gear PTO sub-assembly.
Figure 579.
Install
Installation is the opposite of the removal procedure
but make sure that additionally you follow the
instructions below.
1. If it is necessary to replace the clutch housing
with a new one then make sure that the cross
drilling blanking plug2 is installed to the new
housing.
2. Tighten the plug2 to the correct torque value.
3. Make sure that the oil feed cross drillings are
clear.
4. Carefully clean all the traces of the sealing
compound from the clutch and the smoothshift
gearbox housing mating surfaces.
5. Lightly lubricate with oil and install a new O-ring2.
6. Apply even beads of JCB Multigasket to the
Smoothshift Gearbox housing (around the outer
diameter and around each threaded bolt hole).
Consumable: JCB Multi-Gasket
7. Make sure that you install new Verbus-ripp bolts.
8. Tighten the Verbus-ripp bolts to the correct
torque value.
9. Make sure that the clutch components are
carefully checked for any signs of wear or
damage.
10. If any of the friction or counter plates are
damaged or if any of the friction plates are
excessively worn (thickness less than 3.5 mm or
oil grooves less than 0.1 mm deep) replace the
complete set of plates.