Part No. 960-000192R_Rev. A © 2017 JCM American Corporation
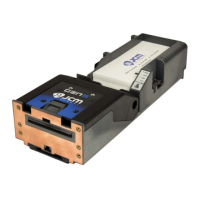
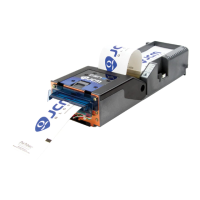
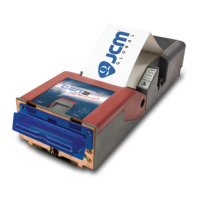
GEN2U™ Printer JCM® Training Overview August, 2017
BLUEWAVE™DX DOWNLOAD
The JCM BlueWave™DX Tool offers an alternate method for updating the
Firmware on the GEN2U Printer. To do so, proceed as follows:
S
ETUP
FOR
THE
B
LUE
W
AVE
DX T
OOL
1. Within the BlueWaveDX Tool’s SD Card root directory, create a new GEN2U
System
folder.
2. The Firmware files for the GEN2U Printer should be placed within the new
GEN2U System folder.
U
PDATING
F
IRMWARE
U
SING
THE
B
LUE
W
AVE
DX T
OOL
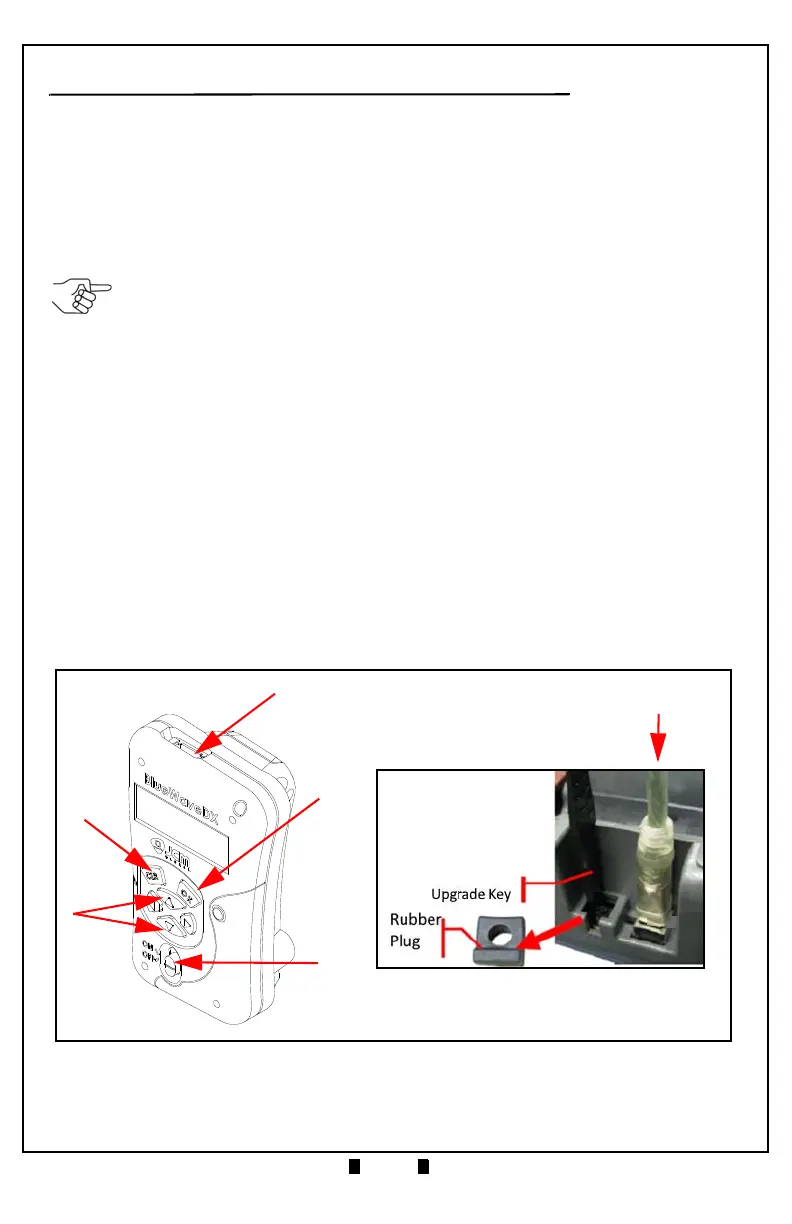
1. Connect a standard USB Male "A" to Male "B" cable from the BlueWaveDX
Tool’s
USB Connector Type A (Figure 15 a) to the GEN2U Printer’s USB
Update Port
(Figure 15 b).
2. Turn the BlueWaveDX Tool’s Power Switch
ON (Figure 15 c).
3. When the
Firmware Update screen appears, press the OK Button (Figure 15 d).
4. Press the
UP and DOWN arrow keys (Figure 15 e) to scroll through the list of
available GEN2U Firmware versions.
5. Press the
OK Button (Figure 15 d) to select the desired Firmware version.
6. Press the
OK Button again to start the download.
7. When the
Download Complete message is displayed, press the CLR Button
(Figure 15 f) to return to the Main Menu
OR
Press the
OK Button (Figure 15 d) to download Firmware to another Printer.
NOTE: Sub-folders are not recognized.
Figure 15 BlueWaveDX Tool Primary Controls/GEN2U USB Update Port
 Loading...