Electrical Connections
0
, WARNING
A quafified electrician must complete all
electrical connections!
All adjustments or repairs must be dOne with the
drill disconnected from the power source!
Failure to comply may result in serious injury!
The motor is rated at 2 HP, 3 Ph, 230Vonly. Make
sure the power available matches the power
requirement of the drill. The drill must be properly
grounded.
When the drill is connected properly, the spindle
turns clockwise in a conventional drilling rotation. If
the spindle does not turn clockwise, disconnect the
drill from the power supply and reverse two of the
three power leads.
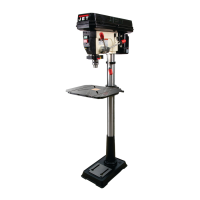
Installing a Drill Chuck (not included)
1. Disconnect the machinefrom the power source.
2. Clean the arbor and the inside of the chuck.
3. Push the chuck onto the arbor.
4. Place a piece of scrap wood on the table and
raise the table to just below the chuck.
5. Using the down feed handles, lower the chuck
against the piece of scrap wood firmly to "seat"
the chuck.
Removing the Arbor
1. Unplug the machine from the power source.
2. Make sure the drill is in gear.
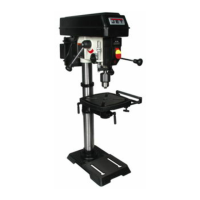
3. Removethe main shaft cover (A, Fig. 11).
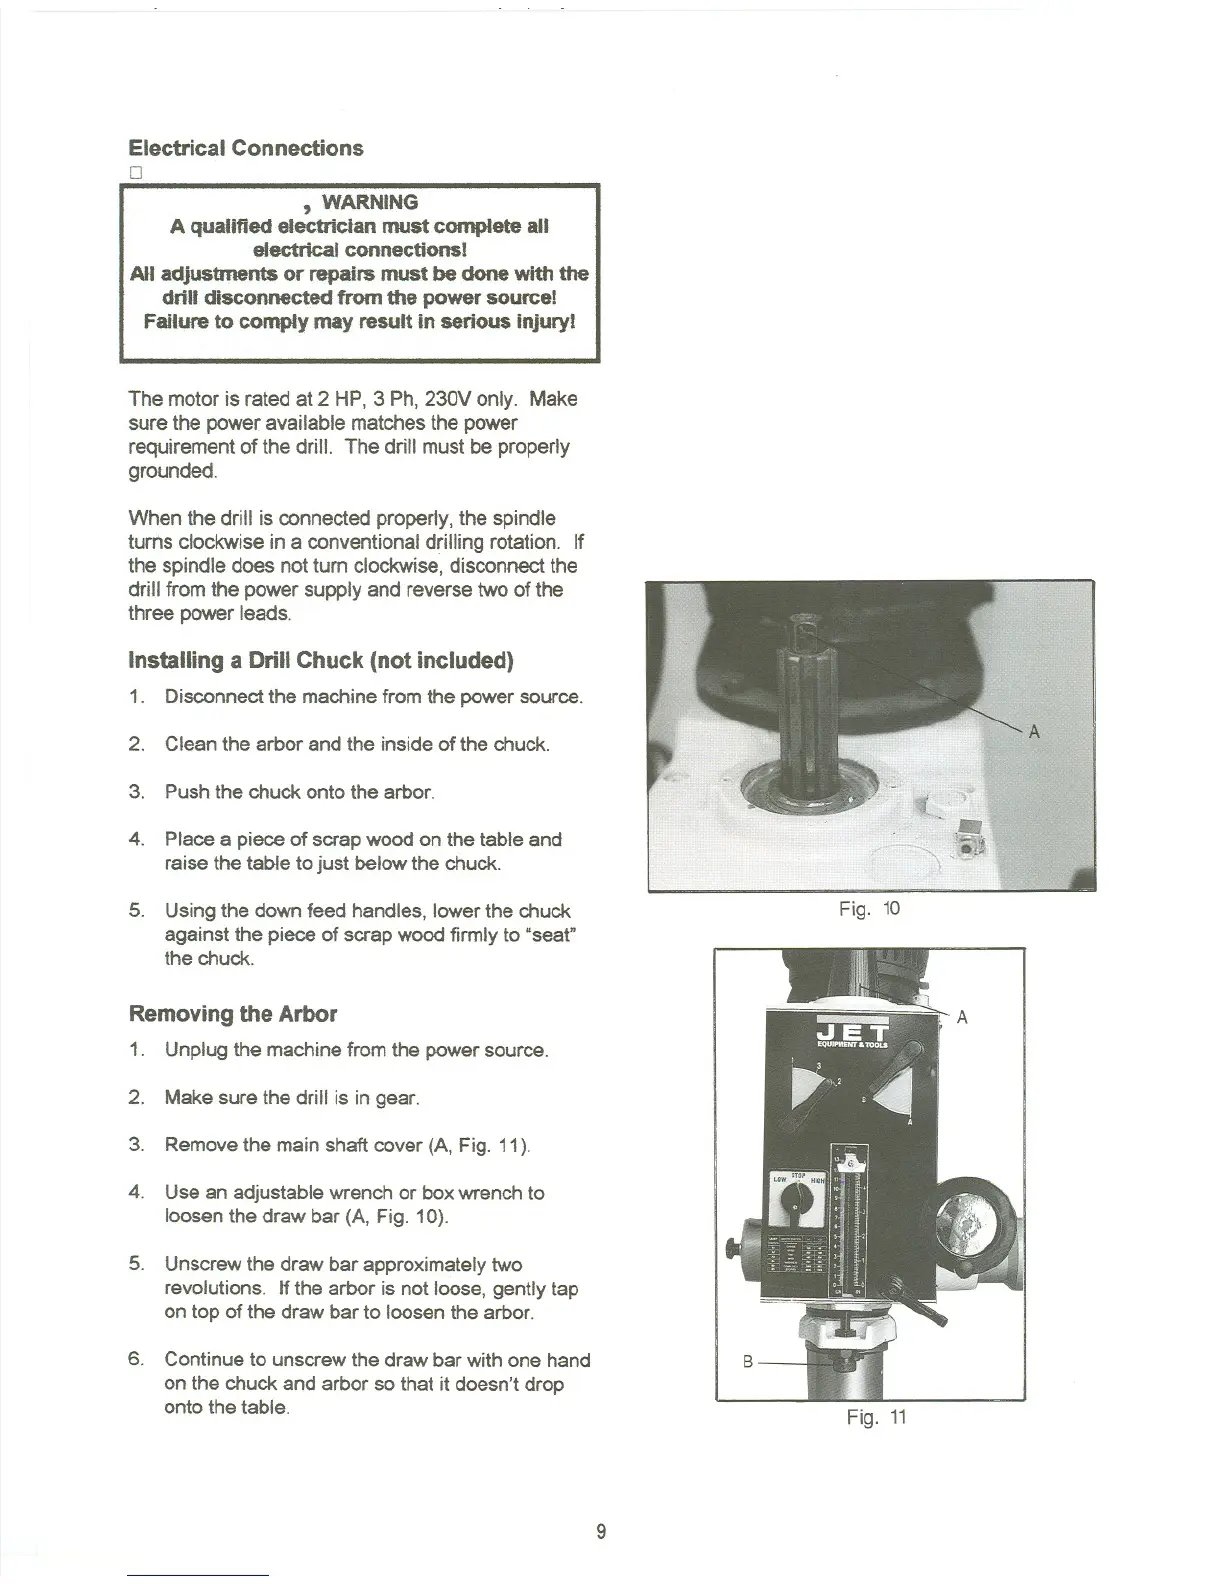
4. Use an adjustable wrench or box wrench to
loosen the draw bar (A, Fig. 10).
5. Unscrew the draw bar approximately two
revolutions. If the arbor is not loose, gently tap
on top of the draw bar to loosen the arbor.
6. Continue to unscrew the draw bar with one hand
on the chuck and arbor so that it doesn't drop
onto the table.
Fig. 10
Fig. 11
9