JetLegend T-45 Goshawk
Page 21 of 24
through the intakes to run your engine
electronic cables through to the radio
compartment. It saves making up extensions
for your starter and other connections from
the engine to the ECU and really neatens
things up. Thanks to Eric Banner of the UK
for this creative tip.
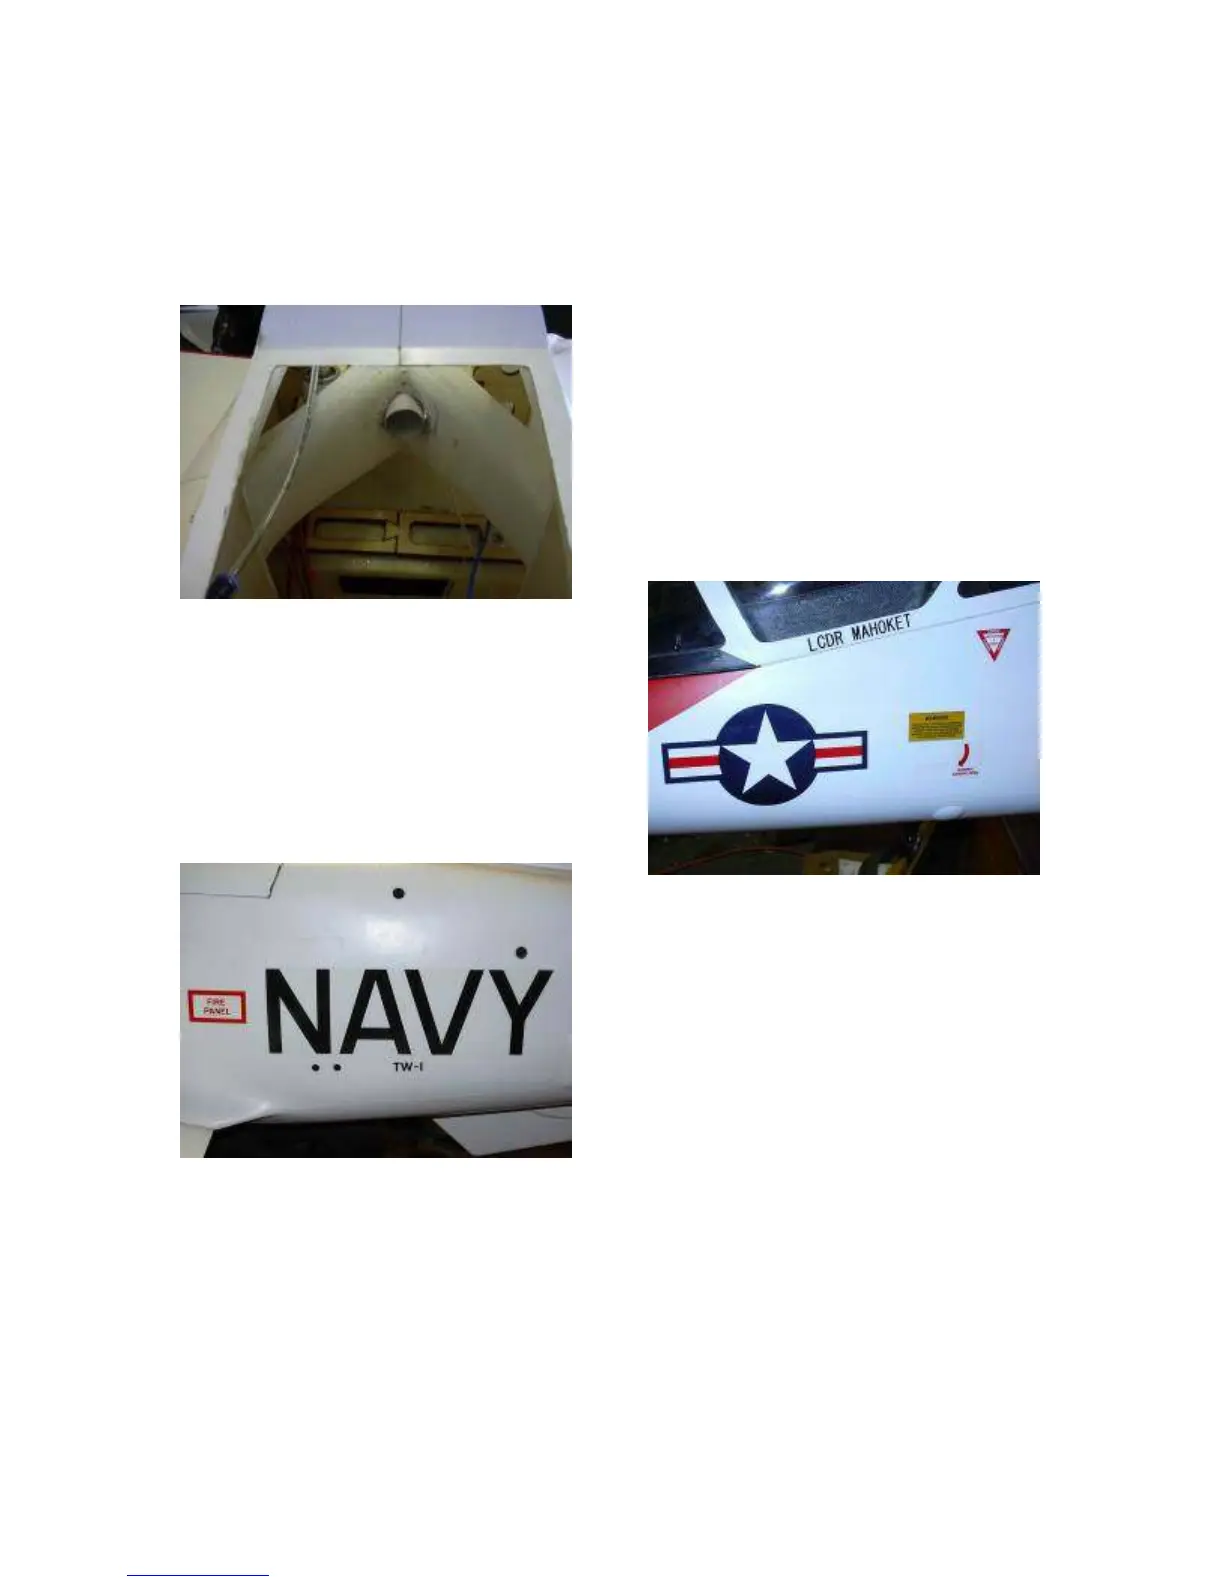
DECALS
You can just cut them out and stick them on,
but if you want to do a really nice job of them,
use the following technique.
Get yourself some good documentation from
books or the internet as to what decals go
where. The kit offers decals for several
different prototypes, not all the decals are
intended to be used on one single airplane.
Cut out each transfer as close to the edge as
you can get with sharp scissors. Spray some
window cleaner on the area of the model
where the decal is to be placed. You do not
want the model really wet, just damp. The
window cleaner will allow you to move the
decal around, and to squeeze any air
bubbles out, but it will not affect the adhesion
of the glue on the decals once they dry. Stick
the decals on as desired, and use a soft cloth
or paper towel to squeeze out any bubbles
and burnish the decals down into any surface
details as they dry. It will take a few hours for
all the window cleaner to dry, so keep
checking on each decal as they dry and
burnish them down with gentle pressure as
they get stickier. The blue color of the
window cleaner will disappear as it dries, too.
If you have any difficulties getting the decals
to go around compound curves such as the
nose, GENTLE application of a heat gun will
soften them enough to go around the curves.
The provided decals work quite well and their
clear backing looks much less obvious if you
take a little extra time and use a little proper
technique when you apply them. Try it.
ENGINE AND RADIO
INSTALLATION
There are many variations on engine and
radio systems. What is presented here
should just be considered as suggestions,
you may find a better way to install your own
particular equipment. The overriding factors
are that everything, particularly heavy
batteries, must be truly SECURELY mounted,
and that the receiver be mounted in such a
way as to experience no interference from
the ECU or fuel pump or starter motor or
other RF-generating piece of equipment.
All servo leads and extensions should be
taped or secured with plastic clips designed
for the purpose, and all should be
tie-wrapped or otherwise secured to keep
them from flopping around inside the
fuselage and potentially contacting any hot
parts such as the engine or tailpipe. Pay
special attention to the rudder and stab leads
 Loading...