JetLegend T-45 Goshawk
Page 5 of 24
the servo. Most failures of brand-new
electronics will occur during the first hour of
operation. Better to find out now than later.
You will need two 36" extensions,
two 12", and four 24" ones. Be sure to use
only high quality heavy duty extensions,
especially if you are using digital servos, to
handle the electrical loads. Tape all
connections for safety, and make sure all
leads are secured against the fuselage side
so they do not contact the hot tailpipe and
melt. You can make up some plywood
blocks like you did for the nosegear cables
and secure the extension leads with tie wraps.
Depending on what receiver you use, you
may run out of channels to run all the
surfaces. You may use y-harnesses or JR
Matchbox-type devices to accommodate. If
any surfaces are reversed, use a reversed
servo or a matchbox...reversing Y-harnesses
tend to lose their trim centers over time and
with weather changes, leading to constant
re-trimming of the aircraft.
The control surface hinges come
from the factory unglued. It is absolutely
essential that you remove and glue each and
every one into place. Coat the center of each
hinge with petroleum jelly to keep it from
getting bound up with glue. Apply plenty of
epoxy to one side of the hinge, and plenty of
epoxy into the matching hole in the surface,
install the hinge, then move the free part of
the hinge perpendicular to the surface for
proper alignment while drying. Do only one
side of the hinging at a time, do not attempt to
glue the hinges into both surfaces
simultaneously. If you are painting your
model, you may wish to leave the hinges
unglued so the surfaces can be removed for
painting. Just don't forget to glue them
AFTER painting!
ENGINE INSTALLATION
The T-45 was designed to fly with
54mm class engines from 12 to 18 pounds of
thrust. It was NOT designed for larger
engines 66 class engines such as the Jetcat
P-80. You may be able to get one to fit, but
the weight and fuel consumption are big
issues. If you feel you need unlimited vertical
performance, try one of the very high
performance 54 class engines such as the
Wren Super Sport, and pay attention to
weight as you build, and you should be quite
satisfied.
Each engine has different dimensions and
accessories. You may have to shim or cut
the engine mounts to accommodate your
particular engine. It is vital that the engine be
perfectly centered in the tailpipe, and that the
tailcone of engine be spaced properly from
the mouth of the pipe. Location of the fuel
pump, ECU, and optional fuel and gas
solenoids is up to you, you can mount them
with tiewraps to the engine mount formers, to
the radio tray, or both. A bubbleless
header tank such as the BVM Ultimate Air
Trap is can be used for consistent fuel
delivery, but a simple header tank with a
geometrically centered pickup seems to give
very trouble-free performance to many
people. A high quality fuel filter is absolutely
mandatory. If one was not provided with your
engine, get one.
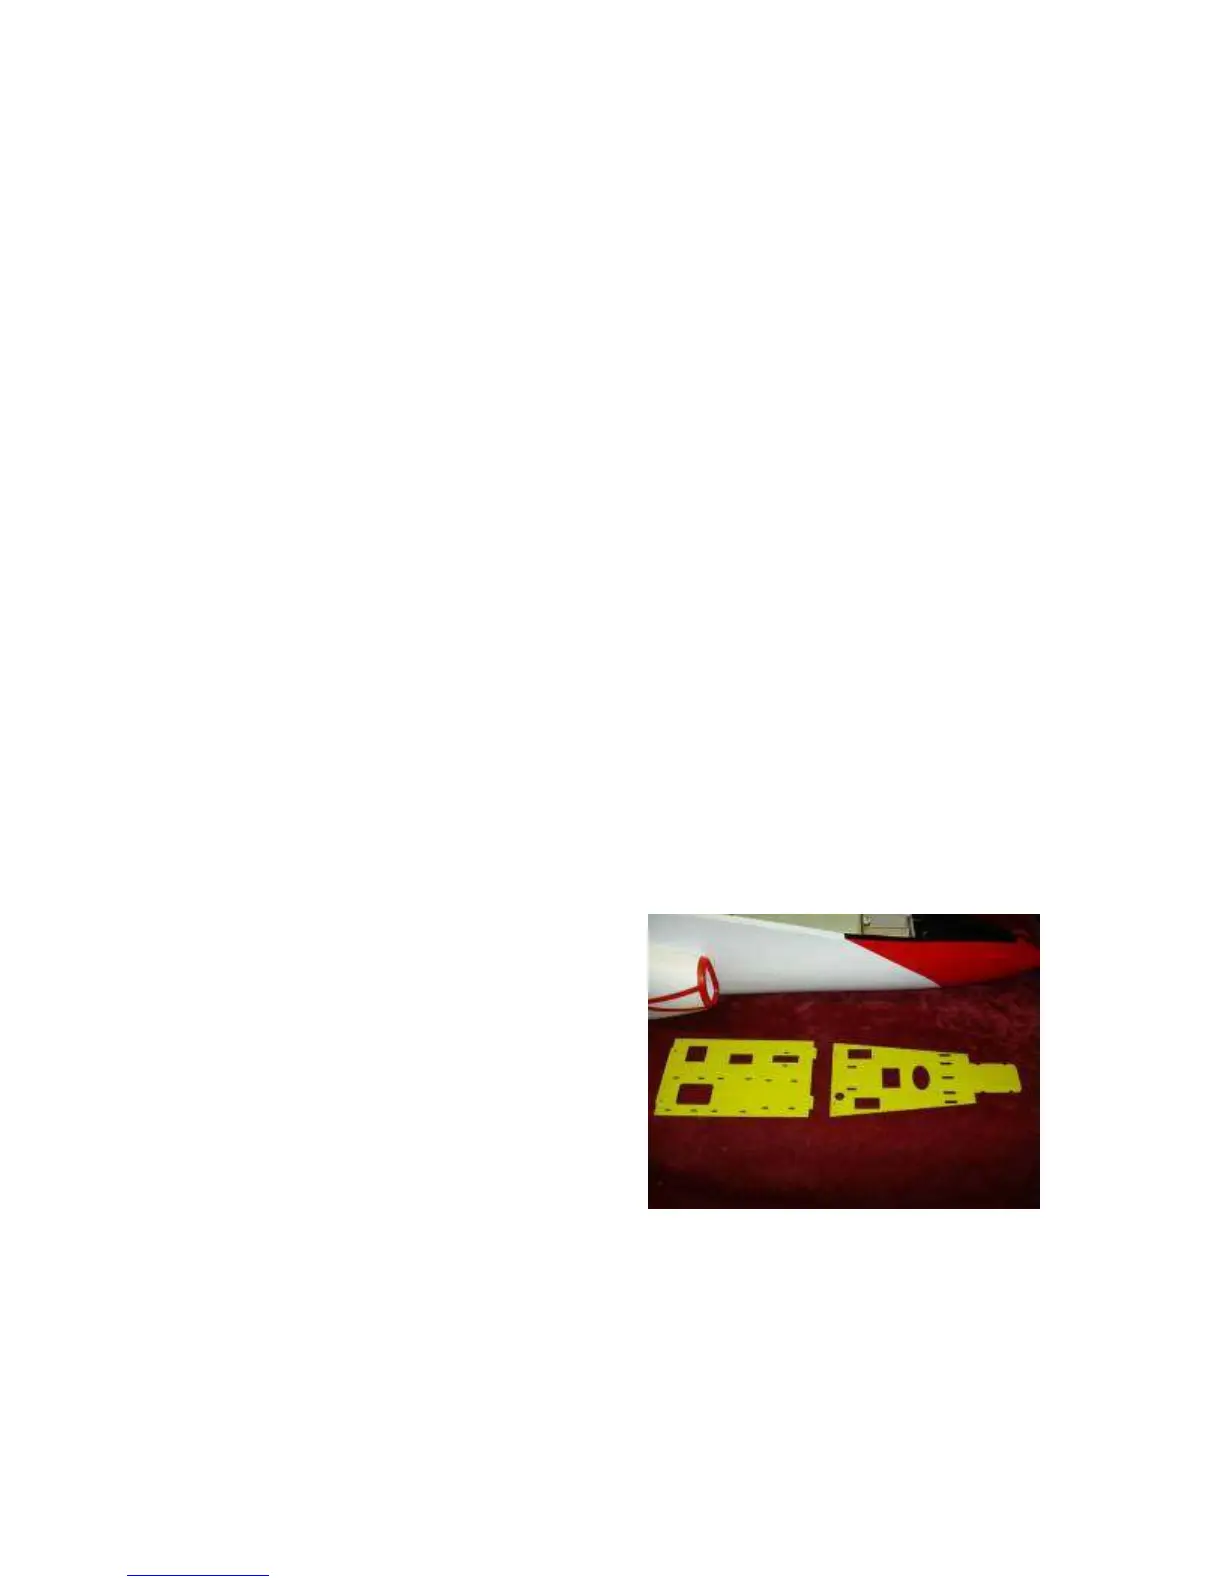
NOSEGEAR
1 Remove the two forward equipment trays.
You may paint them if you like. It's a good
idea to do so in case of any accidental fuel
spillage. Put the painted trays aside for the
moment. Put the screws back in the fuse to
keep them from getting lost.
2 Add two lengths of air tubing about 12
inches long to the nose gear assembly.
 Loading...