JetLegend T-45 Goshawk
Page 8 of 24
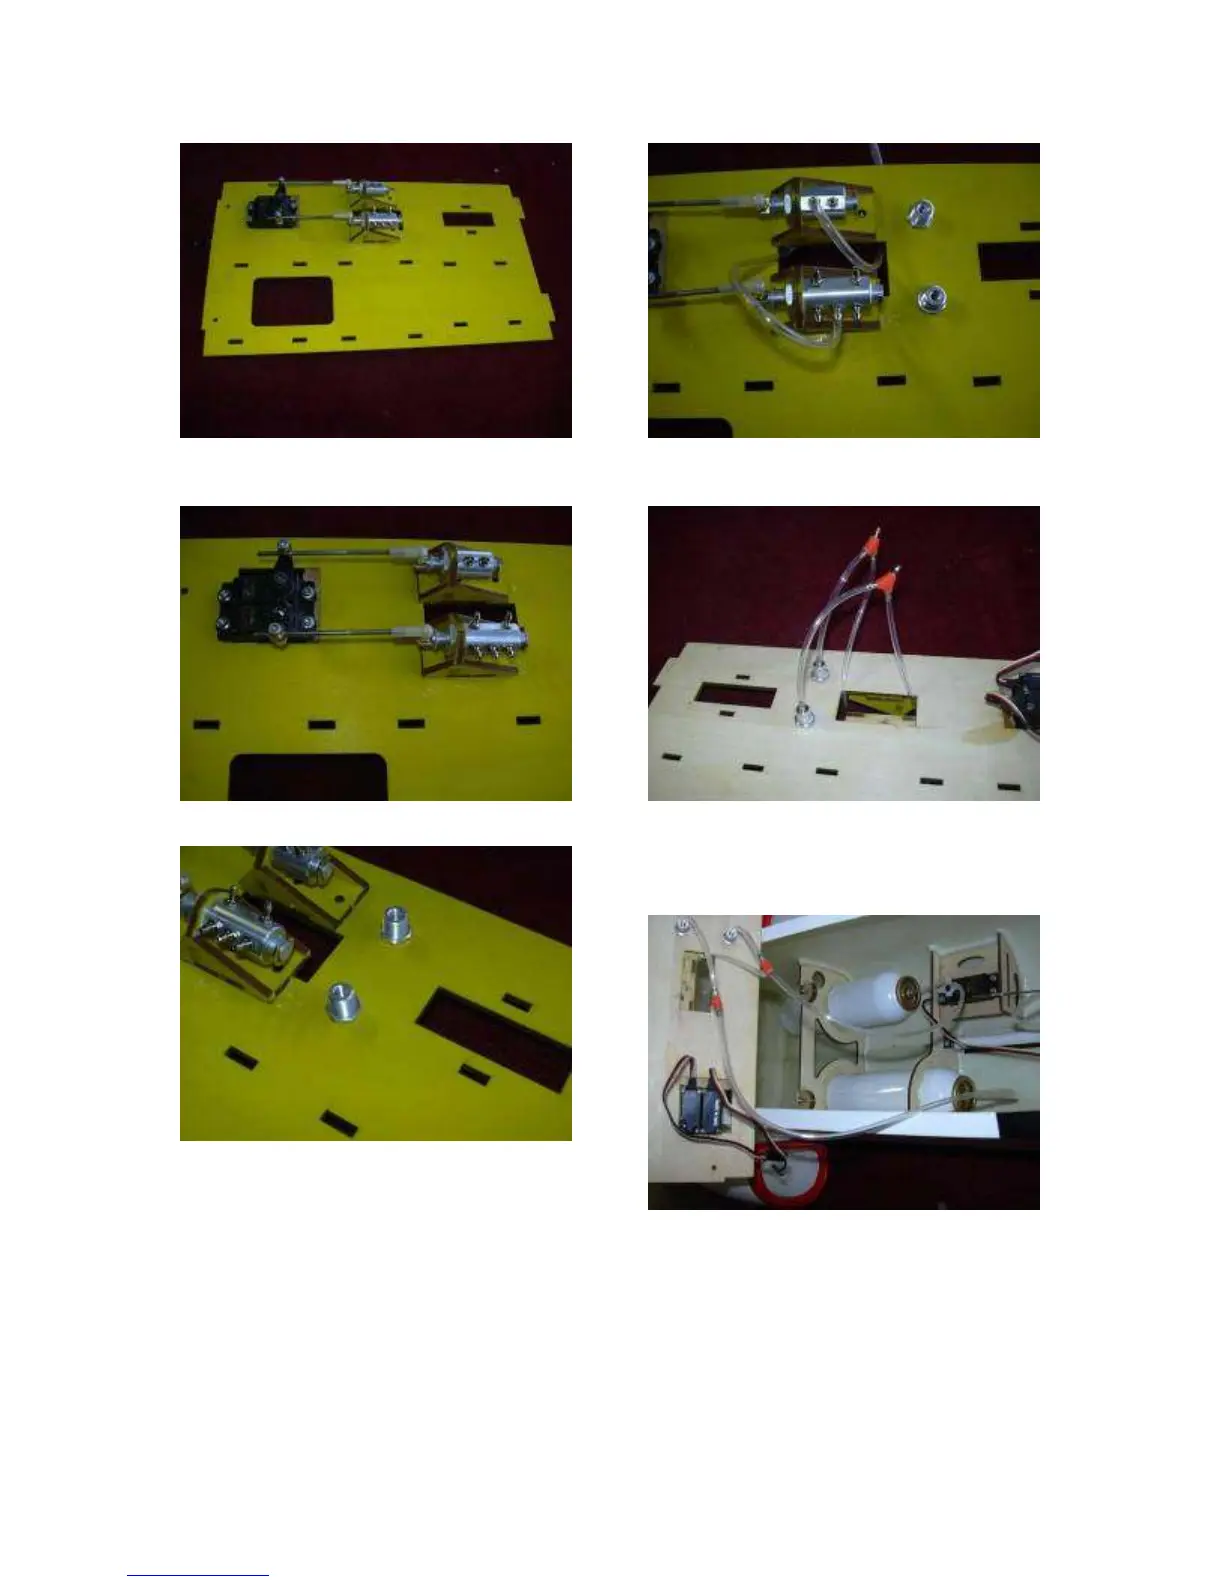
13 It is very important for the valves to be
exactly in line with the servo horns. Any side
loads or binding may cause air leaks.
14 Drill two holes and install the two provided
filler valves.
15 Install a short four inch piece of airline to
the center nipple of the gear valve and one to
the forward nipple of the brake valve as
shown.
16 Add a short three inch piece of air line to
each filler valve, and connect them to the air
valves with two y connectors.
17 Connect the two air tanks to the y
connectors with about a foot of tubing each.
You want to leave these a little long so the
tray can be removed from the fuse and put to
one side for service.
18 Connect the two nose gear air lines to the
two air valve nipples as shown. Either side
can be up or down.
 Loading...