6112628-UIM-B-0622
Johnson Controls Ducted Systems 3
8. It is necessary to maintain clearances for servicing and allow
access to the electric heaters and blower.
9. It is necessary to verify the unit rating plate and power supply to
ensure that the electrical characteristics match.
10. When attaching ductwork with screws, carefully fasten the screws
and keep them within 5/8 in. of the sides and back of the air handler.
11. Install the air handler so the electrical components are protected
from water.
12. Installing and servicing heating and cooling equipment can be haz-
ardous due to the electrical components. Only trained and licensed
personnel must install, repair, or service heating and cooling equip-
ment. Unlicensed service personnel can perform basic mainte-
nance functions such as cleaning and replacing the air filters. When
working on heating and cooling equipment, the precautions in the
manuals and on the labels attached to the unit and other safety pre-
cautions must be observed as applicable.
13. These instructions cover minimum requirements and conform to
existing national standards and safety codes. In some instances,
these instructions exceed certain local codes and ordinances,
especially those who have not kept up with changing residential
and non-HUD modular home construction practices. These instruc-
tions are required as a minimum for a safe installation.
14. These models are not CSA listed or approved for installation into a
HUD-approved modular home or a manufactured (mobile) home.
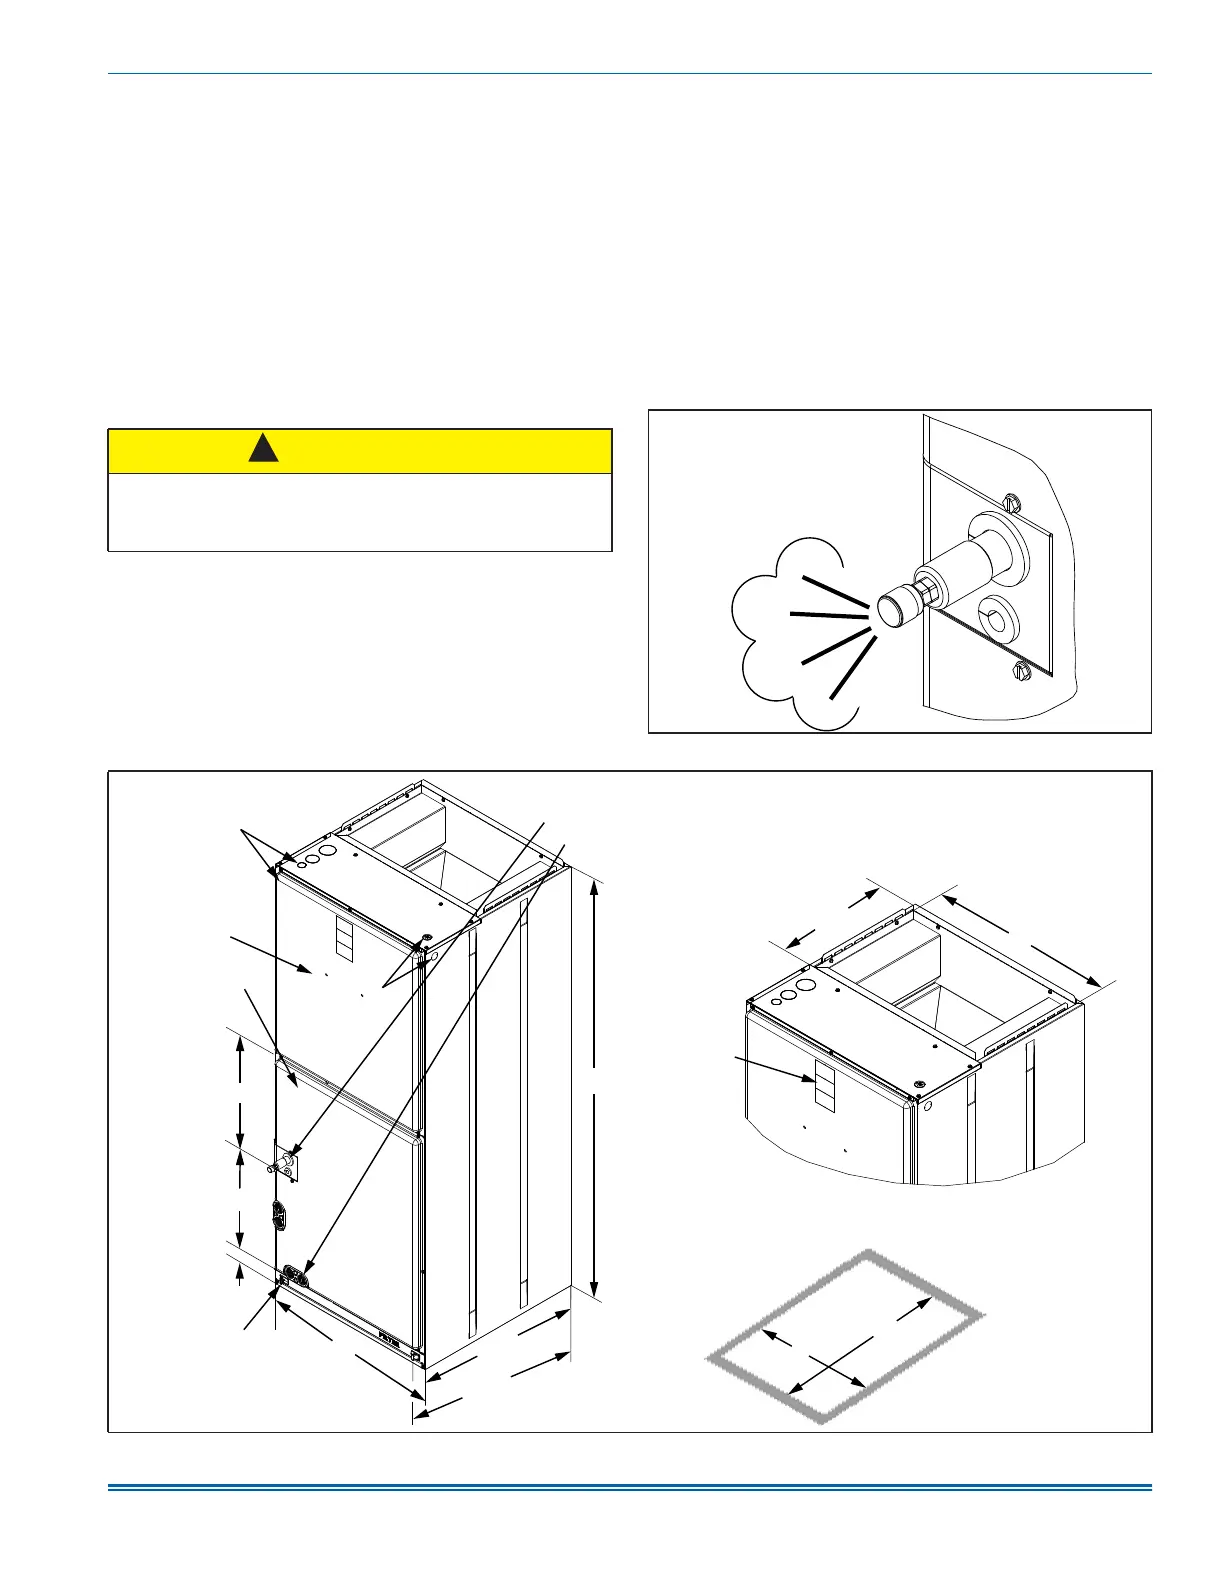
Inspection
Upon receiving the air handler, check to ensure it is still under pressure.
See Figure 2. Inspect the air handler, including the coil, for possible
damage during transit. If damage is evident, note the extent of the dam-
age on the carrier’s freight bill. A separate request for inspection by the
carrier’s agent must be made in writing. Consult the local distributor for
more information. Check the drain pan for cracks or breakage. Before
installation, check the unit for screws or bolts loosened in transit. There
are no internal shipping or spacer brackets that need removing.
You must verify that all accessories, such as heater kits and coils, are
available. Complete installation of these accessories or field conversion
of the unit before setting the unit in place or connecting any wiring,
ductwork, or piping. C48G and C60H models are shipped with a hori-
zontal baffle plate. Remove and retain this plate for horizontal right
application. Discard for all other applications.
CAUTION
These air handlers must be transported and handled in an upright,
upflow position. Failure to do so may result in unit damage and per-
sonal injury. Configuration conversions must be done at the site of
installation.
!
Figure 2: Pressure check
A1653-001
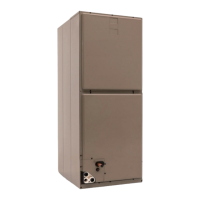
Figure 3: Dimensions and duct connection dimensions
A1694-001
Blower compartment
Coil compartment
C
15 in.
1 1/2 in.
Filter access
B
20 1/2 in.
21 7/16 in.
Drain connections for upflow applications
Refrigerant connections
G
F
A
Service
disconnect panel
Top outlet
dimensions
E
12 3/16 in.
18 5/8 in.
D
Bottom inlet
dimensions