6 M Motor Actuators—M100C Series of Motor Actuators
To install the R81 board kit in a Series M100X base motor actuator or
remove and/or replace the electronic circuit boards in an existing Series
M100 motor actuator, proceed as follows:
!
CAUTION: Disconnect the electrical power supply before
attempting to remove the wiring connections and the
boards to prevent possible electrical shock or damage
to the equipment.
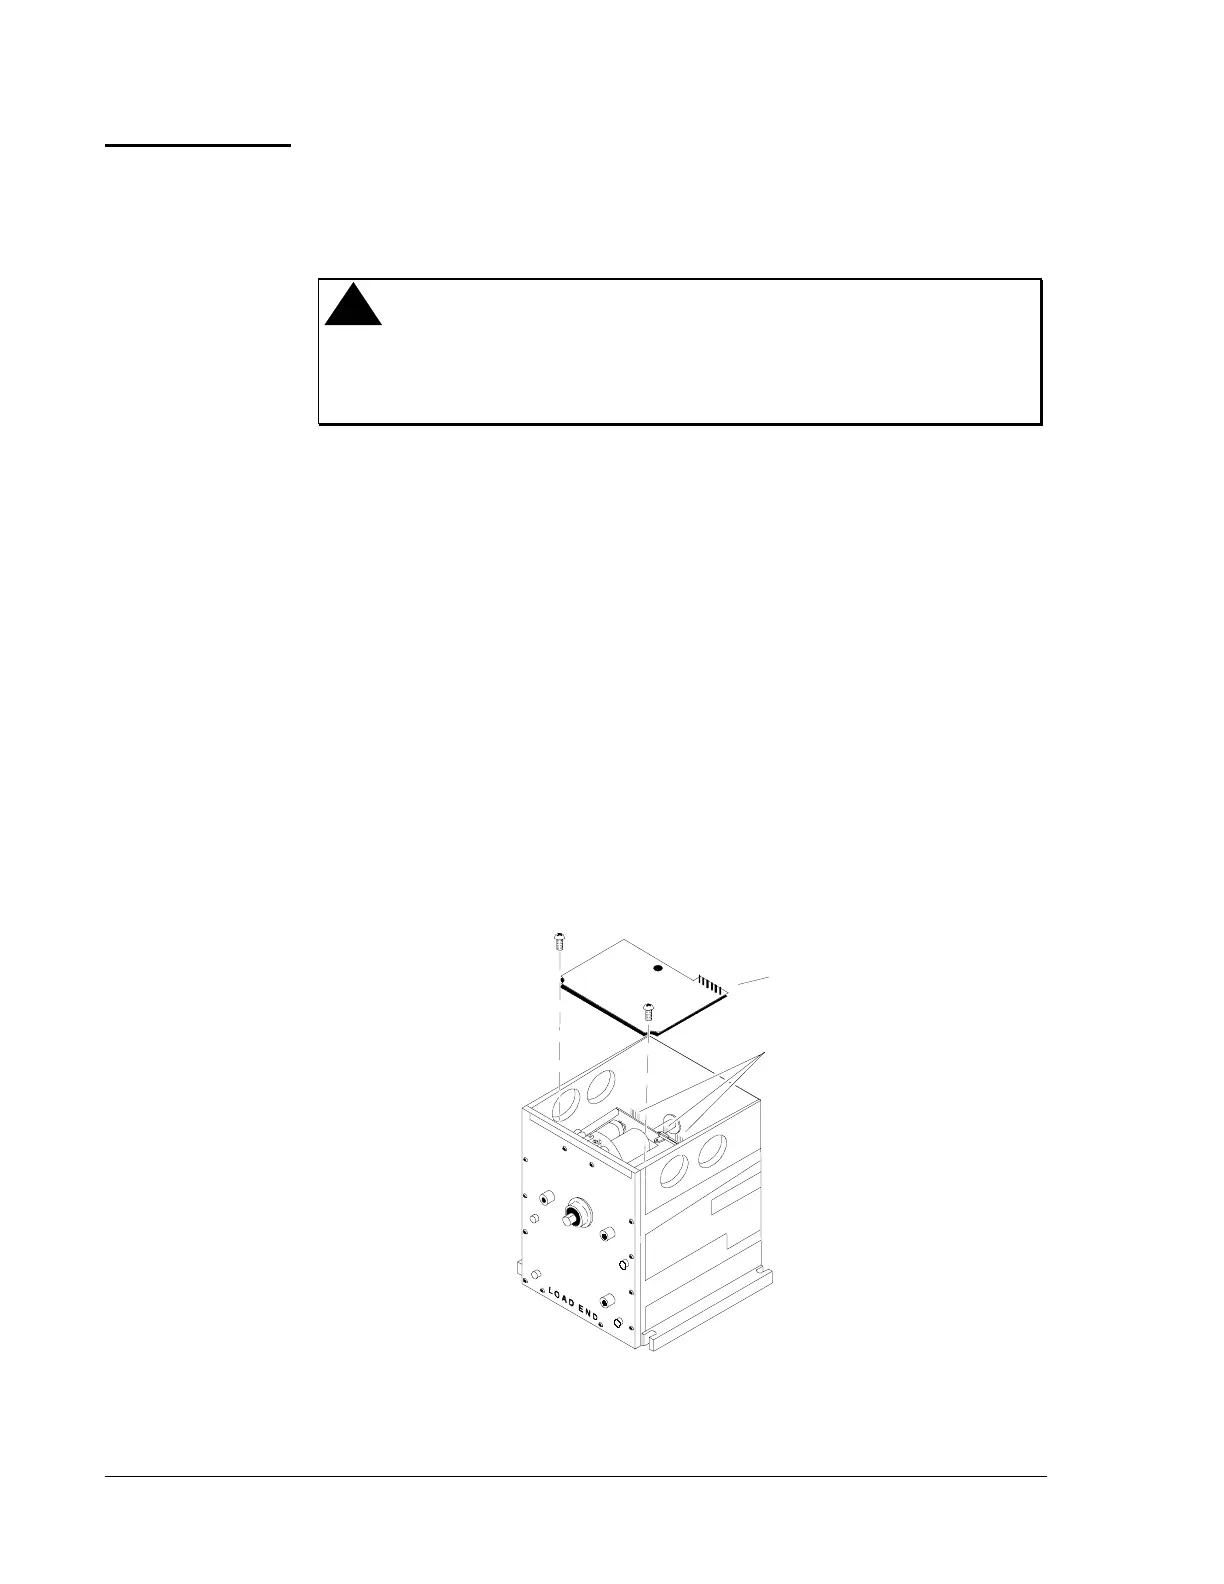
1. Remove the motor actuator’s top cover by loosening the two cover
screws.
2. Verify that power is removed from the unit and disconnect all wiring
connections to the terminal board.
3. Loosen the bracket screw and remove the bracket.
4. Pull the vertical board straight upward. Be careful not to bend or
damage the pin terminals.
5. Remove the two screws from the terminal board.
6. Remove the terminal board by grasping the receptacles and lifting
straight upward being careful not to bend or damage the pin terminals.
1. Install terminal board by carefully placing the terminal receptacles onto
the pin terminals.
Terminal
Board
Terminal
Board Screws
Receptacles
Pin Terminals
M100C01
Figure 4: Terminal Receptacles
R81 Circuit Boards
Removing Boards
Installing Boards