POWERHEAD
ASSEMBLY - 25/30
Thoroughly clean
and
degrease the mating
flanges of the crankcase
and
cylinder block with
Cleaning Solvent and let air
dry.
Apply Locquic Primer
to
the
mating flanges of the
cylinder block and crankcase
and
let air
dry.
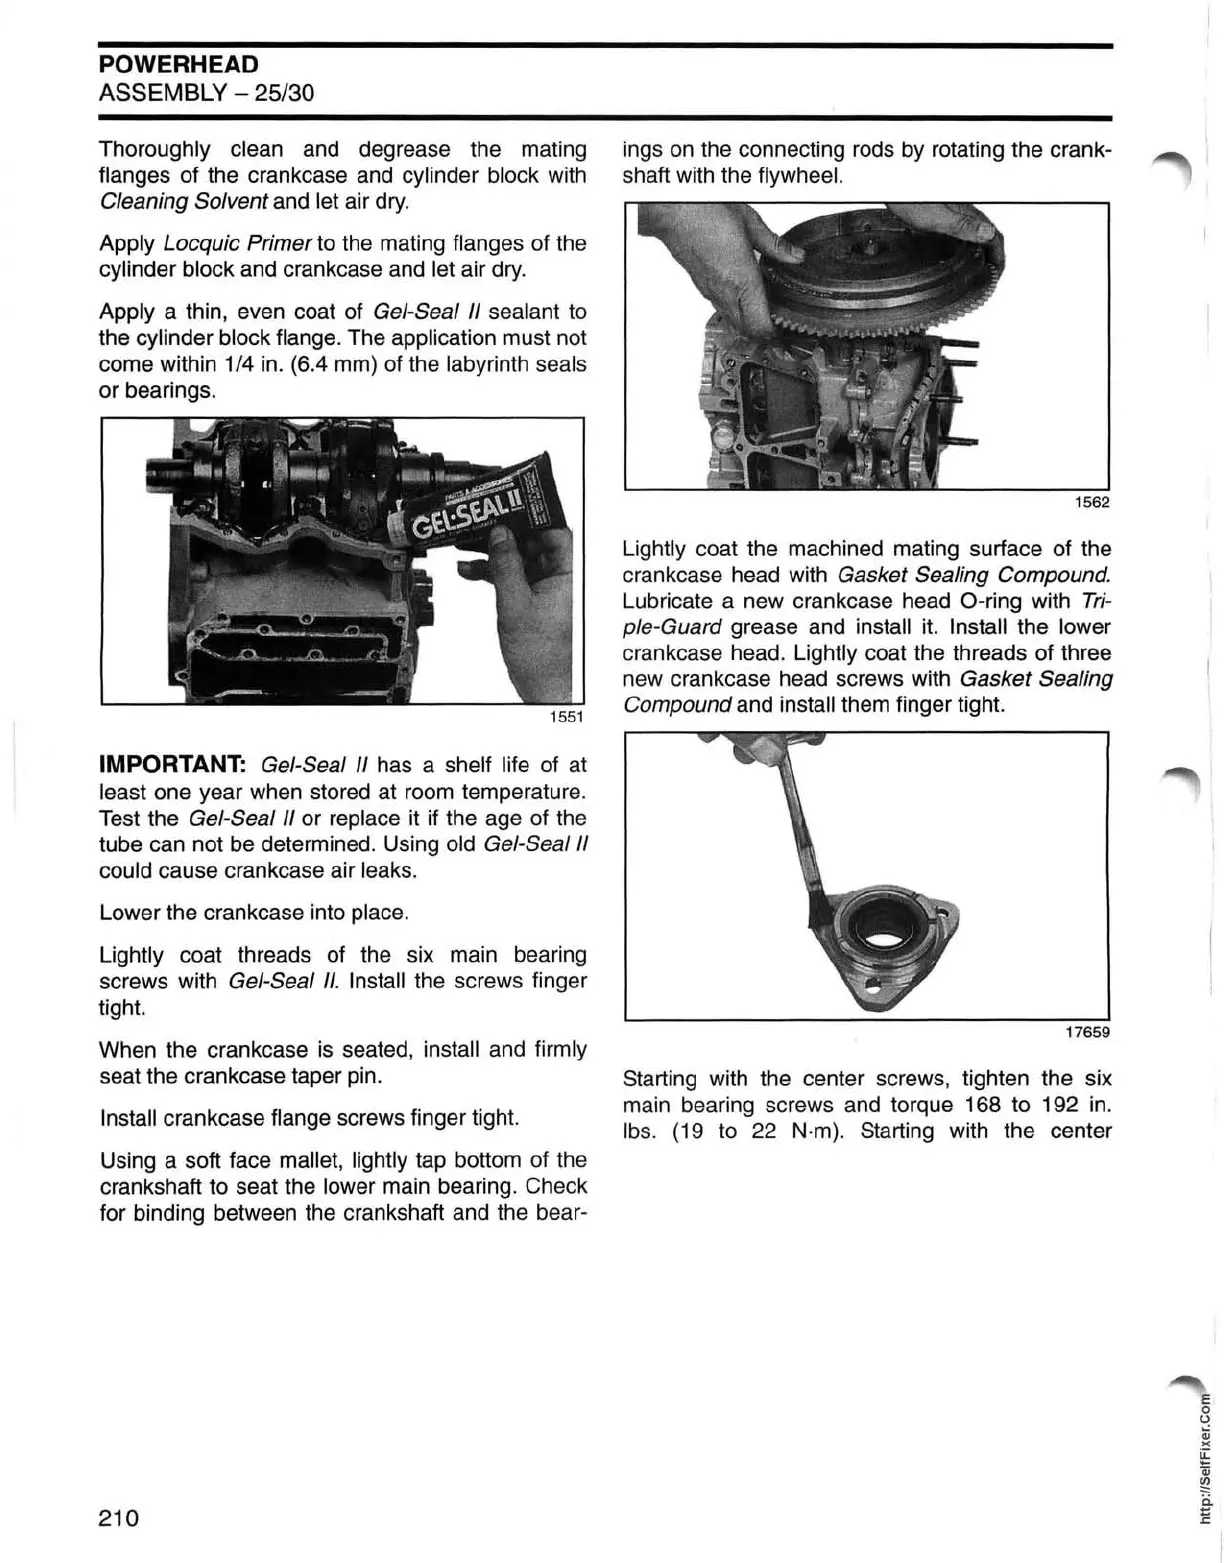
Apply a thin, even coat of Gel-Seal II sealant
to
the cylinder block flange. The application must not
come within
1/4
in.
(6.4
mm)
of the labyrinth seals
or bearings.
IMPORTANT: Gel-Seal II has a shelf life of at
least one year when stored at
room
temperature.
Test the
Gel-Seal II or replace it if the age of the
tube can not
be
determined. Using old Gel-Seal II
could cause crankcase air leaks.
Lower the crankcase into place.
Lightly
coat threads of the six main bearing
screws with
Gel-Seal
II.
Install the screws finger
tight.
When the crankcase
is
seated, install
and
firmly
seat the crankcase taper
pin.
Install crankcase flange screws finger tight.
Using a soft face
mallet, lightly tap bottom of the
crankshaft to seat the
lower main bearing. Check
for binding between the crankshaft and the bear-
210
ings
on
the connecting
rods
by rotating the crank-
shaft with the
flywheel.
Lightly
coat the machined mating surface of the
crankcase head with
Gasket Sealing Compound.
Lubricate a new crankcase head O-ring with
Tri-
ple-Guard grease
and
install
it.
Install the lower
crankcase head. Lightly coat the threads of three
new crankcase head screws with
Gasket Sealing
Compound and install them finger tight.
Starting with the center screws, tighten the six
main bearing screws
and
torque 168
to
192
in.
Ibs.
(19
to
22
N·m). Starting with the center