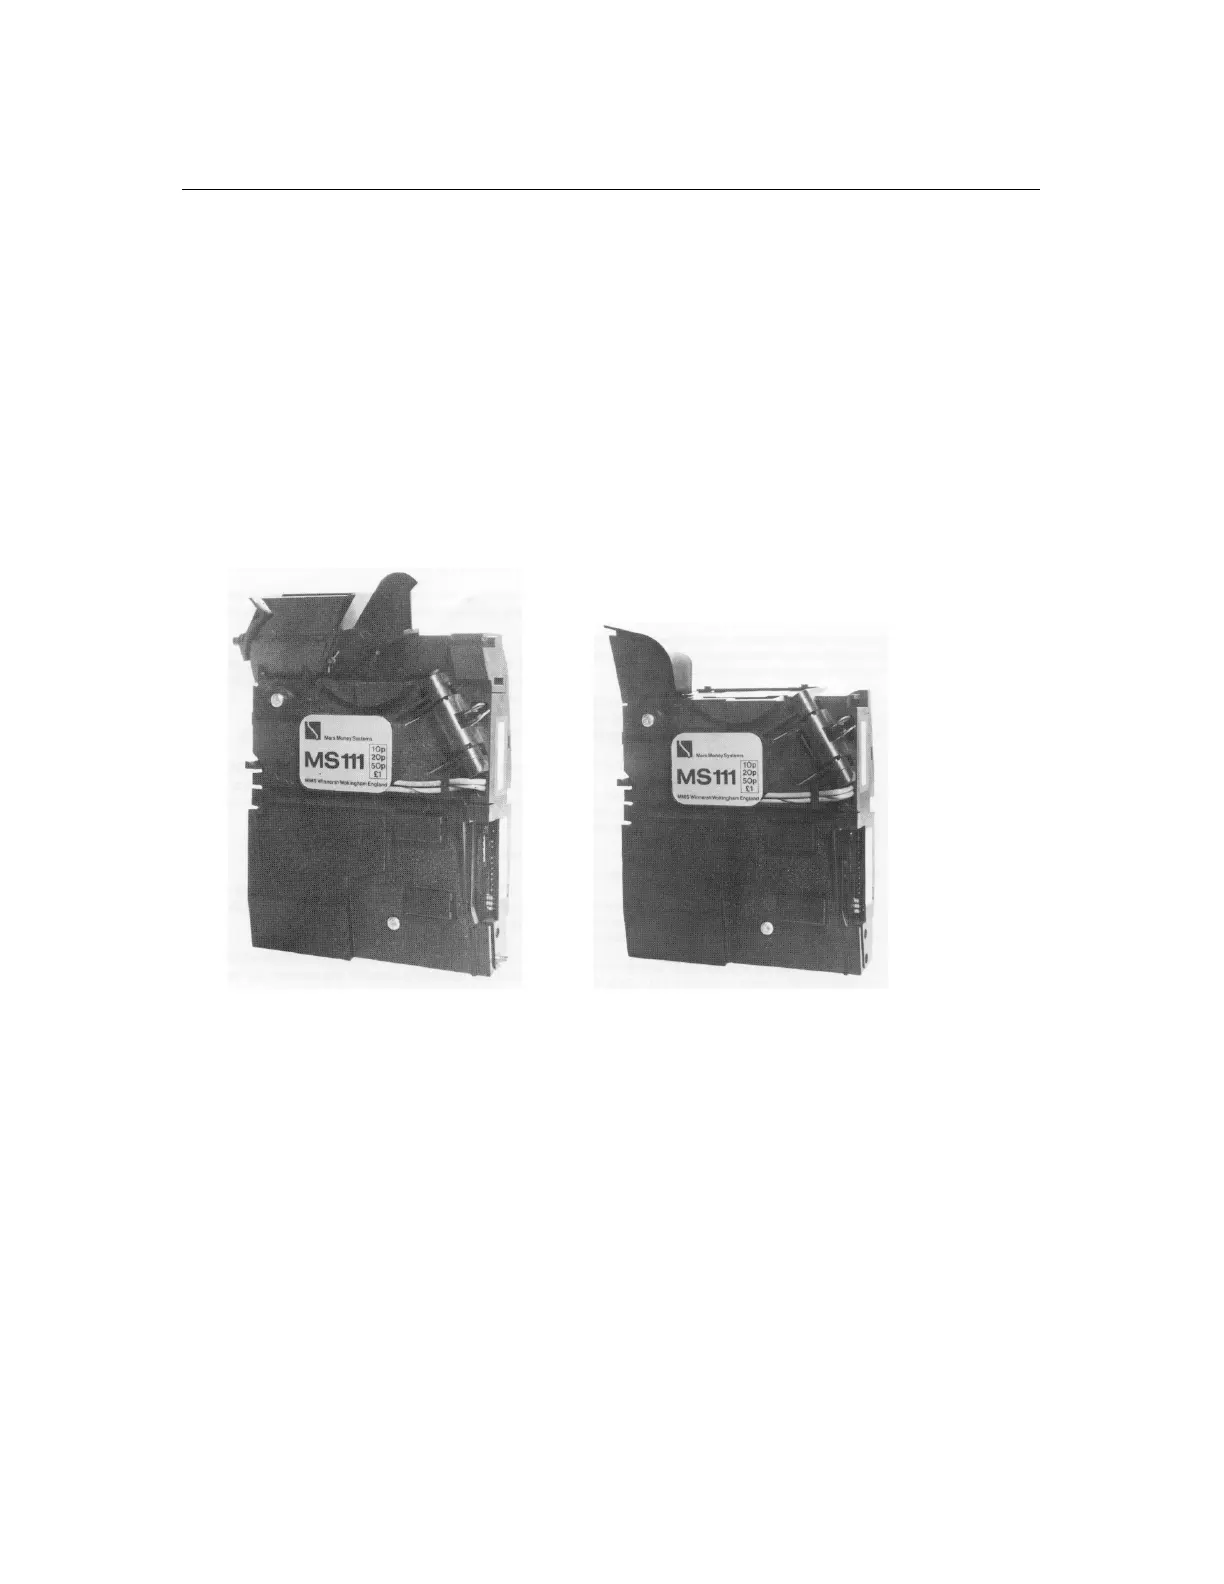
MARS 111 MULTI COIN ACCEPTOR
TOP ENTRY AND SIDE ENTRY
Operation
The coin enters the mechanism and drops on to a ceramic snubber in order to stop the coin bouncing. It then
rolls past 3 sensor coils, which measures thickness, material and diameter. If the measured values fall between
the limits in the prom, the coin is accepted via the accept solenoid opening. If one or more values are out of
tolerance the gate will not open and the coin is rejected.
Pin Connections
13 + V Common. 9 20p Output. 5 + 12v DG Supply.
12 ₤1 Output. 8 Polarising. 4 0v.
11 Polarising Key. 7 10p Output. 3 20p Inhibit.
10 20p Output. 6 10p Inhibit. 2 20p Inhibit.
1 ₤1 Inhibit.
Inhibit Inputs
Inhibit inputs are used to detemine which coins are accepted by the mechanism. Coins are accepted if the inhibits
are pulled low. If the line is pulled up or open circuit then coins will be rejected.
Inhibit Accept Level -0.5v or less,
Inhibit Reject Level -More than 2v or open circuit.
Service Instructions
Adjustments
The unit is factory programmed and no adjustments can be made in the field.
Field Test Box
It is recommended that the MS111 Field Test Box be used if it is unclear whether the fault lies in the coin
acceptor or the machine. Test boxes can be purchased directIy from Mars Money Systems at a price of
approximately ₤35.00.
Cleaning Instructions
Obviously, the mechanism will require cleaning from time to time, and it is advised that either a damp cloth or
an aerosol foam cleaner such as Ambersil Amberclens be used. To do this, unclip the mechanism from the front
plate by squeezing the two clips together and pulling the body free. The lid is spring loaded to enable coins to be
rejected, and can be opened wide for cleaning. The reject cover is retained by a single screw and can easily be
removed for further cleaning. The separator should also be cleaned.