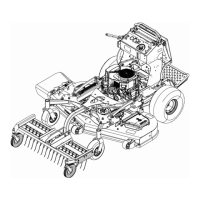
Operator’s Manual Tine Rake Dethatcher
20195 South Diamond Lake Road, STE 100
Rogers, MN 55374
800.966.8442
www.jrcoinc.com
8
2.5 Unpacking Your Attachment
CAUTION
Sharp tines, eye poke hazard
Wear safety Glasses
Your Tine Rake Dethatcher will ship in 1 box. Carefully set the box on a flat working area. Carefully unbox the
attachment and verify that all fasteners and components are included. (see packaging list on page 5)
2.6 Torque Requirements
Please reference the Torque Chart below for correct values when assembling your attachment.
5/16” Serrated Flange Nut/Bolt 20 ft lb
3/8” HH Capscrew 3/8-16 x 3” 30 ft lb
3 Assembly
3.1 General Assembly
This attachment is shipped partially assembled. If purchased from a JRCO Dealer, the dealership may assist in
assembly of attachment. Review all safety and assembly instructions in this manual before assembly.
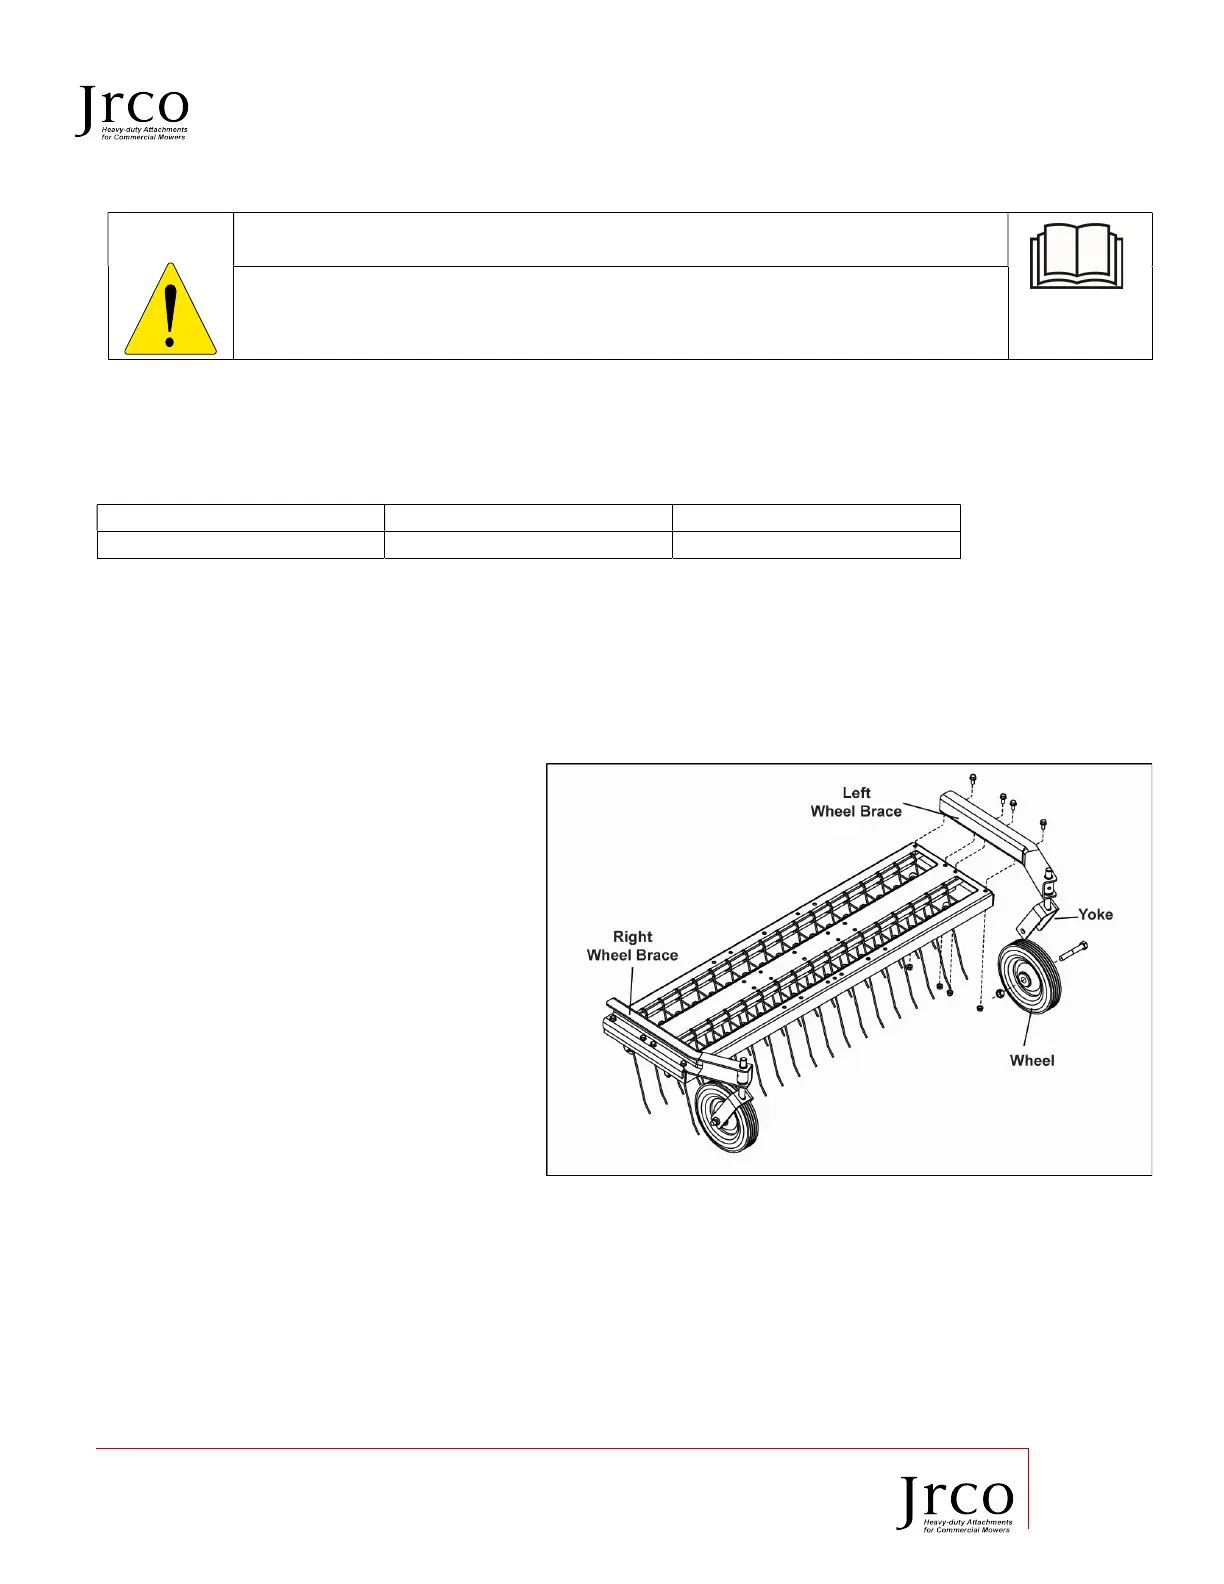
3.2 Wheels to Yokes Assembly
1. Position the rake as shown. The
front of the rake is identified by a
three-hole pattern in the center.
2. Fasten the left and right wheel
braces to the rakes, using four 5/16
x ¾ serrated flange bolts and nuts
per side, as shown.
3. Attach the wheels to the yokes.
4. Place the wheel in the yoke, and
secure with a ½ x 3 hex head bolt
and 2-way locknut.
IMPORTANT: Do not over tighten. Leave enough space for wheels to spin in yokes.