EasyManuals Logo

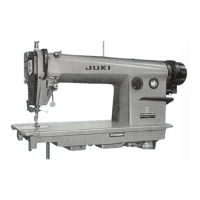
JUKI DDL-555-4 User Manual

JUKI DDL-555-4
40 pages
To Next Page IconTo Next Page
To Previous Page IconTo Previous Page
Page #7 background imageLoading...
Page #7 background image
5.
Installing
the
synchronizer
The necessary instruction for installation is indicated on the packing case on both of
"MATSUSHITA"
and
"HITACHI"
motors.
(CAUTIONS)
Support
rod
Nylon
clamper
Cord
\\\
\\ \
Stater
Magnet
Rotor
Printed
circuit
board
"MATSUSHITA"
motors
Screw
the
support
rod
into
the
threaded
hole
located on
the
right looking from
the
hand-
wheel
side
and
fix
it
with
a
lock
nut.
Fix
the
cord
onto
the
support
rod
by
means
of
the
nylon
clamper
so
that
it does
not
contact
with
the
V-belt.
"HITACHI"
motors
Be
careful
not
to
allow
the
rotor
and
the
stater
to
contact
with
each
other.
The
clearance
between
the
printed
circuit
board
cover
and
the
rotor
magnet
is 0.S
to
1.5
mm. Pass
the
cord
through
the
inside
of
the
synchronizer
cover
and
fix it
with
the
cord
clamp so
that
it does
not
contact
with the V-
belt.
- 4 -
1/
From the library of: Superior Sewing Machine & Supply LLC

Questions and Answers:

Question and Answer IconNeed help?

Do you have a question about the JUKI DDL-555-4 and is the answer not in the manual?

JUKI DDL-555-4 Specifications

General IconGeneral
BrandJUKI
ModelDDL-555-4
CategorySewing Machine
LanguageEnglish

Related product manuals