KE-2050/KE-2060, KE-2050R/2055R/KE-2060R Maintenance Manual
2-6
2-2. Replacing the Motor
2-2-1. Z-Motor (MNLA Head)
After the Z motor has been replaced, it is absolutely necessary to re-input the MS parameters
related to the Z-axis home position adjustment, Z-axis height, and laser.
(For details of input items, see section 2-9.)
(1) Carry out the steps (1) through (3) in
section 2-1-1 and keep d and e on the left
side of the head.
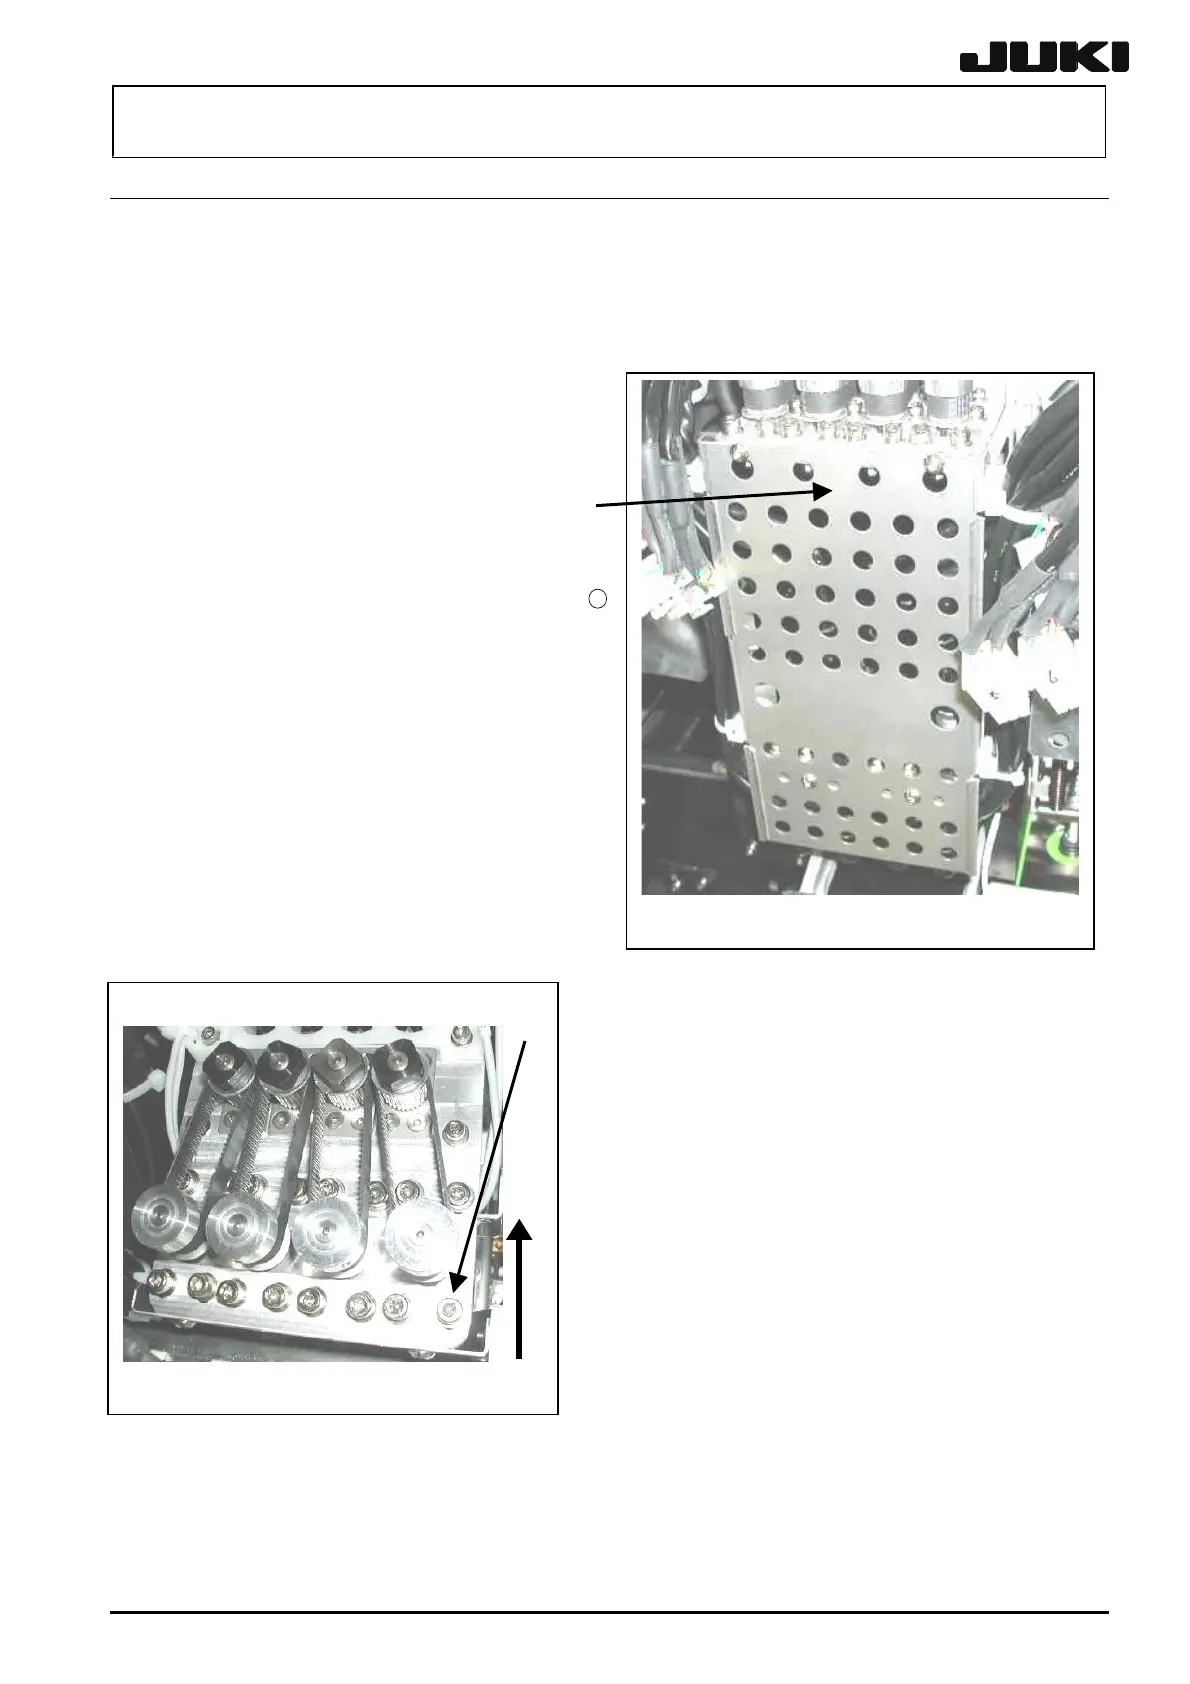
(2) Detach the motor cover l. (Four
mounting screws) Cut four tie-up bands.
(3) Remove the Z-motor mounting screws
11
(4 pcs.) and slide the motor in the direction
indicated by an arrow to loosen the belt.
(4) Loosen two setscrews of the pulley, pull out
the Z-motor pulley and detach the Z-motor.
(5) Reassemble the components in the reverse
order of disassembly.
(6) Check the tension of the belt following the
procedure described on the next page and
make adjustments if necessary.
Rev. 2.00
Figure 2-2-1
⑪
l
Figure 2-2-2

 Loading...


