EasyManua.ls Logo

JUKI KE-2010 User Manual

JUKI KE-2010
52 pages
To Next Page IconTo Next Page
Page #1 background imageLoading...
Page #1 background image











KE
KEKE
KE‑
‑2010/2020/2030/2040
2010/2020/2030/20402010/2020/2030/2040
2010/2020/2030/2040

INST
INSTINST
INSTALLATION
ALLATIONALLATION
ALLATIONGUIDE
GUIDEGUIDE
GUIDE
JUKICORPORATION
JUKICORPORATIONJUKICORPORATION
JUKICORPORATION
ELECTRONICASSEMBLY&
ELECTRONICASSEMBLY&ELECTRONICASSEMBLY&
ELECTRONICASSEMBLY&
TESTSYSTEMSDIVISION
TESTSYSTEMSDIVISIONTESTSYSTEMSDIVISION
TESTSYSTEMSDIVISION
SMTTRAININGCENTER
SMTTRAININGCENTERSMTTRAININGCENTER
SMTTRAININGCENTER

Table of Contents

Question and Answer IconNeed help?

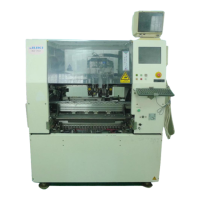
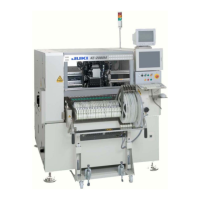
Do you have a question about the JUKI KE-2010 and is the answer not in the manual?

JUKI KE-2010 Specifications

General IconGeneral
BrandJUKI
ModelKE-2010
CategoryIndustrial Equipment
LanguageEnglish

Summary

Precautions

Installing the Main Unit

Detaching Packing Materials

Overall Machine Cover Removal

Procedure to detach the primary protective cover of the machine.

Safety Cover Removal

Steps to peel off filament tapes from the safety covers on the machine.

Adjusting Transport Height and Leveling

KE-2010/2020/2040 Adjustment

Specific steps for adjusting transport height and leveling for KE-2010, 2020, and 2040 models.

KE-2030 Adjustment

Specific steps for adjusting transport height and leveling for the KE-2030 model.

X-Y Unit Handling

Detaching X-axis Frame Fixings (KE-2030)

Instructions for removing stopper rubber fixing the X-axis frame on the KE-2030.

Connecting Compressed Air Tube

Connecting the Power Cord

KE-2010/2020/2040 Power Connection

Steps for connecting the power cord for KE-2010, 2020, 2040 standard machines.

CE Machine Power Connection

Steps for connecting the power cord for CE machine models.

Pre-Power On Checks

Adjusting Feeder Exchange Trolley Height

Caster Plate Mounting Position

Adjusting the caster plate mounting position for two-step height adjustment.

Adding Trolley Spacers for Height

Instructions for adding trolley spacers to adjust the feeder exchange trolley height.

Bank Stopper Mounting Position

Adjusting the bank stopper position based on board transport height.

Bank Valve Position Adjustment

Procedure to adjust the bank valve fixing position for proper operation.

Related product manuals